My goal was to make a homemade dinosaur costume as cool as possible by spending as little as possible in only 2 weeks. I had to start somewhere. Some of the “How to make…” sites used foam to shape heads for costumes, so I figured this is where I should start. I had some foam left over from an Alice in Wonderland themed Halloween 2 year ago, and our older daughter’s old bicycle helmet. So with a few cuts and forming the foam to the old helmet with hot glue, an idea was born!
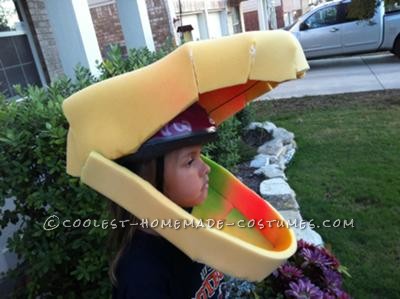
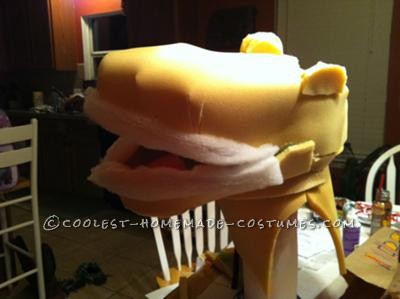
Once I had the first of the foam glued on, I kept my imagination going, forming the eye sockets and nostrils, and adding batting around the mouth to make fuller lips.
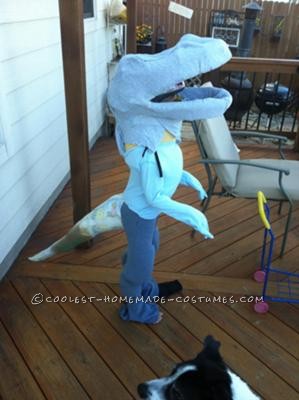
Then I used an old stretchable Jersey sheet to glue over the foam and form the skin and came across some old spandex, took them in to fit her snugly, and cut and glued layers of foam over the thighs and calves to make them appear more like animal legs. I then deliberated again how to cover her body. I found an old t-shirt and pair of sweatpants and took them in to fit over the shaped legs. It took a couple of fittings, and pin pricks suffered by poor munchkin, but I finally got it (nearly) right.
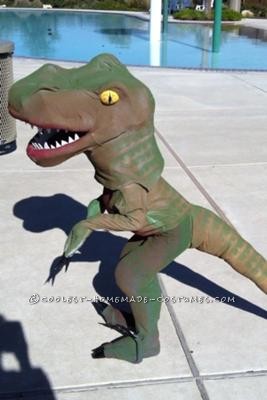
For paint, someone with time, patience, and a bigger budget may choose to use fabric paint. Since I didn’t really expect the costume to get much use, and because you get more paint for the $, I decided to use spray paint for the costume. It was quick, easy, and came in a larger variety of colors.
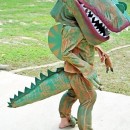
The head was completed by gluing on and painting a Styrofoam egg cut in half for each eye. I cut a jagged edge on 2 long strips of craft foam and glued them to the top and bottom of the mouth for teeth. After the base color was applied, I finished off the costume using a polka-dot stencil I re-fabricated to achieve the scaly effect.
I completed the body of the costume by stitching up the excess sleeve and pant length to create “fingers” and “toes” stuffed with a bit of batting (one could use pieces of old paper instead), and wrapped black duct-tape into cones to serve as the claws, which I secured on with a bit of hot-glue.
And the finished product turned out better than I could have imagined! (pic 4)
I spent nearly nothing on materials, other than replacing a $2.99 bag of hot glue sticks.
Fabric: $0 (old bed sheet, t-shirt, and pants)
Foam: $0 (repurposed from previous Halloween props)
Teeth: $0.25, (1/4 of a .99 cent sheet of craft foam)
Eyes: $0.50 (one Styrofoam egg, out of a $3 package of 6)
Hot Glue: $2.99
Paint: $ 8.18, (used 1 and 2 halves of 3 cans of spray paint –$12.27)
Claws: $0.10 worth of Hubby’s gorilla tape
She was thrilled with the costume, was in full character whenever she had it on, and won 2 costume contests.
I have more details and pictures on my blog…

Related costumes:
 Awesome Homemade Spinosaurus Dinosaur Costume
 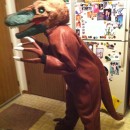 Coolest Homemade Velociraptor Costume
 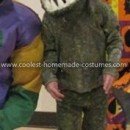 Coolest T-Rex Dinosaur Costume
 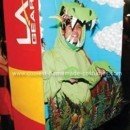 Coolest Homemade Dinosaur Diorama Costume
 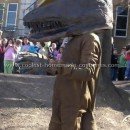 Coolest Ever Homemade Dinosaur Costume
 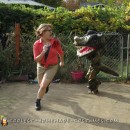 Awesome Jurassic Park Costumes: T-Rex and Ellie
 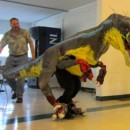 Coolest Jurassic Park III Velociraptor Costume
 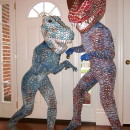 Super Cool Homemade Dinosaur Couple Costume
Your comment has been sent successfully.