
Here was the process involved in creating this awesome looking amazing Hollywood quality Sci-Fi Armor -all homemade costume.
- 1. Concept Art
- 2. Sculpting in WED Clay
- 3. Mold-Making with silicone rubber
- 4. Casting with liquid plastic
- 5. Trimming up, sanding and preparing for paint
- 6. Mixture of spray base paints and airbrushed custom detail
- 7. Wearing it!
This was in fact the hardest , yet most rewarding experience I’ve had in making a costume. I have worked on other costumes in the past but they were not as intense as this one. In the end, the idea was turned into reality, and I feel that specific aspect of costume-making is the most rewarding of all.
This costume stopped traffic numerous times and everyone thought I had bought it from a Hollywood movie set. It turned heads everywhere it went and everyone loved it. The extra work of making molds this time around will be rewarded when I can more quickly make another set so that I can try out some different painting techniques. We shall see what next year brings!
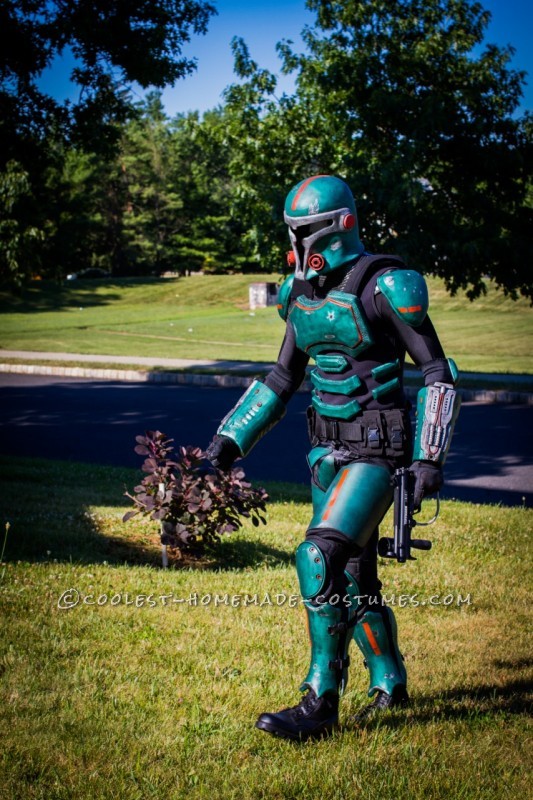
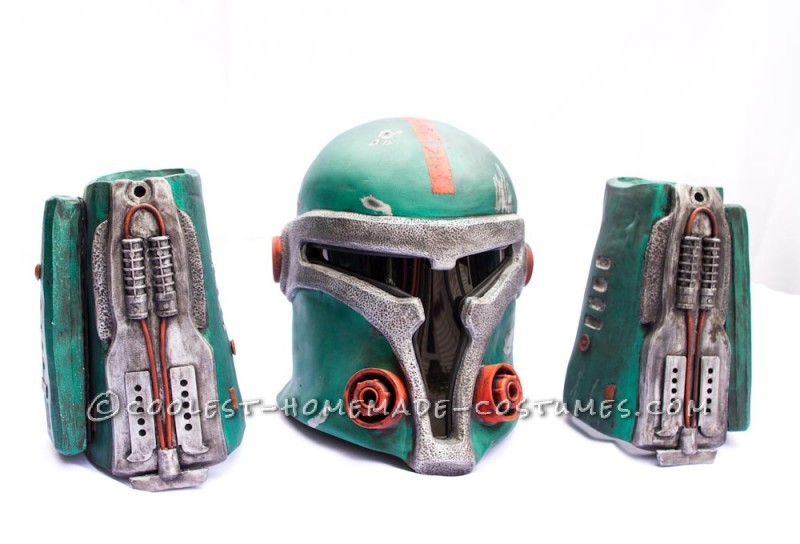
Sci-fi Armor
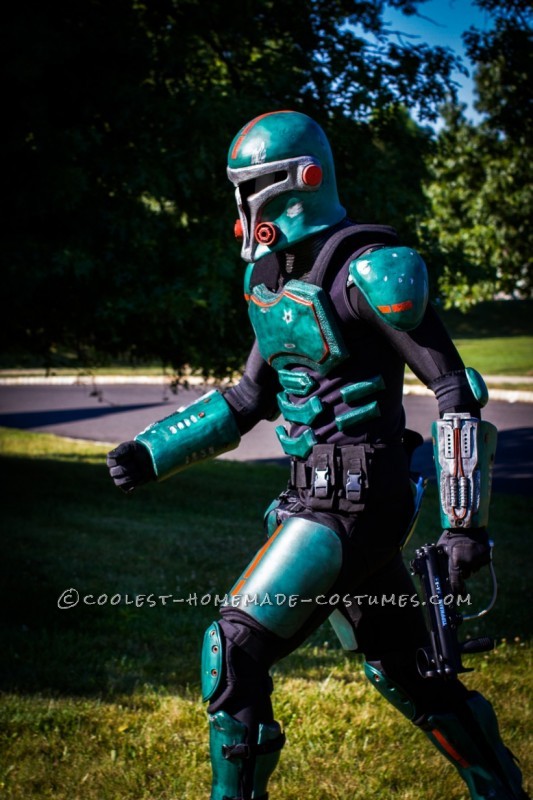
Sci-fi Armor

An idea turned into reality
Concept Art
The first step required a concept art drawing of the character. This step outlines the unique characteristics and details of the character in multiple poses so that we have good references for sculpting later. This was done with the help of very talented artists that saw the vision that helped me finalize the design of my armor.
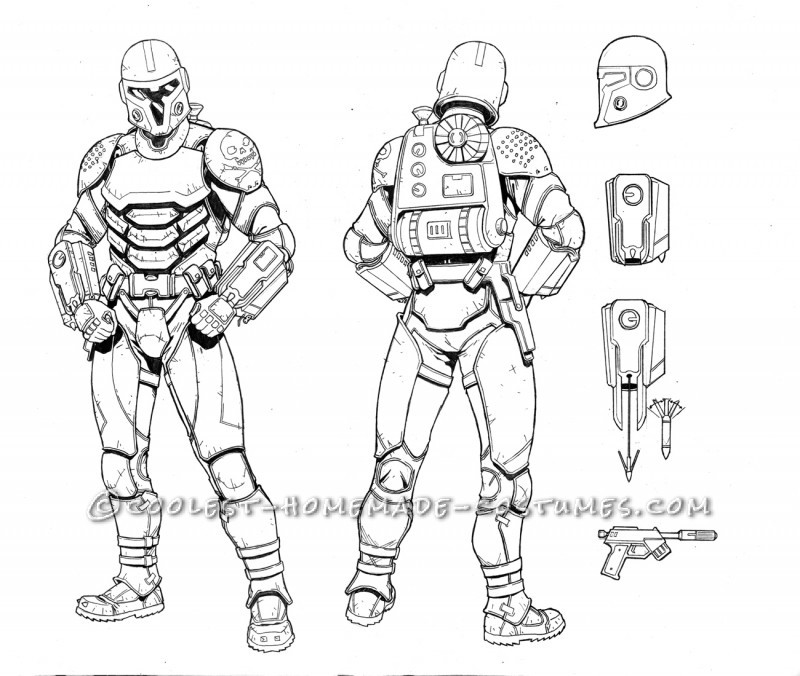
Concept Art
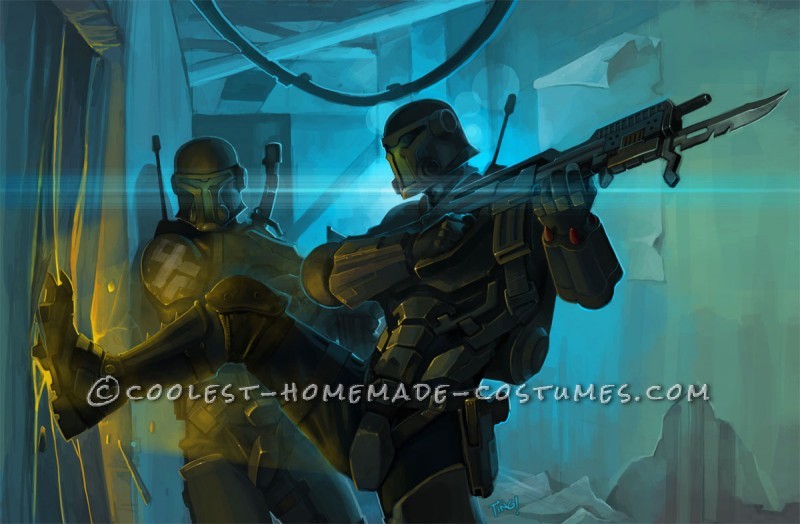
Colored Art
Sculpting in WED Clay
This was the most time intensive part of the whole process. Over parts of January and the summer, I spent hours in the basement sculpting the multiple pieces of the armor. It was an intensive learning experience and the time was ultimately well spent in perfecting this character.
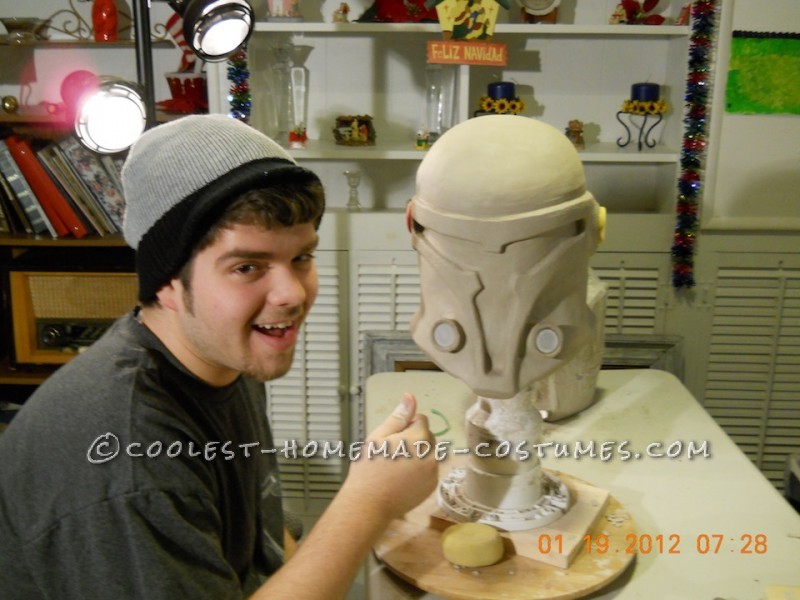
Finished sculpture of helmet
Mold-Making with silicone rubber
This process is also very time intensive. After the sculpt was done for each piece, I brushed on a high quality silicone rubber that captured all of the detail in the sculpt. Then I made two sides of a hard “mother” mold to keep the silicone in place so that when I later detached the silicone, it would hold its shape and not flop around everywhere. This was a very fun part of the project because even though mixing silicone can get tiring, it was also lots of fun (and messy!)
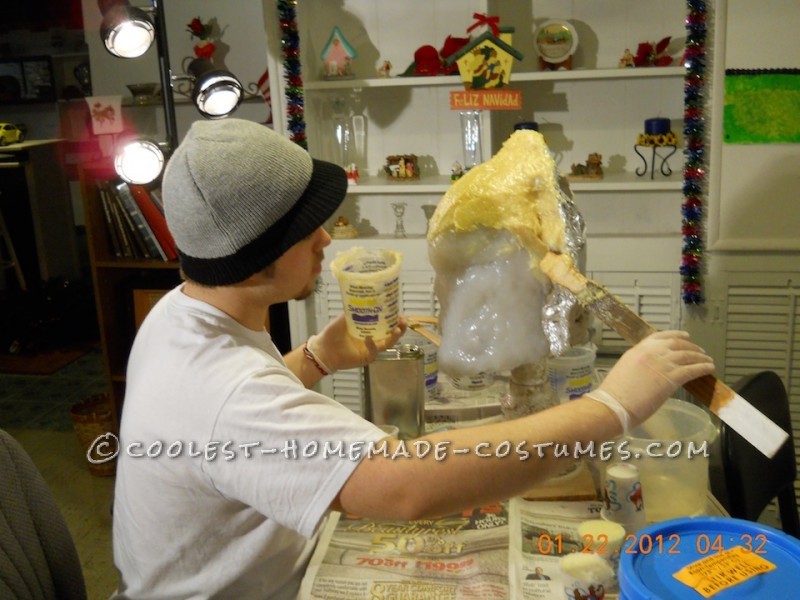
Making the mold of the helmet
Casting with liquid plastic
This is the most exciting part of the whole process! Finally after all the sculpting and mold-making, I finally felt like I was building something and getting progress done on the costume. After all, casting would give me material copies of my sculptures. This process involved using liquid plastic and pouring it into the mold in batches so that it would build up on the sides of the mold. After enough thickness was reached, I could then wait for it to cure and then pull off the mold!
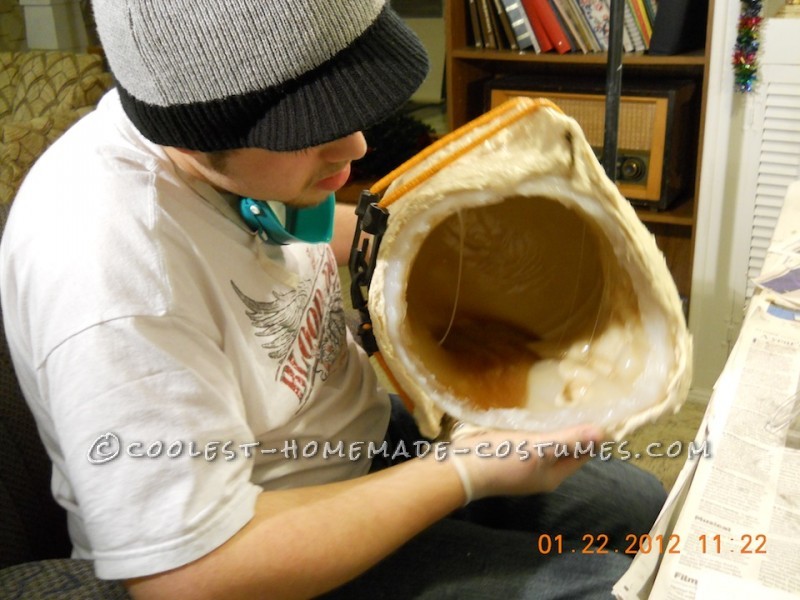
Casting the first helmet!
Trimming up, sanding and preparing for paint
After I pulled the cast out of the mold, I had to trim it up with several tools (Dremels, saws, etc.) to make the pieces safe and wearable. I also sanded the surfaces to prepare them for paint.
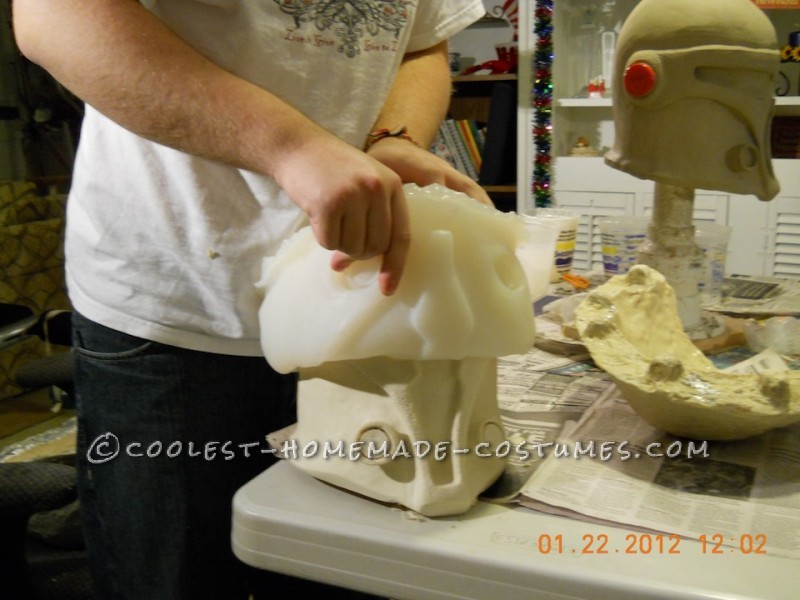
First cast of the helmet ready for trimming
Painting & finishing touches!
This step was a mixture of spray base paints and airbrushed custom details. I started off with primer and then built up colors with airbrushing to create layered and textured colors. I love painting the most because it brings the whole project to life!
Then I sealed everything up with a matte sealer and attached straps, foam padding, and rigging to put the whole costume together.
Finished paint job

Related costumes:
 Awesome Homemade Cthulhu Costume with Full Latex Body Suit
  Coolest Homemade Captain Rex Costume for 10-Year-Old
  Awesome Homemade Sauron Costume from Lord of the Rings
  Awesome 3D-Printed Star Wars Captain Phasma and Kylo Ren Costumes
  Homemade Teen Wolf Costume
  Coolest Homemade Amy the Vampire from Fright Night Costume
  Awesome Homemade Slimer Costume from Ghostbusters
 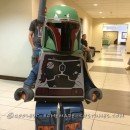 Coolest Lego Boba Fett Costume
Your comment has been sent successfully.