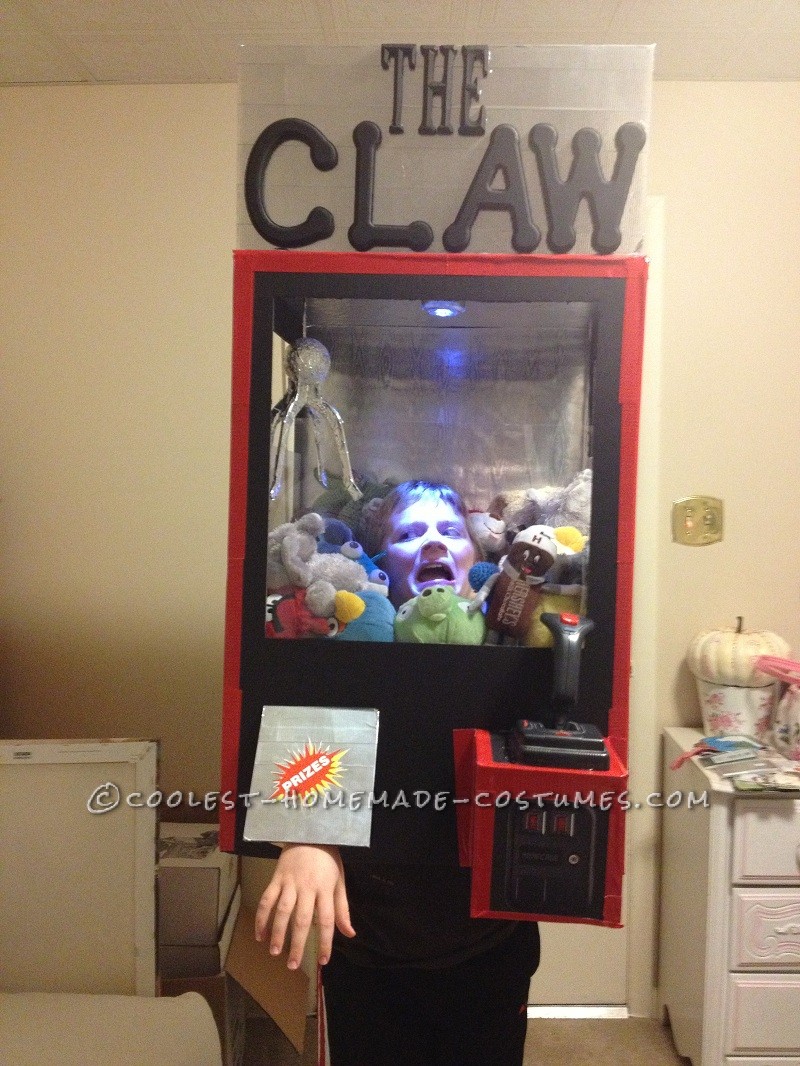
My son, Jackson, decided he wanted to be The Claw Machine for Halloween. I was a bit intimidated in the beginning. I started thinking through how to build the costume in my mind, trying to predict any difficult areas; and there appeared to be a lot of possible difficulties. We went together to buy the supplies. I must have asked Jackson 20 times if he was really sure this is what he wanted to be before I made the first cut. He was adamant that he wanted to be The Claw.
1. The first cut is the deepest
I bought extra foam core so I could safely screw up the first piece or two. I measured it and started cutting out the windows with an xacto knife. I cut windows in three of the pieces of foam core. I was able to return the extra pieces since I didn’t screw up a single cut.
2. Thinking outside the box to build a box
I covered the back piece of foam core in silver wrapping paper so it would look like a mirror and began gluing the sides together and reinforcing the corners with duct tape. The duct tape was also to add some decoration.
3. This ain’t No Elf on a Shelf
The stuffed animals had to have a place to sit and the entire box had to sit on Jackson’s shoulders, hopefully comfortably. I cut pieces of foam core to make the shelves which held the stuffed animals and also fit perfectly on Jackson’s shoulders.
4. Shedding some light on the project
The lid was also covered in silver wrapping paper so it would reflect the light we put on the ceiling. The light is just a simple tap light glued to the inside of the top.
5. Can’t have a Claw Machine without a Claw
The claw mechanism is made with plastic coat hangers covered in silver duct tape and glued to a foam ball which is covered in aluminum foil. The claw is hung from the ceiling by a piece of plastic covered in silver duct tape.
6. It’s all in the details
The sign was made with wooden letters which were painted black and glued onto a piece of foam core which had been covered in silver duct tape. The front of the machine has a prize door which was cut out of the front piece of foam core and covered in silver duct tape. The joy stick was glued to a foam core box and attached to the front of the machine. The front of the joy stick box has a picture of quarter slots.
That’s pretty much how it was built. Once it was all put together, we added the stuffed animals of course. My favorite part was building the shelves. I thought that would be the most difficult part but it went together so perfectly. Every step was exciting because it was coming together just as I had pictured it. Seeing the joy in my son’s face as he watched it all come together was great. I think he had his doubts in the beginning but I came through and now he agrees his mom has some great crafting skills.

Related costumes:
 Claw Machine Costume – Clawing my Way to the Top
 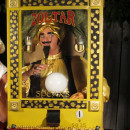 Cool Zoltar the Fortune Telling Machine Costume
  Cool DIY White Claw Machine Costume
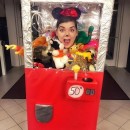
 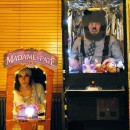 Interactive Arcade Game Couples Costume
 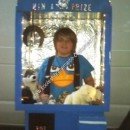 Coolest Homemade Kid in a Claw Machine Halloween Costume Idea
 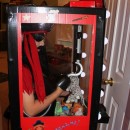 Coolest Homemade Captain Claw Pirate Crane Machine Costume
 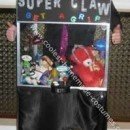 Coolest DIY Claw Machine Halloween Costume
  Coolest Homemade Vending Machine Costume
Your comment has been sent successfully.