
Hi, my name is Karli and I’m 15. Last year for comic-con I decided I wanted to go as Zelda from Twilight Princess. However the year was so busy I couldn’t finish the costume in time. Never giving up I decided to continue working on the costume for this Halloween (and eventually this year’s comic con) after an incredibly long process (and many, many hours), I finished the costume (only a week before Halloween I might add). I absolutely love Zelda and this is the coolest, most complicated and most difficult costume I have ever made. I hope you like it!
I thought I would give a “how this costume is made” first, so here is how this costume came to life.
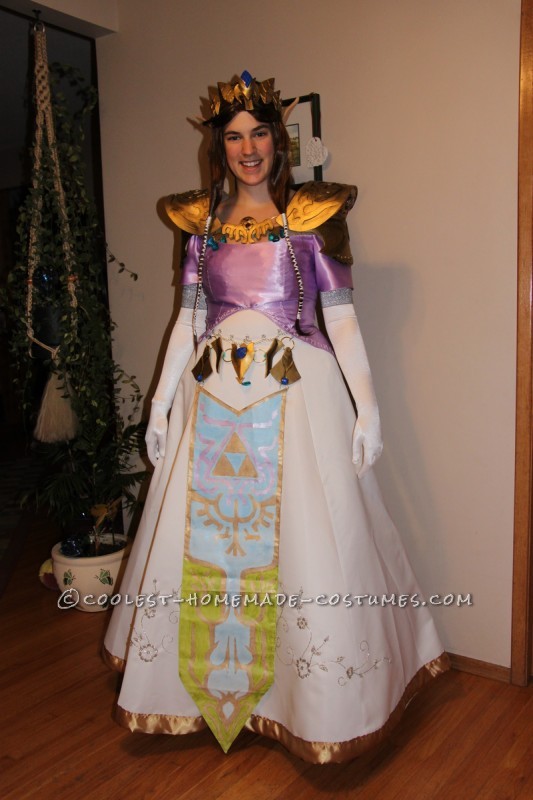
finished costume
Part one: The Dress
The dresses for me were the most daunting. I have never been any good at fitting things properly. In the end I found some old dresses and altered them drastically. The white dress started as a wedding dress with a huge train. Zelda’s dress had no train so I had to cut the dress down to all one length, sewed it and put the gold hem on it. The other issue was that the dress didn’t actually fit so I had to alter the back to incorporate a corset style lace up back. The purple top vest part actually started as a full length dress with a full skirt. First I had to cut, pin and hem the dress to the right length and style. Next I looked up the Hylian (Zelda) writing and embroidered it on all the edges and on either side of the zipper on the back (this part took the longest and was by far the hardest as this is the first time I had embroidered anything in my life). Now the dresses were finished.
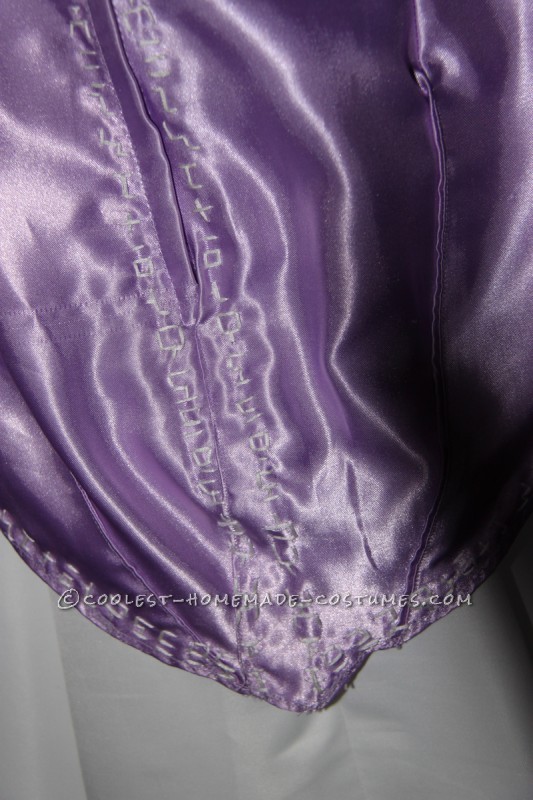
Embroidery on purple piece
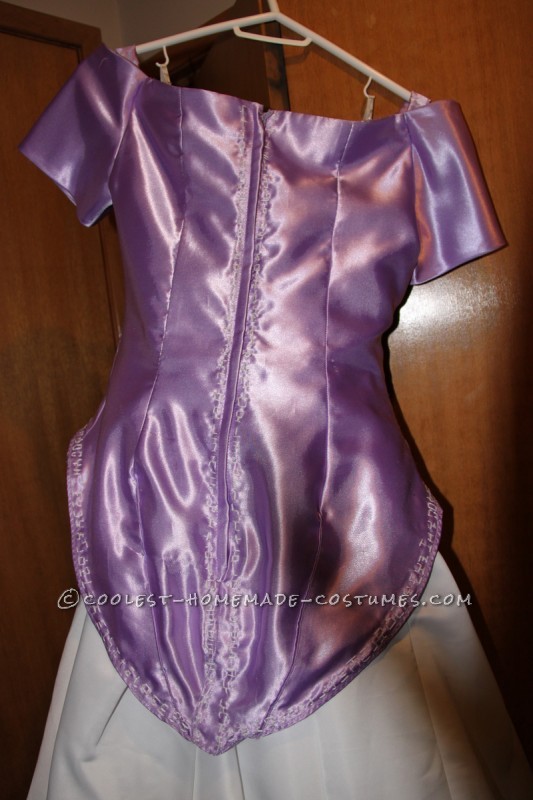
Purple piece (back)
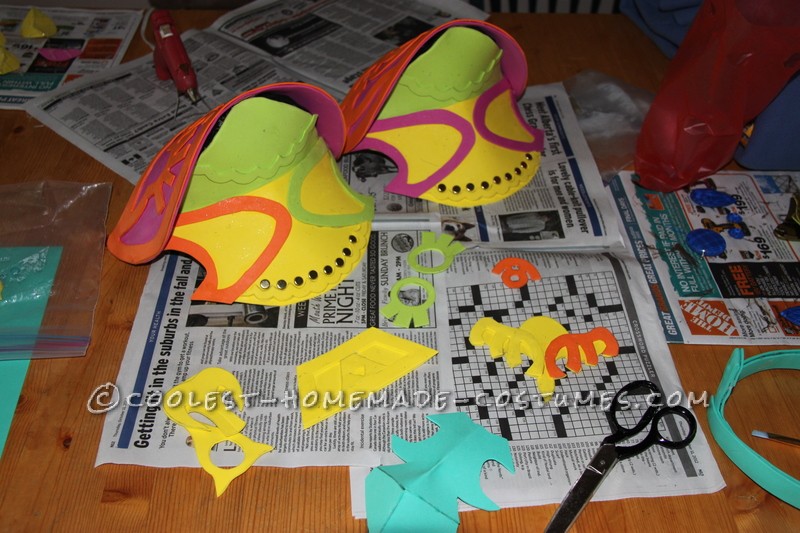
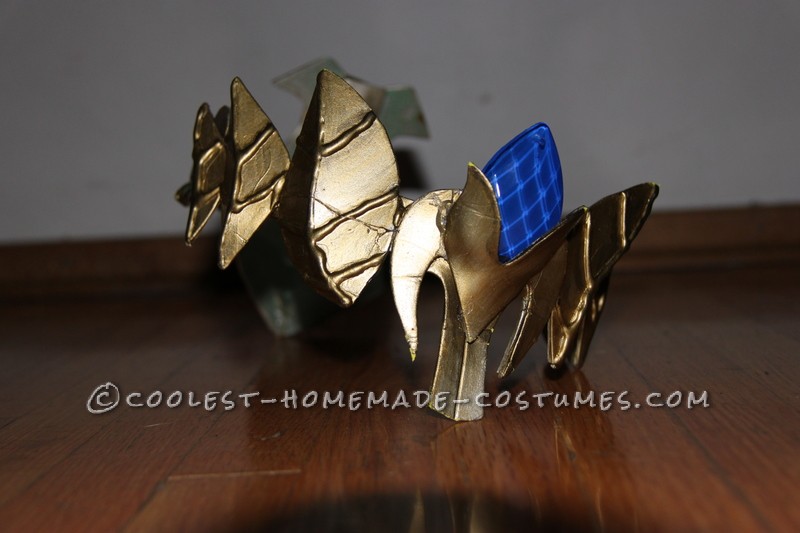
Part 2: The armor (Pauldrons, Crown and Belt)
This was complicated. Finding all the pieces was difficult on its own and took a few weekends. If you’ve never made foam armor before, it’s not easy. First you cut out all the pattern pieces from craft foam, gluing the details on top of the flat pieces and glue gunning pop up pieces together so they actually pop up. Next you coat every piece of craft foam in Elmer’s glue so the paint will stick to it. After that I put the pauldrons (shoulder pieces together. This involved a lot of glue gunning, some felt, some sponges some gold push pins and me yelling a lot when I burnt myself on the glue gun).
I also put the crown together at this point. I shaped a wire around my head glued strips of craft foam on either side of the wire and glued on all the crown details. At this point everything looks really weird because it’s all in multiple colors of neon craft foam. Now I painted everything with 2 layers of gold acrylic paint and painted the edges with black acrylic. Next I went over everything with gold spray paint to make it shimmer, another layer of black around the edges and a third layer of gold acrylic.
Then I attached the gems and jewels (some of which were glass beads but most of which were clear crystals from an old chandelier that I painted blue on the back) and then attached the pieces that go on over top of the gems. I also attached all the pieces together using rings and strips of craft foam. Now I had my armor finished.
aurmor in progress
Finished crown

Finished pauldrons
Part 3: The banner
Now I can’t draw. So having to draw and then paint a complicated Hylian banner made me nervous. I took some thick fabric (it might have been canvas I’m not sure) and cut and hemmed the shape I wanted. Next I penciled in the design and painted in the colors that needed to be put in, fading out the blue as I went. I attached the banner with more strips of foam and rings to the belt.
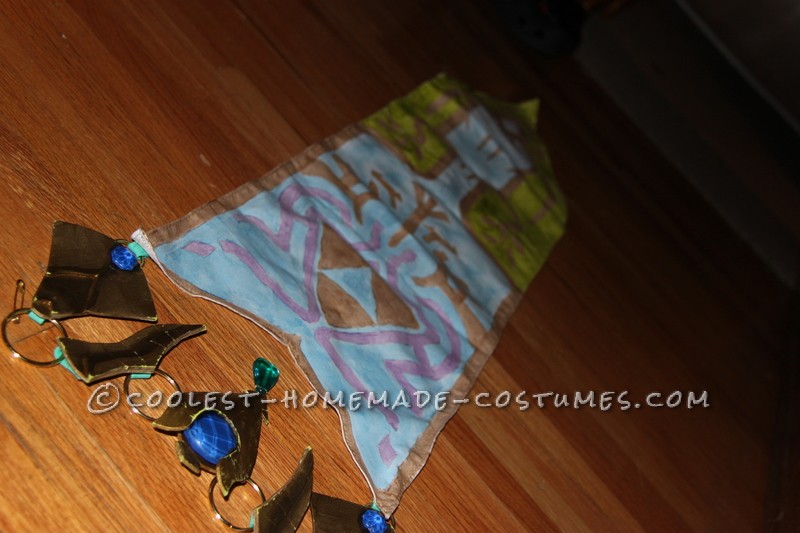
Finished banner and belt
Step 4: Final touches (everything else)
The ears: I took 12 gauge wire shaped it around my ears and then shaped on the long pointy ear shapes. Next I covered them in skin colored felt leaving flaps that covered my ears. (They got taped to my face.)
The gloves: I ended up buying some used opera gloves from a garage sale and sewing strips of wide silver elastic into rings that fit the tops of the gloves.
The wig: I have short red hair and Zelda has long brown hair. So I got a long brown wig. I had my little brother ware the wig while is styled it with some white ribbon and brown elastic.
The crinoline: I thought about trying to make a crinoline but the material and style is complicated so I found a second hand full length one.
The sword: I just recovered a sparing sword I had in paper and then covered the paper in purple and gold duct tape.
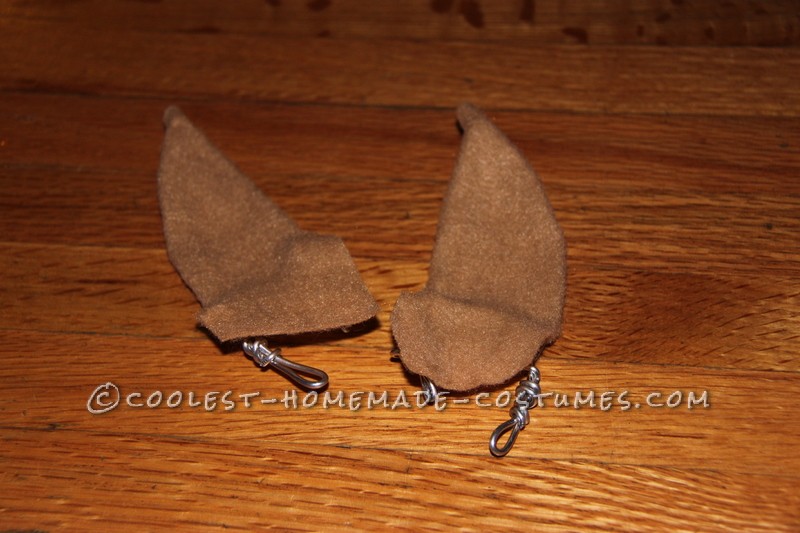
Finished ears
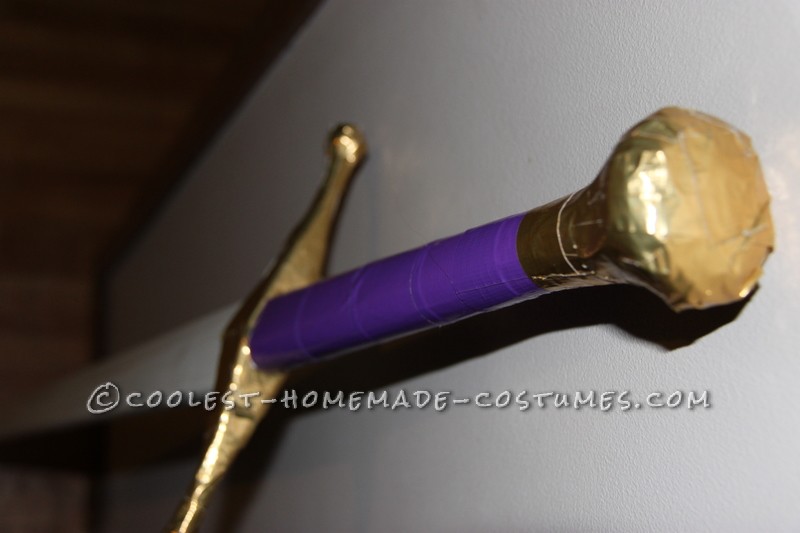
Sword
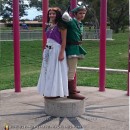
Zelda In action
Now that I had my finished Zelda costume I was ready for Halloween. I wore it to school, to a few parties and trick-or-treating. I got tons of compliments but most people had no idea who I was. My favorite part was trick or treating when a guy would come to the door and say, “Wow awesome Zelda costume” and we would talk for five minutes about what games we had played. I met some really awesome Zelda fans at school as well. At the party I went to my favorite part was when all the guys understood but none of the girls did. At school one of my friends dressed up as link and we entered the costume contest together (we didn’t win). It was so cool and so much fun. Her costume was entirely homemade as well. This costume was so much fun to make and the reactions from the people who understood were just fantastic. I can’t wait for comic con this Year.
Zelda
(P.S. I would love to have included more photos but these are the 10 I chose to best represent my costume)
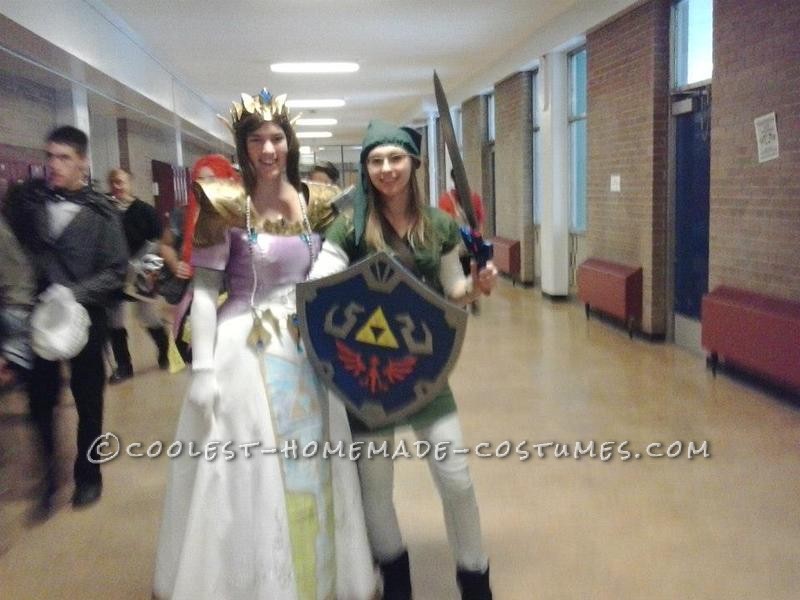
Me and my friends at school.

Related costumes:
 Link and Zelda Couples Costume
 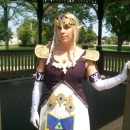 Coolest Homemade Princess Zelda Costume
 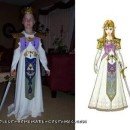 Princess Zelda Nintendo Character Costume
 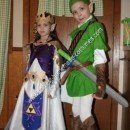 Coolest DIY Zelda and Link Child Halloween Couple Costume Ideas
 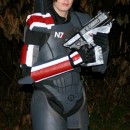 Epic Female Commander Shepard Costume from Mass Effect
 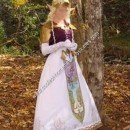 Coolest Homemade Princess Zelda Halloween Costume Idea
  Homemade Link from Zelda Costume
 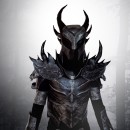 The Elder Scrolls: Skyrim Homemade Daedric Armor Costume
Hey! Where’s my credit? I AM the one who stood on a two-by-two stool for HOURS while you altered the damn thing! ;)
great dress, please sell it to me