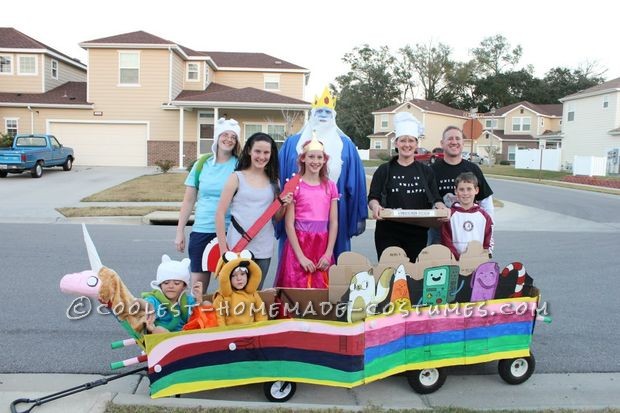
This was the best Halloween idea we have done so far. We LOVE Adventure Time and there are lots of people online who have made costumes and some have even posted the instructions for others to follow. I used some of these posts and added some of my own.
I was Fiona and my boys were Finn and Jake. Their dad was Ice King and some friends were Bubblegum and Marceline. We made Lady Rainacorn out of cardboard to fit over 2 wagons tied together for the boys ride in. Originally that was all we had planned but it developed from there. By the end we had trick or treat bags painting with characters, painted characters riding Rainacorn, Adventure time theme music playing with video displayed at the back of Rainacorn, and a poop machine so that she pooped unicorn poop cookies!
We loved it and attracted a lot of attention. We had kids trailing after us waiting for Rainacorn for poop again, ignoring their parents calling for them to come back. We ran out of cookies before we were half way done trick or treating and starting using our candy for poop. We were stopped several times for photo ops, one mother even hunted us down in her car to get pictures of her child with us. The Ice King costume was by far everyone’s favorite. I’m proud of that because it was the one costume I made without following what someone else already did.
Step 1 – Lady Rainacorn build: side panels
Lady Rainacorn was built using cardboard and hot glue over 2 wagons tied together with some fabric for the tail and mane.
1. Measure your wagons. How long are both together when tied? how long is each one? The height from top of wheels to top of side. The width from side the side. The length of the side of the interior.
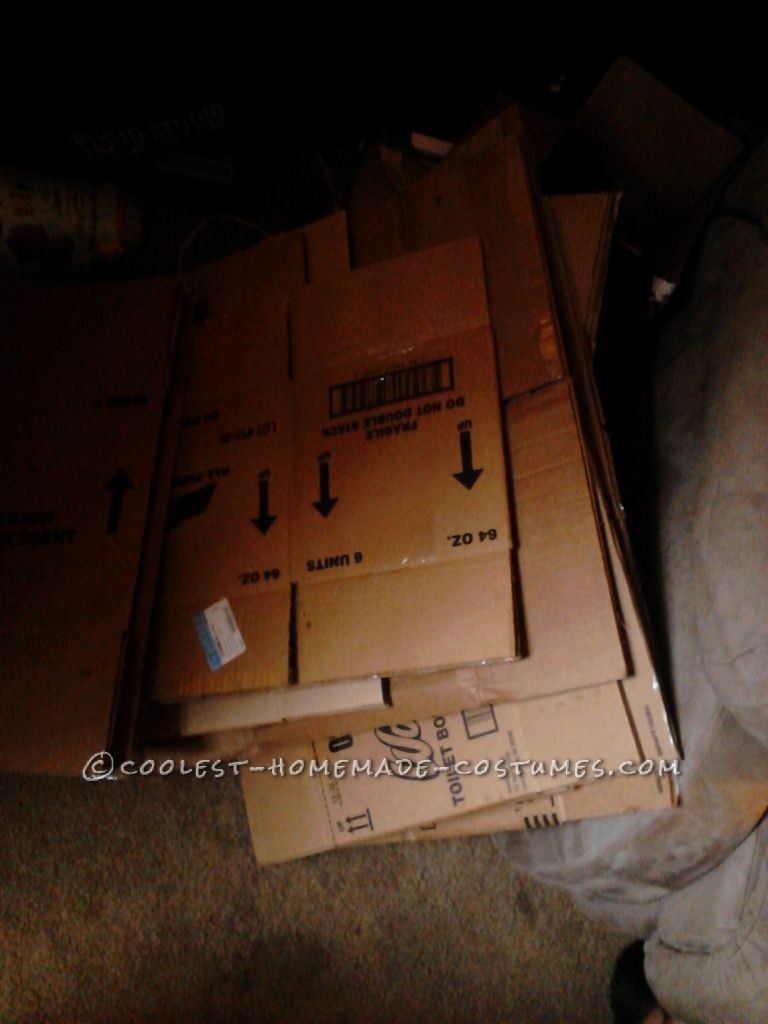
2. Get lots of cardboard.
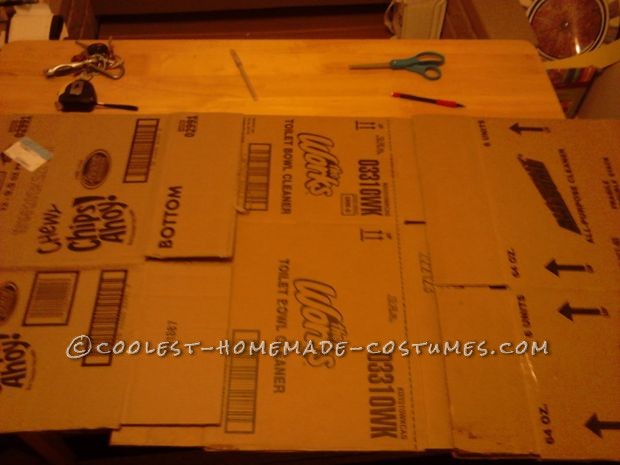
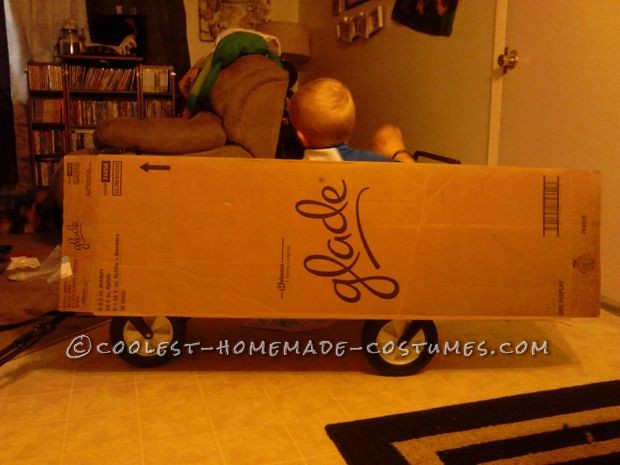
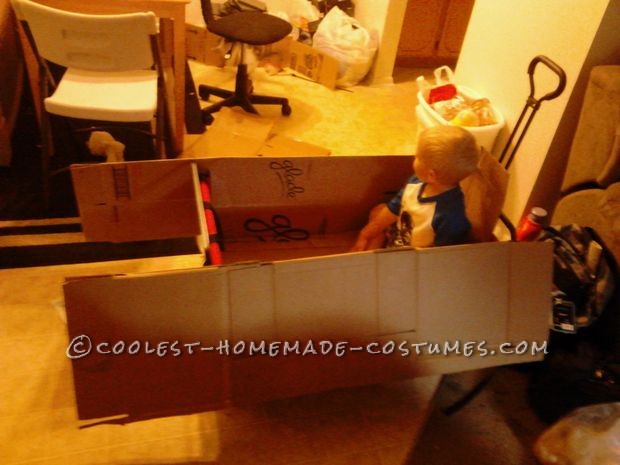
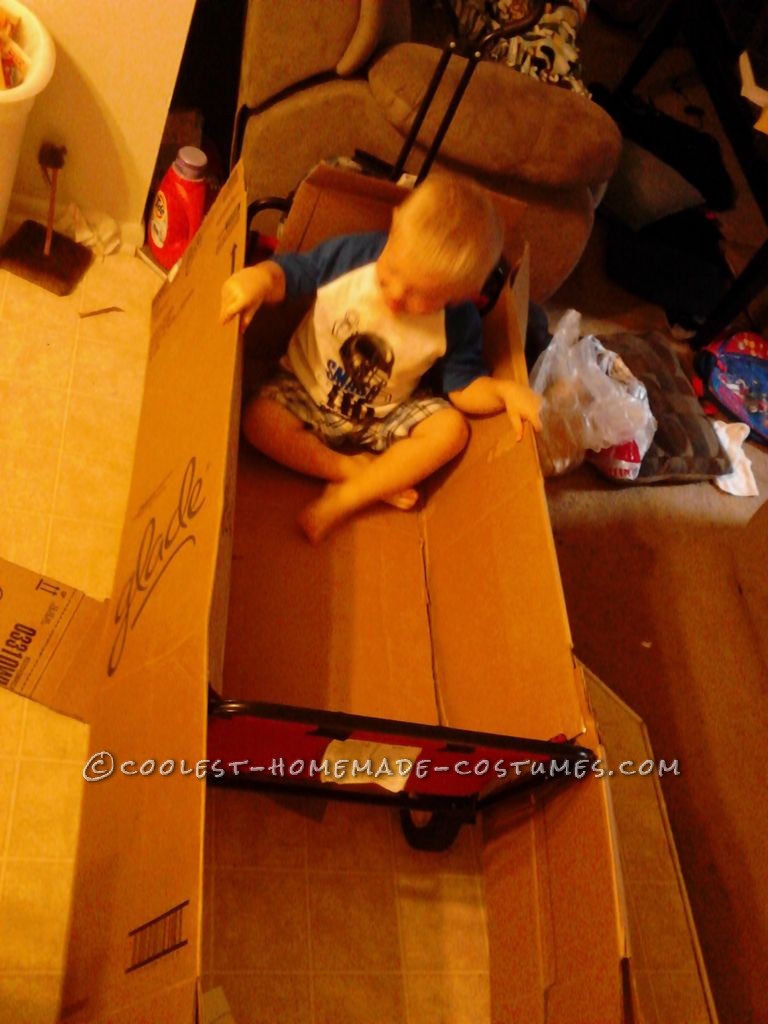
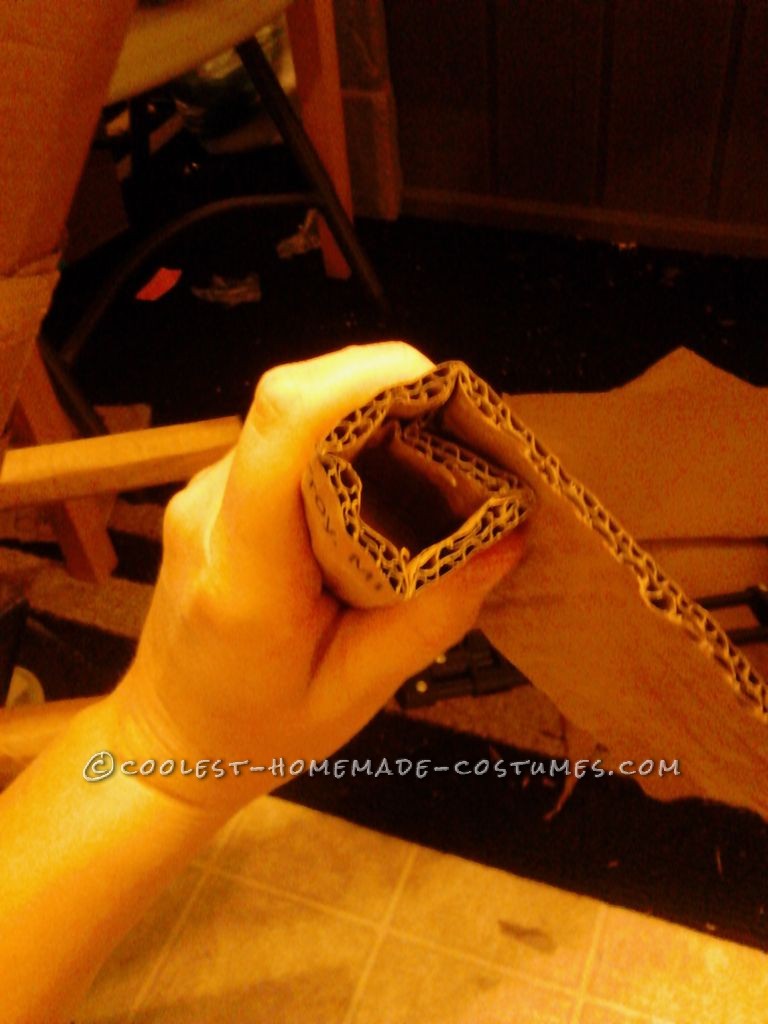
3. You need to make the side panels. You will need 4 of them; one for each side of each wagon. They need to be the length of the wagon plus a little more past the end in the front and past the back halfway to the front the second wagon. The height needs to be as such that it doesnt go past the wheels. Find out how long this will be and get a box that is this length and cut one edge so that it is one long peice folded in half. If you dont have a box big enough, you can take smaller boxes, cut one edge of each one, line them up to the correct lenght and hot glue them all together on each side. See images 3 and 4.
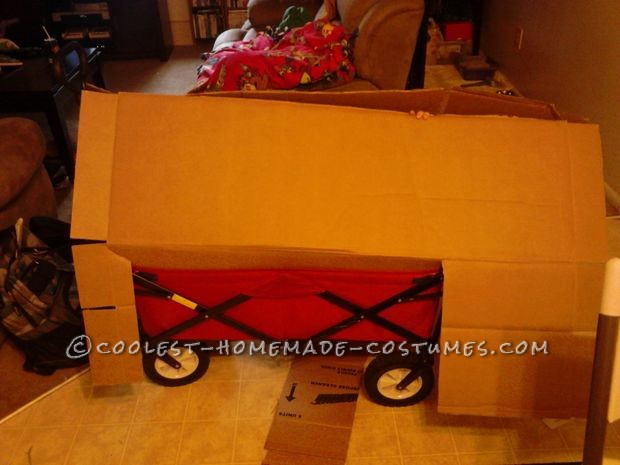
4. now we need to cut a flap in one side of the side panel to the size of the interior length of the wagon so that the flap will insert into the wagon and the other side of the panel will hang on the outside of the wagon. Measure this length either by meauring tape or by holding your panel to the side of the wagon and marking the measurement on it. The flap needs to be placed so that the panel extends a little past the front and the rest past the back. See images 5 through 8
5. Do the same thing for the other side of the front wagon.
6. The side panels for the back wagon are done the same way except that the panels will extend only a little from the back and the rest from the front.
Step 2 – Lady Rainacorn build: front and rear panels with legs
Now we need to make the front and back panels.
1. Cut a peice of cardboard to the size of the front on the front wagon and a second peice to the size of the back of the back wagon.
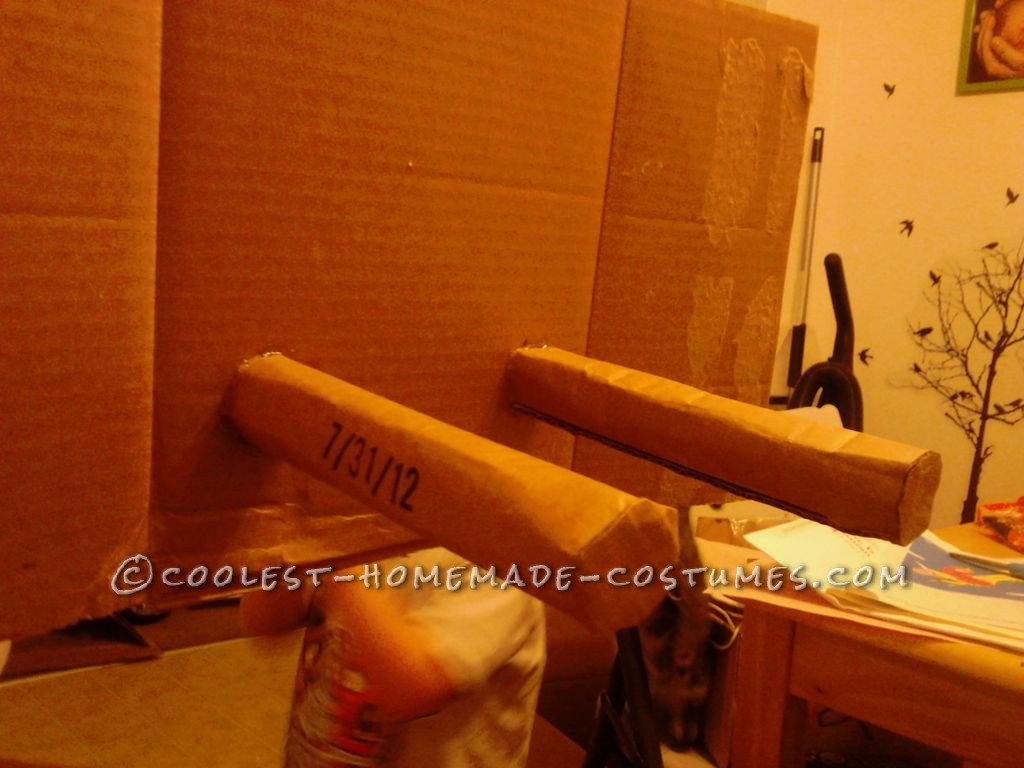
2. Decide how long you want your legs to be and cut a strip of cardboard to that length. Cut it wider than you think you will need because you can trim it later.
3. Bend the cardboard so that it will wrap around into itself to make a cylinder. Hot glue the edge and cut off the excess.
4. Cut a small circle from coardboard to fit over the opening of the cylinder and hot glue the circle in place. Then trim the excess of the circle.
5. Repeat these steps 3 more times so you have 4 legs.
6. Line up the placement of the legs on the panels and hot glue in place.
Step 3: Lady Rainacorn build: head and neck
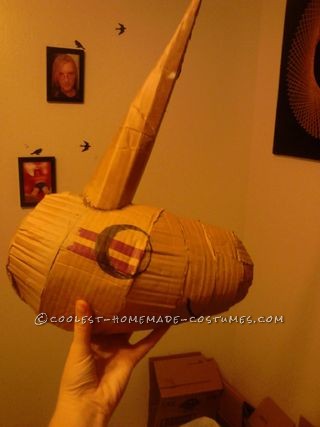
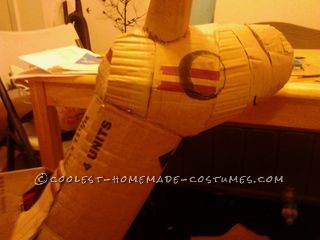
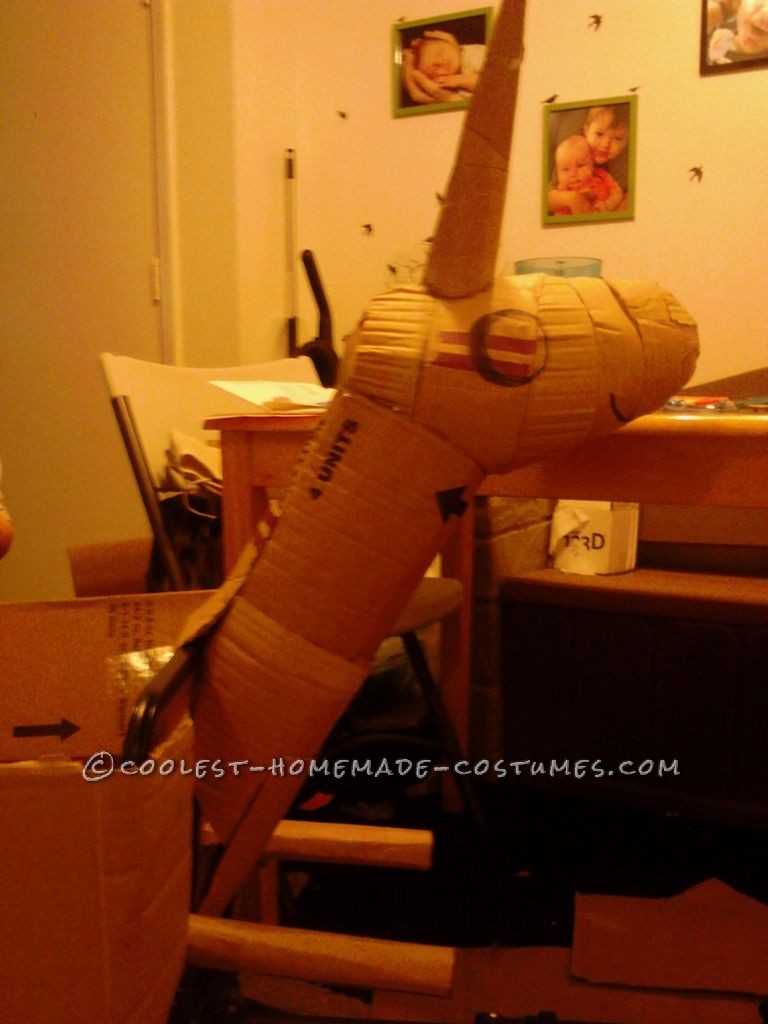
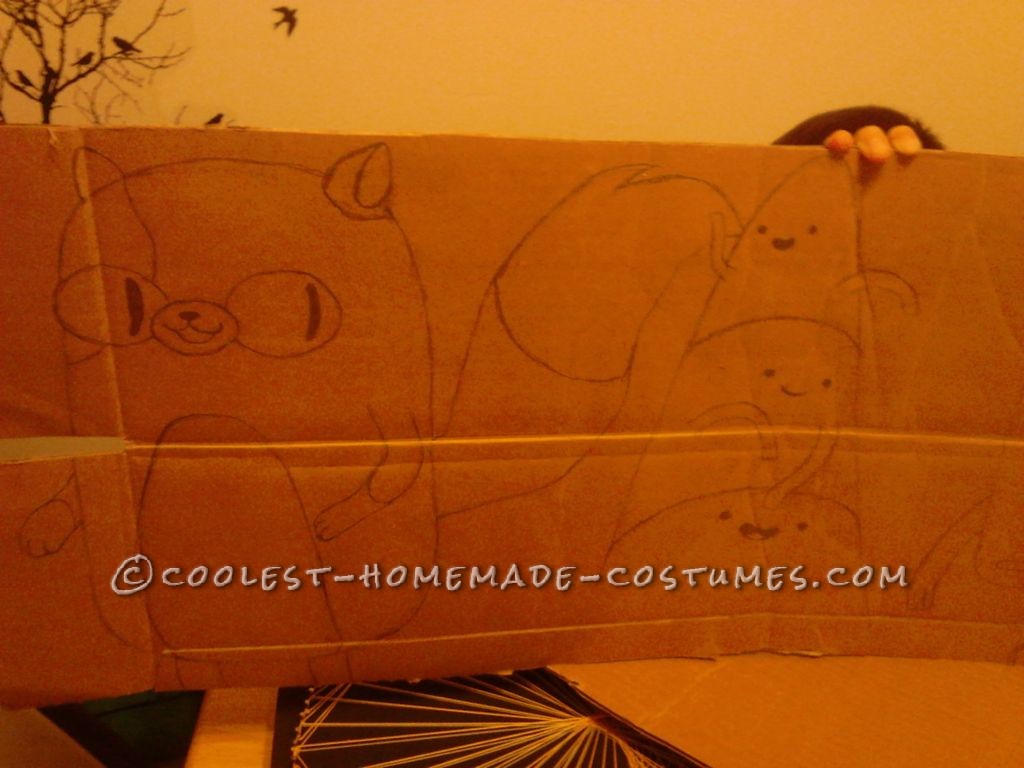
Now to build the head. I debated the material to use. I was considering paper mache, plaster strips over tin foil, and chicken wire and tissue paper. I decided to just do it in cardboard. Making rounded things is not my forte in cardboard but I’m happy enough with it.
First, I drew out the profile view of the head on cardboard and cut out two copies.
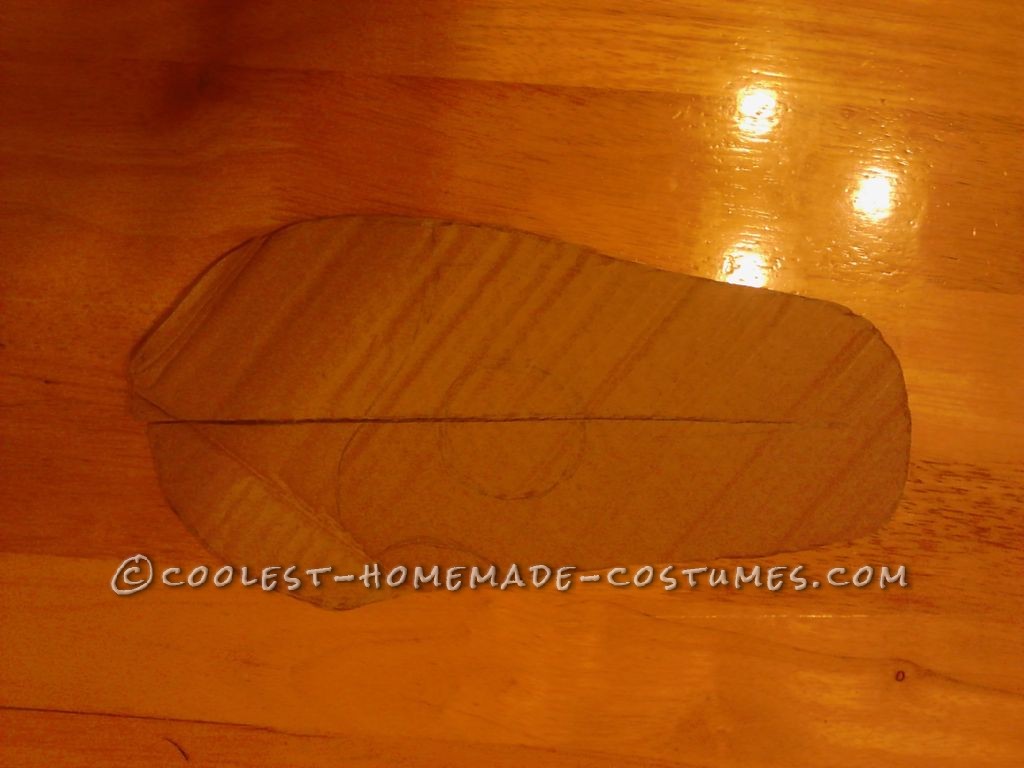
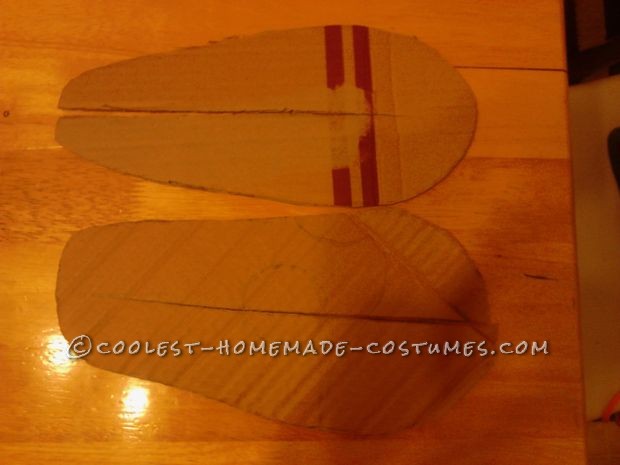
Then I cut a slit up one copy from the nose to a little bit away from the back and cut a slit in the other copy in the reverse, from the back to a little bit away from the nose. Then insert them into each other to make a cross section and hot glue them into place.
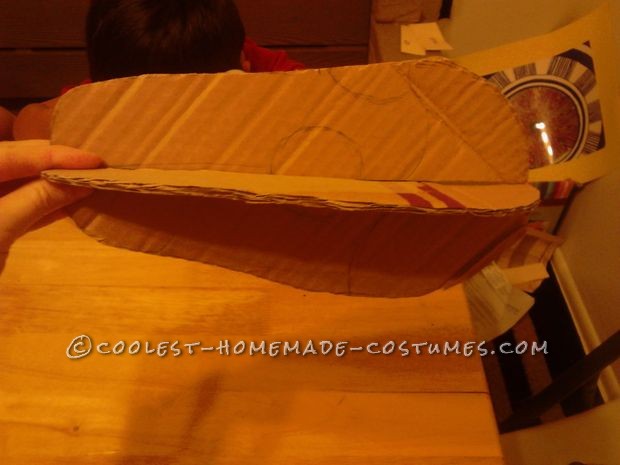
Now cut out long strips of whatever width you want. These will be hot glued to the edges of the cross section. See images Lady Rainacorn homemade costume making the head
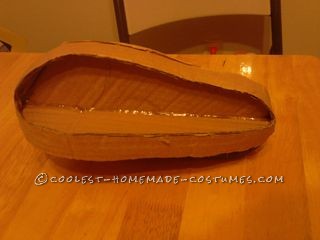
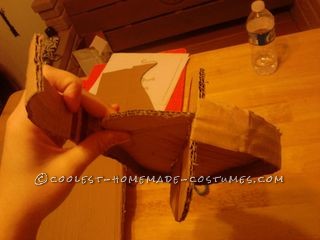
Here is where it gets hard. Cut strips of whatever length and width will work for you and start wrapping them around the form, hot glueing them to the boarders made in the last step. Keep adding strips until the entire form is complete. See images 5 through 7.
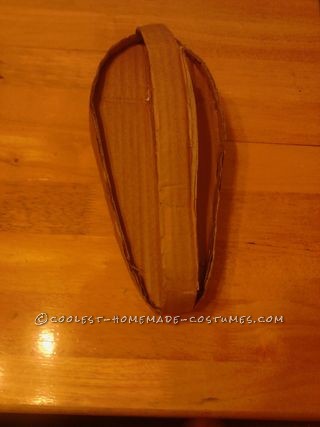
To make the horn, do the same thing you did to make the legs except cut and bend to make it pointed instead of round and blunt. Test the placement and cut the bottom of the horn in an arc so that it fits flush with the head at the angle you want. Hot glue it into place.
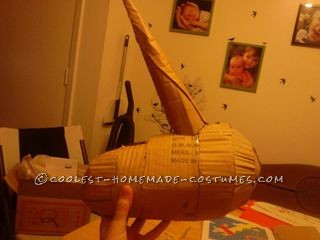
Draw on the eyes and mouth.
Neck
Cut a strip long enough to go from the head to the wagon to be the length of the neck you want and wide enough so that the edges meet so that the neck is as thick as you want. Bend the cardboard so that it wraps around like we did to make the legs and hot glue the ends together to make a cylindar. Place the head and hot glue it in place.
Test the placement against the wagon and cut the bottom of the neck at an angle so that the neck aligns with the wagon at the angle you want the neck to be.
Step 4: Lady Rainacorn build: extra passengers
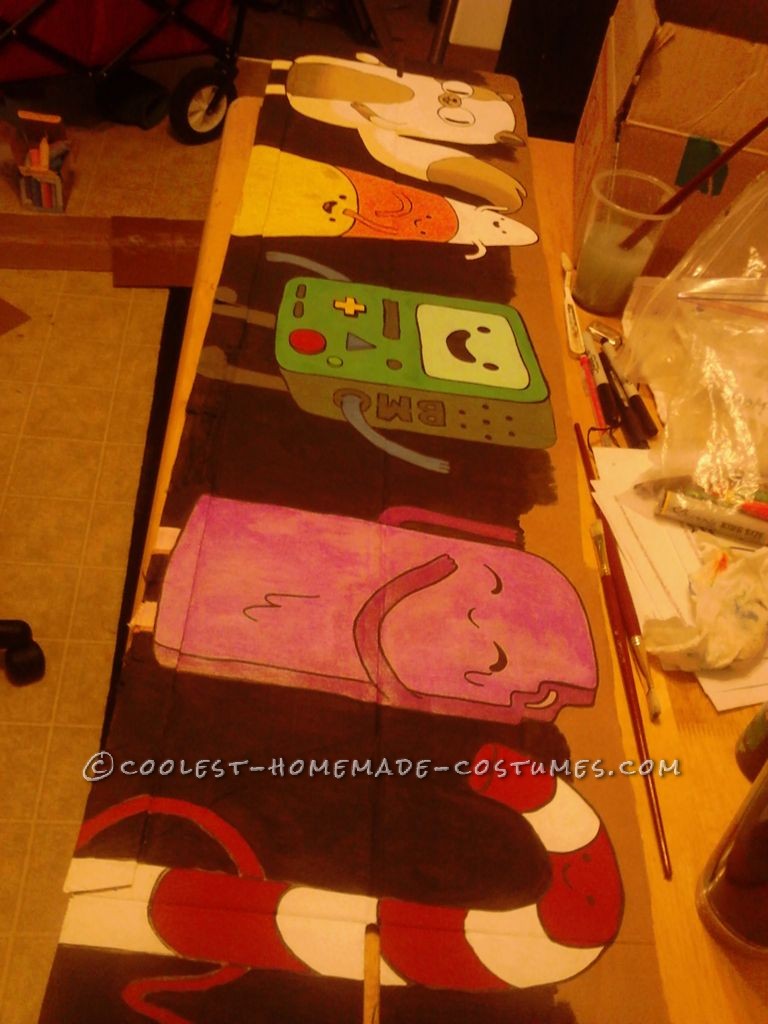
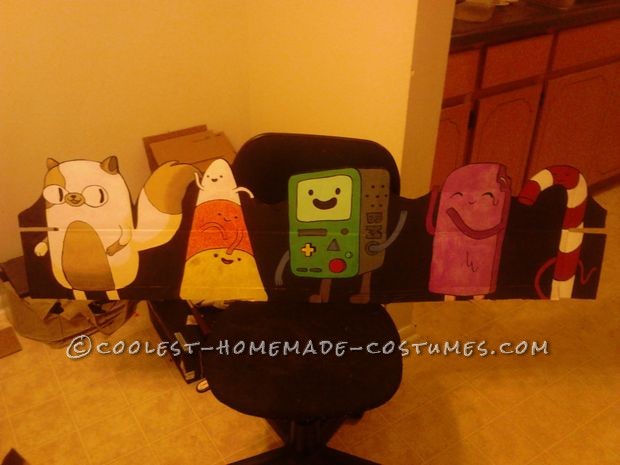
Since we were going all out and had other people joining us to represent the characters, we decided we needed to represent as many characters as we could in other ways. So, I chose some characters and did so.
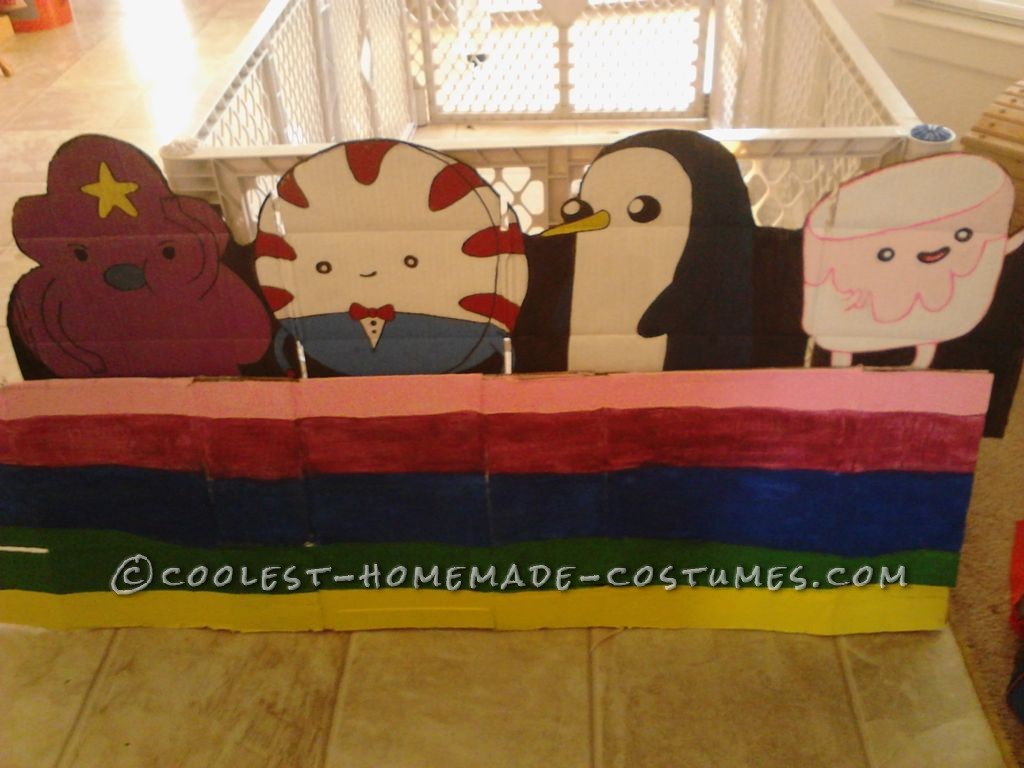
Get 2 lengths of cardboard that is about as long as the side panels. Draw the characters you want Paint the characters and paint the background black Cut the cardboard down around the heads of the characters (if you want)
When finished, you’ll have a set of characters to “ride” in the back wagon on either side. Just position and hot glue the bottom section of the character strip to the inside top of the side panel.

Step 5: Lady Rainacorn build: assemble and paint
All the parts are made!! Woohoo!! Now time to assemble them. You can either assemble them and then paint, or paint and then assemble either way. I painted the front half assembled and the back half unassembled and the stripes didnt exactly line up.
Draw out the stripe placements on the neck, front, back and all side panels. Try to make the stripes on the front wagon line up with the ones on the back wagon. Paint it all. The head is light pink, the horn is white and I used a photo as reference to paint the stripes which use light pink, dark pink, blue, green, yellow, and red.
Assemble the pieces. Start with the side panels, then add the front and back panels and then the head.
The side panels should just sit without any other attachments.
You can hot glue the little bit of the side panel that extends past the front to the front panel to hold it place. Don’t glue the side to the back yet because you will need to remove the back panel to put in the poop chute later.
My wagon has a metal bar that was a convenient way to attach the neck. I just cut a strip of cardboard and hot glued one end to the neck under the bar. Then lay the strip over the bar and hot glued it to the neck above the bar so that the bar kept the neck in place. This way it is easy to disassemble to transport and then just re glue it. If your wagon isn’t like mine, you can just hot glue the neck to the front panel.
To connect the two wagons together, We attached the handle of the back wagon to the bar at the bottom in the back of the front wagon using metal clips and zip ties. We tried attaching the side panels in the front to the ones in the back but the wagons wouldn’t turn well so it’s best to leave them unattached.
For the tail and the mane, I used a furry fabric. Just cut the shape you want, arrange it how you like and hot glue it in place.


Step 6: Poop Machine: the conception
So, I’m not very knowledgeable about electronics…. but I wanted Lady Rainacorn to actually “poop” the awesome unicorn poop cookies created by kristylynn84. <——- total inspiration for the creation of the poop machine
You can follow her instructable on unicorn poop cookies here: http://www.instructables.com/id/Unicorn-Poop/
The first step was coming up a design that would drop cookies. I wanted the cookies to be loaded into this device and one at a time over an interval be dropped down a chute out the back end of the wagon right under her tail.
The design I settled on was a conveyor belt. I wanted to make it as long as possible and still fit in the wagon so the maximum amount of cookies could be loaded at a time. For the original plan, I wanted it to run on an interval in which it would spin one rotation to drop one poop and then wait about 5 minutes before rotating again. I was thinking that this could be accomplished with a servo and an arduino.
I got the servo and arduino wired up with the example sweep code and tried to alter it to spin 360 instead of 180, but I did not know that the servo was made to only turn 180… so not what i need. I found instructables on how to modify a servo for continuous rotation. Being the electronically impaired person I am, I went to a friend for help. Using a combination of 2 instructables and a bit of his own tinkering, his Lord of Awesomeness got it to turn 360 continuously! The down side was that it wouldn’t stop. Somehow we lost the control. It wouldn’t follow any code we tried at all.
So, we decided that was ok, it would still turn the conveyor belt. We were considering just adding a toggle power switch that we could discretely activate. Not as cool as the unicorn pooping on its own when none of us were around it but it would work.
However, while trying to use a power source other than the arduino, we accidentally fried the servo with too much juice. There wasn’t enough time to order another one and modify it and finish the build before Halloween, SO…on to Plan C.
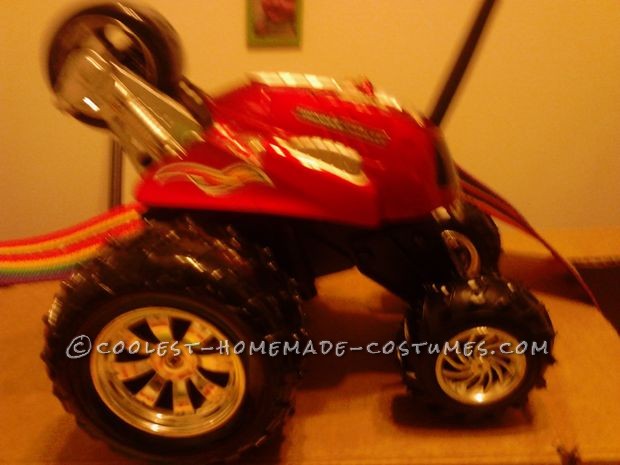
Plan C: Still using the conveyor belt, we used a remote control car to provide the rotation. All we had to do was tape the wheel to the spool we used as a wheel for the belt and figure out how to mount the car in the build to allow for the rotation.
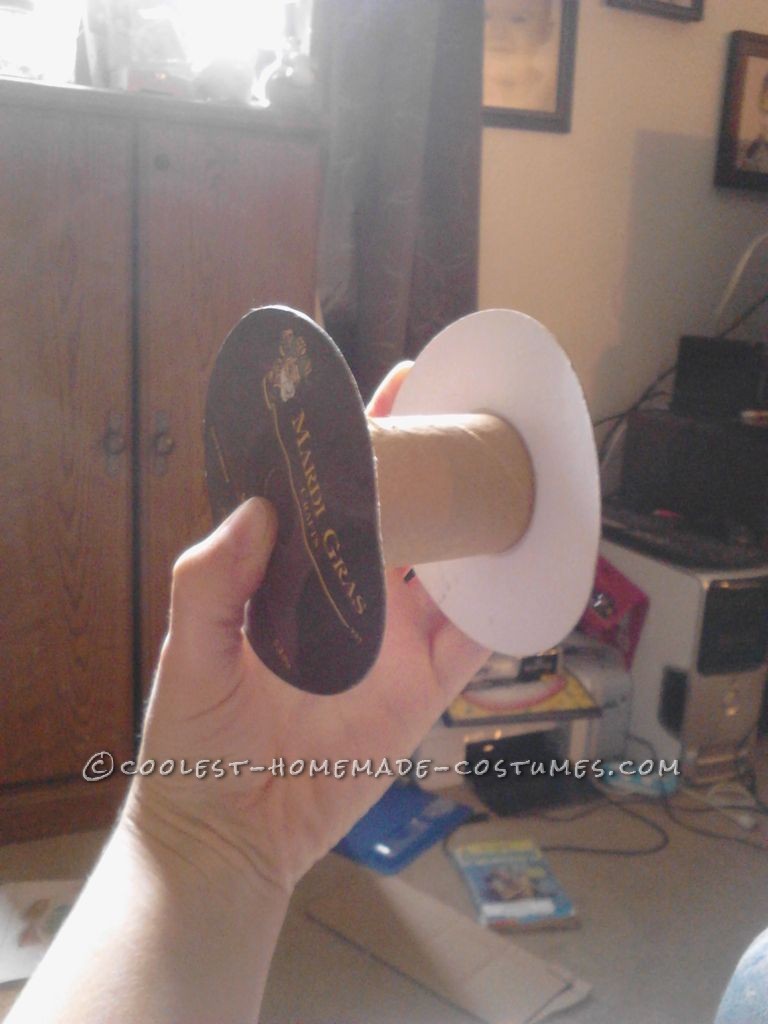
Gather your materials for the poop machine build:
Remote control car and controller 2 cardboard spools (i think used to hold ribbon) Nylon webbing (like on backpack straps) needle and thread Unicorn poop cookies (materials needed are in that instructable) cardboard hot glue gun and glue sticks scissors/ box cutter duck tape

Related costumes:
 Creative Tim Burton’s 9 the Movie Costume
  What if Iron Man Needed Sponsors? The Iron Can Costume!
  Coolest Homemade Scarecrow Stalker Optical Illusion Costume
 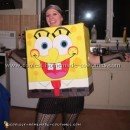 65+ Coolest Homemade SpongeBob Costume Ideas
 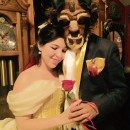 Tale as Old as Time – Beauty and the Beast Couple Costume
 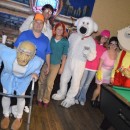 Awesome Family Guy Group Costume
 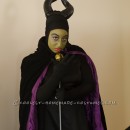 Homemade Maleficent The Magnificent Costume
  Make Your Own Awesome Minion Costumes
Your comment has been sent successfully.