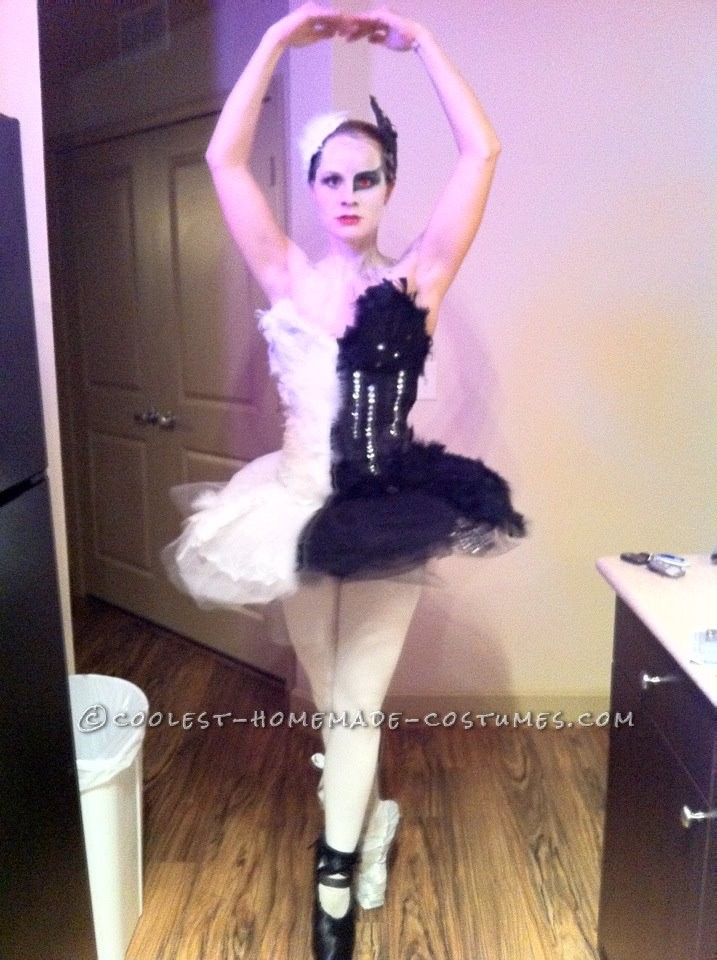
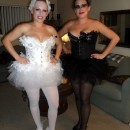
Originally, I just wanted to do the black swan, and wondered how I could set it apart from other black swan costumes…I wanted to show both sides, and make it really cool looking. My favorite part about the whole costume is the one red contact. It just gives the look that edge.
Materials:
- Black night gown from thriftstore – $3 (had a 1/2 off sale)
- White night gown from thirftstore – $3 (had a 1/2 off sale)
- Red costume contacts – $16
- Gemstones/Bling I already had from the year before
- Ordered black/white feathers on Amazon in bulk – $15
- Corset from thiftstore – $5
- Tool from thriftstore – $5
- garage sale girl costume tutu – $3
- princess crown free box at garage sale
- black/white ribbon I already had
- white thick tights from walmart – $5
- Crayola air drying moldable black clay from Walmart – $4
Faux Point Shoes:
- Two Ice Cream Scoops $2 (99¢ each)
- Black/ White Ducktape $5
- Slippers from the thriftstore $1
- Black Fabric Paint I already had
Corset:
- Painted Half of the corset with the black fabric paint i already had. Kept the picture of Natalie Portman’s costume next to it.
- I cut off the lace from the two nightgowns and hot glued them on and started building the design I wanted on the corset.
- I layered on the lace, then the feathers, then the bling (a hot glue gun is not only efficient, but effective for a one night costume.
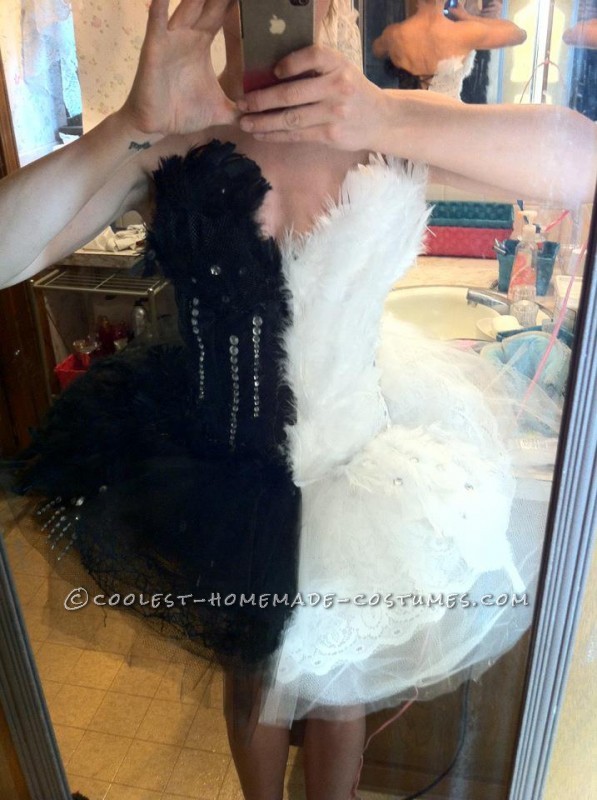
Front details
Skirt:
- I first studied an example of how you make a real ballet tu-tu.
- I took the part of the girl costume tu-tu, and used it as a base for the skirt.
- I layered on the tool, and then the feathers, and then finally the bling. It worked out perfect.
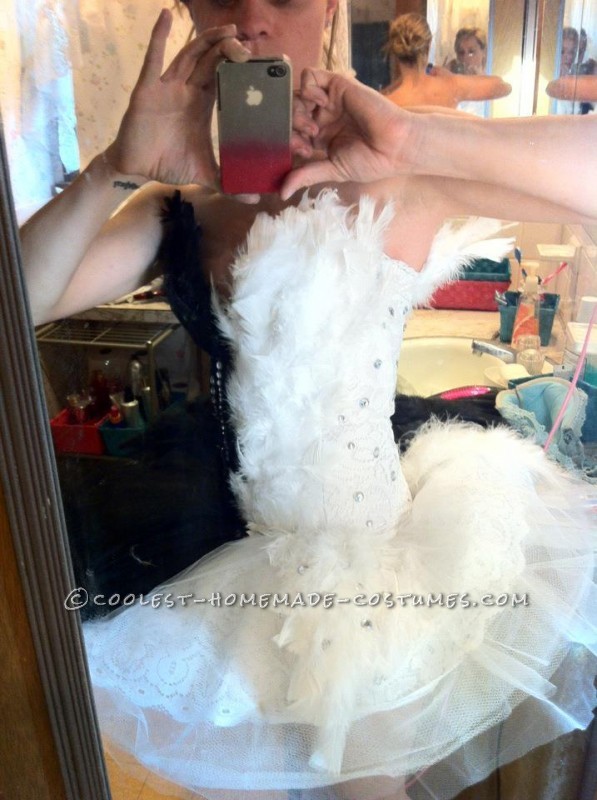
White Details
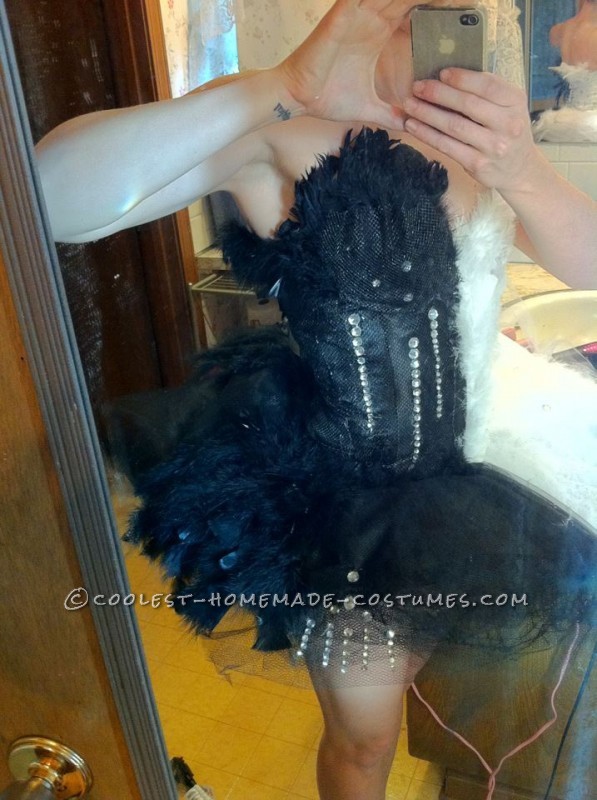
Black Details
Duct Tape Point Shoes:
- I widdled down the ice scream scoops so it was just round tips. To smooth out the jagged edge where I cut off, I just used a lighted to melt the edges until smooth.
- I followed this tutorial and started building one black shoe, and one white shoe.
- I also painted one of the slippers black before proceeding with the tape. I attached the ribbon to tights with hot glue so they would stay in place.
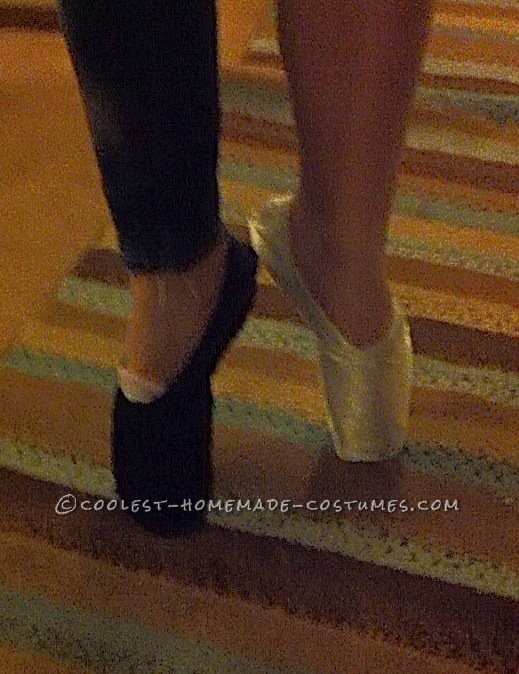
Finished Duct Tape Point shoes
Two-Sided Crown:
- I painted one side of the princess crown black to begin with, and the other side,
- I just covered, and layered, and molded with hot glued white feathers to get the shape.
- Then added the bling.
- The trick is to just put the headband on backwards to get the separate look.
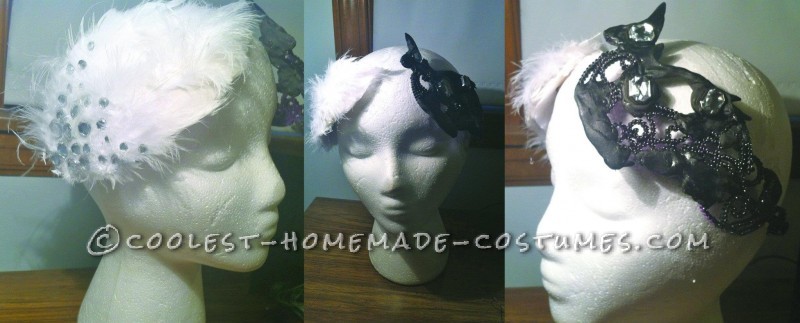
Finished Crown

Related costumes:
 Homemade Black Swan and White Swan Couple Halloween Costumes
  Original Costume Idea Based on the Children’s Book: Caps for Sale
 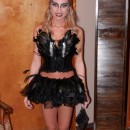 Do-it-Yourself Elegant Black Swan Costume
 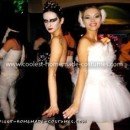 Coolest Black and White Swan Couple Costume
 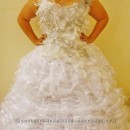 Girl on Fire Katniss Everdeen Wedding Gown Costume
 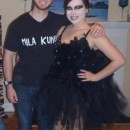 The Black Swan and Always Sexy Mila Kunis Costume
 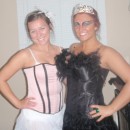 Black Swan Costume – Sexy Can Be WARM and COMFY Too!
  Super Original Queen of Hearts Costume – Make Heads Roll!
Your comment has been sent successfully.