
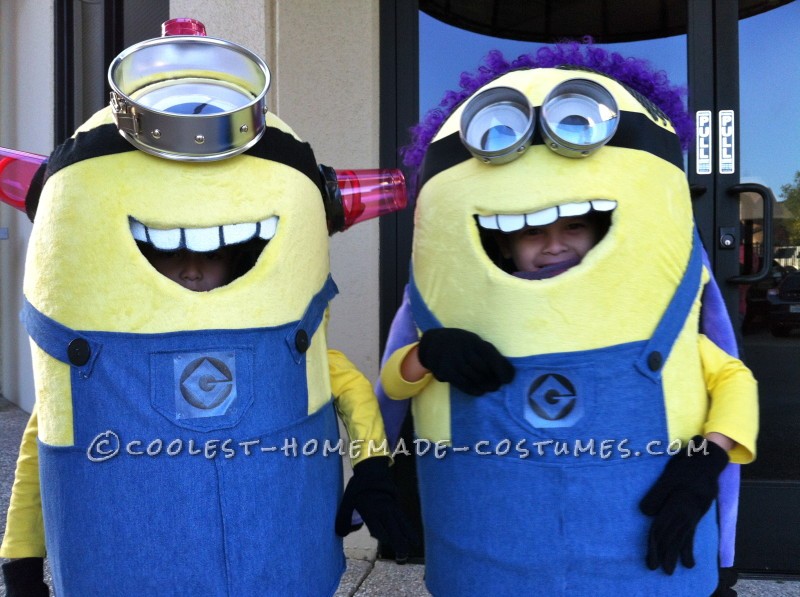
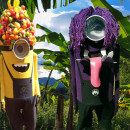
After celebrating their 5th B-day with a Minion themed movie night party, it seemed only natural that my twin boys should be Minions for Halloween. After combing through Pinterest to get ideas, I came up with my own version of the Despicable Me 2 Minions. The fireman or “Bee-do Minion ” and the “two-in-one half good and half evil Minion ” were completely homemade.
The boys had fun in these costumes but they did need a little help navigating. They had fun trick-or-treating and marching in their school parade. People were drawn to their costumes and told them that their costumes were awesome and amazing! There were many picture requests and some of the little kids seemed to think that they were real minions! Most kids could ‘t not resist the urge to reach out nd touch them. One little girl was so excited she screamed! The evil side of the two-in-one minion was the unexpected surprise that so many people seemed to enjoy. While the never-ending chant of Bee-do followed my little Bee-do Minion everywhere he went.
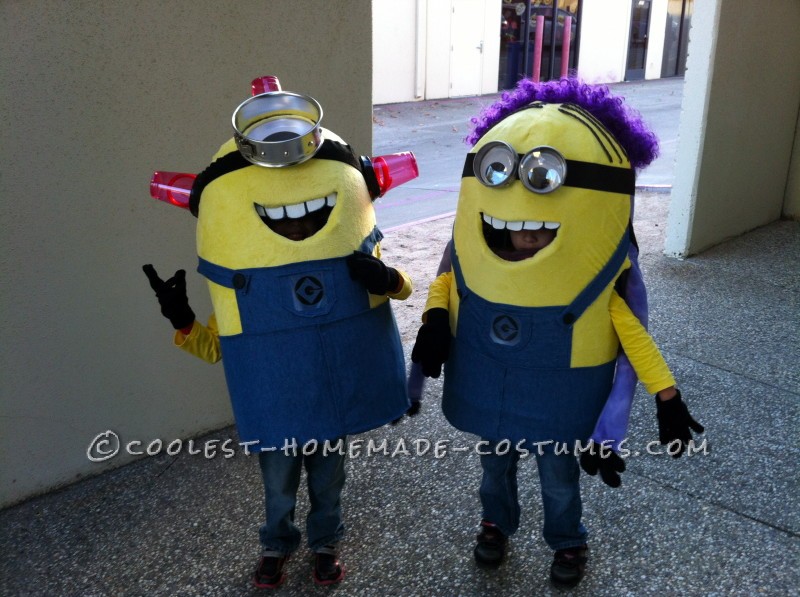
Our Minions!
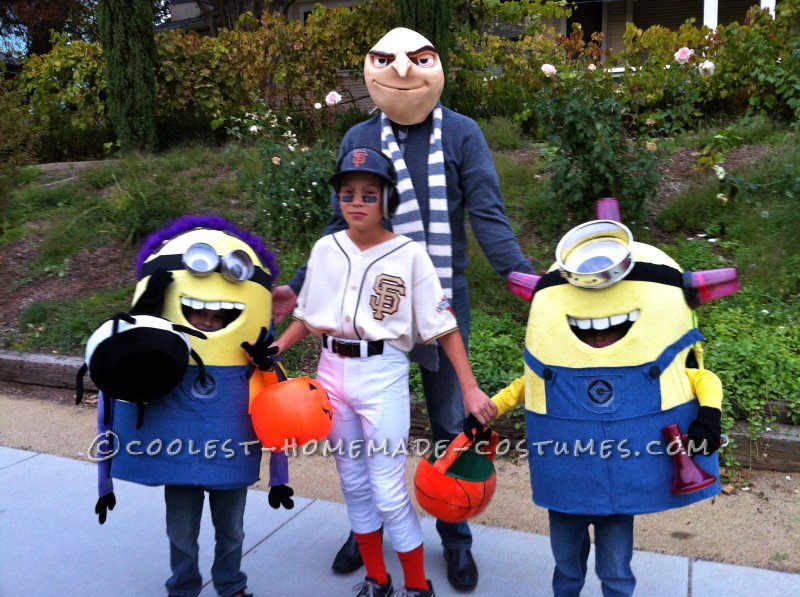
Trick-or-treat!
Frame:
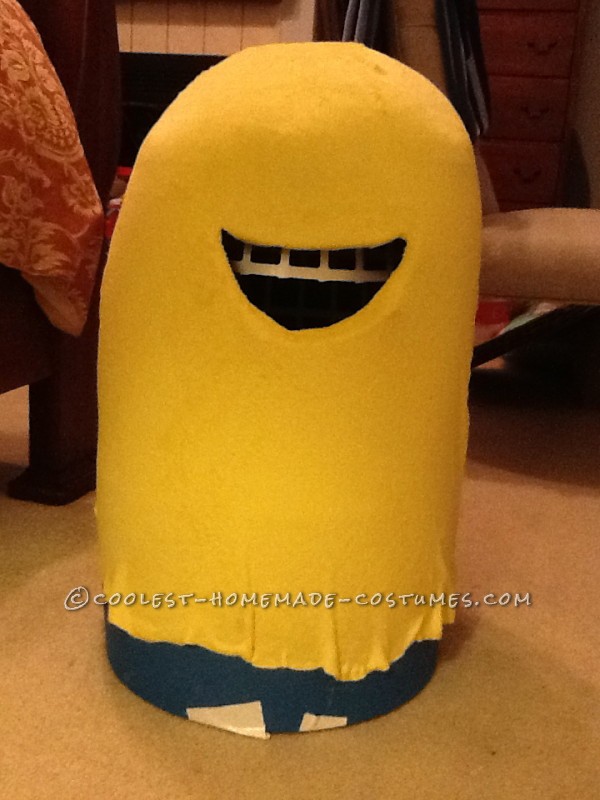
First, I used a plastic bowl and small laundry basket from the dollar store for the frame by connecting them using zip ties through holes poked in the bowl. Next I used a camping mat to cover the bowl. This part was pretty tricky for me (because I wasn’t sure how to do it. ) I cut long triangle wedges and then taped them to the bowl using duct tape, cutting off some triangles to make it fit into a smooth dome. Then I cut out a rectangular strip of mat and glued it to the bottom of each dome. Next I had the boys try on the forms to figure out where to cut out the mouth (so they could see) and arm holes before covering them in fabric.
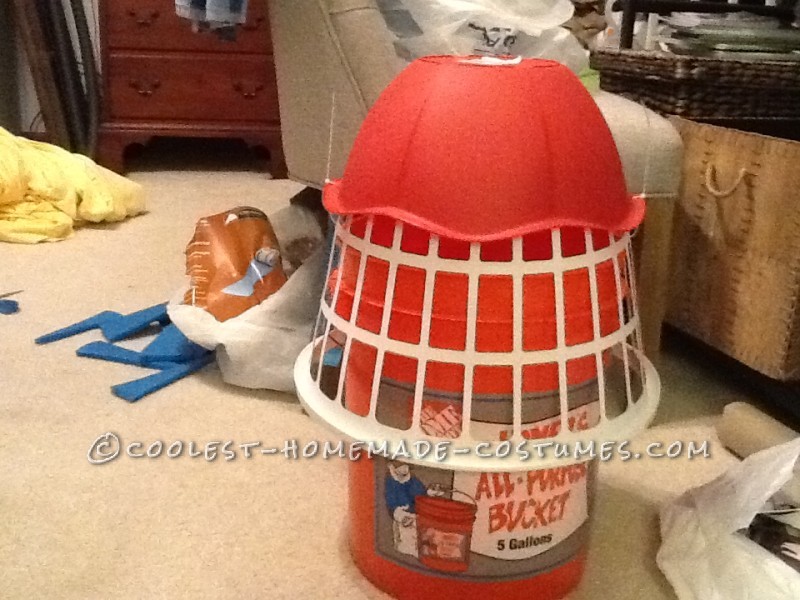
The frame
Camping mat cover
Support:
To help support the weight of the costume and to raise it off their heads I used thick black elastic attached to the bottom of the laundry basket in criss cross pattern using duct tape and glue. The elastic support fit over their heads with the x sitting behind the neck. The support transferred the weight of the costume off their heads and onto their shoulders.
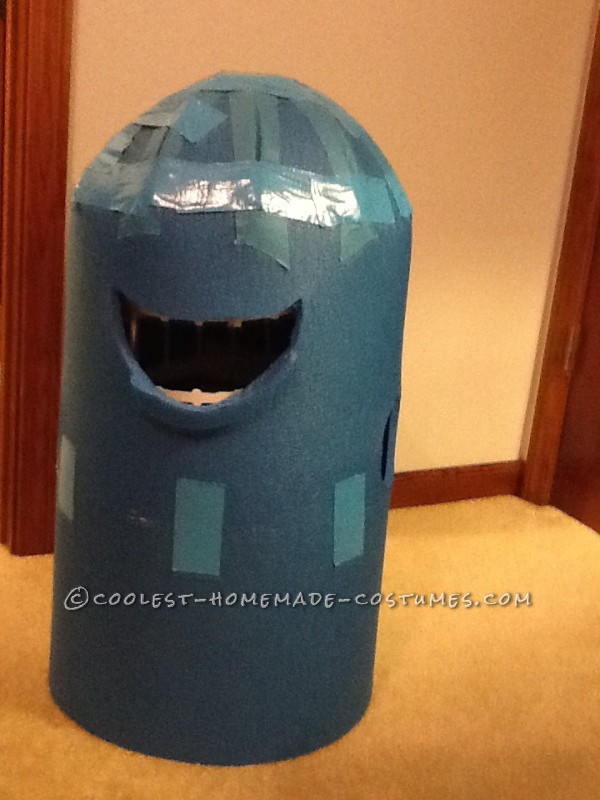
Covering:
The next big challenge for me was covering the form in fabric. I tried to stretch it over the frame to be glued on but couldn’t manage to do it without a lot of rippled fabric. I decided to cut out the material to cover the frame and sewed the front and back together. I used half yellow and purple for the two-in-one minion. Then I pulled the completed material cover over the frames and glued the bottom onto the camping mat pulling the covering taught to try to get it smooth. I must admit that I almost gave up the endeavor while trying to figure out how to cover the forms in fabric ; ) I had to re-do the two-in-one cover to get the right fit. Note I don\\\’t really know how to sew. I usually just make it up as I go, so these were very challenging areas for me.
Fabric cover

Two-in-one
Fun Parts:
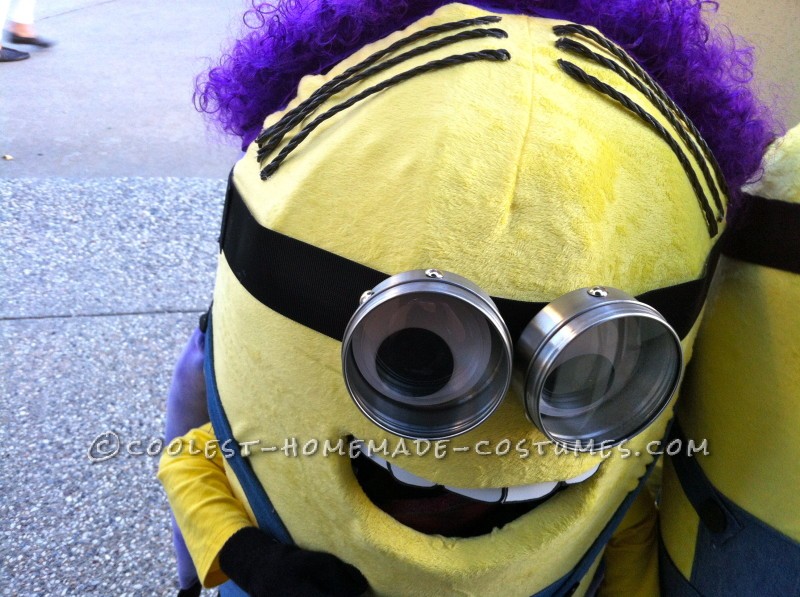
On to the fun parts, I used a 7 inch spring form pan and a giant googly eye for my Bee-do minion. I attached the pan to a large black velcro strap and poked holes through the form and fabric to zip tie the large eye to the frame of the laundry basket so it wouldn’t fall off. I used two magnetic spice containers (attached with strong velcro) with clear twist on tops to make both eyes for the good side of my two-in-one minion. I used two googly eyes inside the containers and attached them to a black velcro strap.
I made the overalls using jean fabric, sewing the edges and them gluing them onto the costume. I used black material for the evil side of the two-in-one minion. The teeth were created using white foam for one minion and painted teeth and cut from leftover camping mat. I also cut out the tongue using the camping mat and then painted them for both minions taping and gluing them onto the laundry basket, leaving an opening in the mouth so the boys could see where they were going.
Good side of two-in-one Minion
They always look happy!
Light Features:
Next the light features, I used three plastic see through red cups to create the sirens for the Bee-do Minion. I cut a small hole in cup and pulled through the end of a light up red bracelet so that I could turn them on and off. Next I glued the cup to a red plate and cut the plate to the size of the cup adding two slits to thread the reflective strip through that would hold the sirens onto the head. Then I glued reflective strip onto the costume after positioning each siren where I wanted them and finished off the sirens by taping the bottom of each cup with black duct tape. Finally, we used a red voice-changer megaphone to complete our Bee-do Minion.
For the evil side of the two-in-one Minion I used two tap lights, glued small buttons in the center and created eye lids to cover the top of one and top and bottom of the other to give it character. I inserted tap lights into two small spring form pans secured through the velcro with zip ties to laundry basket so they wouldn’t fall off. Wallah! Now both minions had cool light up features. I used a purple curly wig cut open and glued on the evil side for his hair while I used black cord/rope for the hair of the good side of the two-in-one minion. Finally I made long arms attached above the arm holes and finished them off with little black fabric hands.
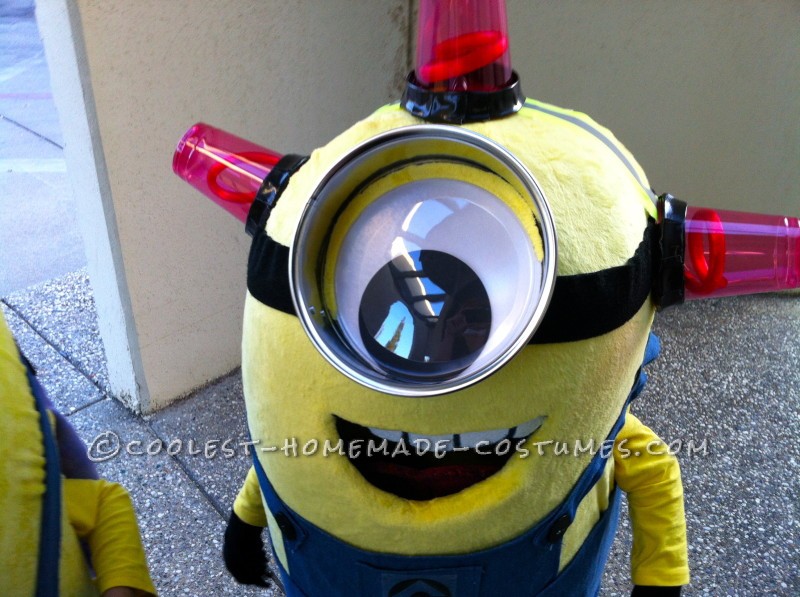
Sirens and large eye
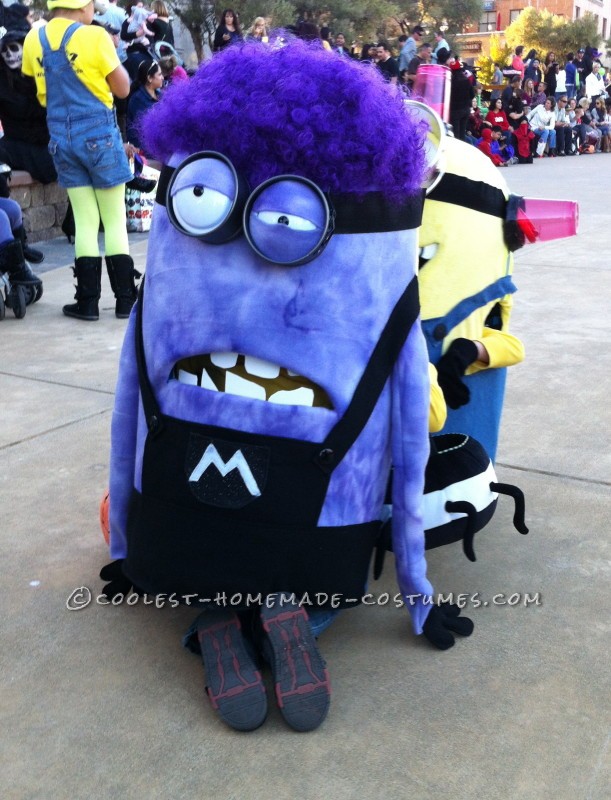
Surprise Evil Minion on the back.

Related costumes:
 Make Your Own Awesome Minion Costumes
 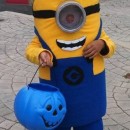 Contest-Winning Minion Halloween Costume – Bee Do Bee Do
 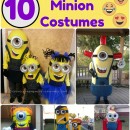 10 Awesome DIY Minion Costume Ideas for the Whole Family
 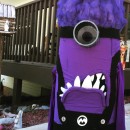 Cool Handmade Evil Purple Minion Costume
 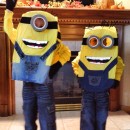 Coolest DIY Minion Halloween Costumes for Kids
 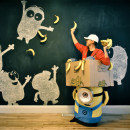 Coolest Homemade Minion Carrying a Box Illusion Costume
 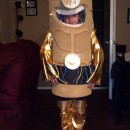 Despicable Star Wars: Return of the Minions Group Costume
 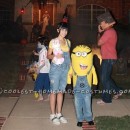 Coolest DIY Mom and Son Couple Costume: Minion Agnes and Costumes
Your comment has been sent successfully.