
I got the idea for this Lego Minifigure costume from the other Lego Men costume pioneers out there. Didn’t want to do a Zombie costume and give nightmares to all the kiddies in the neighborhood. Thought it’d be fun to make my own. Read somewhere that the estimated total time to build was at least 40 hours – and thought no way this costume should take that much time!
Now that I’ve been through the process end to end, be sure to budget at least a full month before to work on this or you WILL be stressed.
Procure Materials, Measure and Tools Needed
1. Measure your dimensions and proportion the approximate sizes of each body part below.
2. Secure materials:
- Styrofoam circles and blocks may be used as well as big Styrofoam pieces from appliance stores (the bigger the better)
- cardboard (a big one for your body, one backing for the mid-torso, two long boxes for legs.
- poster board (8 sheets used for adult)
- masking tape (white)
- Gorilla Glue
- regular white glue (Dollar store),
- Deco Art MagiKote (3 bottles)
- Can of base yellow Paint from Lowe’s Home Improvement
- Velcro strips to secure head to body
- dark colored mesh netting (to hide the inside viewer from sight)
- -Shipping tube large enough to fit your hands comfortably through
Tools Used:
- Box cutter
- clamps
- Dremel
- Compass for drawing circles
- ruler
- tape measure
- paint (yellow, black and maybe white – non aerosol paints)
- paint brushes
- canned spray paint for cardboard pieces only (spray paint dissolves Styrofoam),
- handsaw
- powered sander
- shop vacuum
- mouth protection (to prevent from inhaling all the Styrofoam pieces when cutting),
- Xacto knife
- chisel (for carving out foam)
- Scissors
- Black Sharpie marker

Making the head
3. Head wire frame:
- Measure out dimensions needed for neck and head to clear the neck ring for the head.
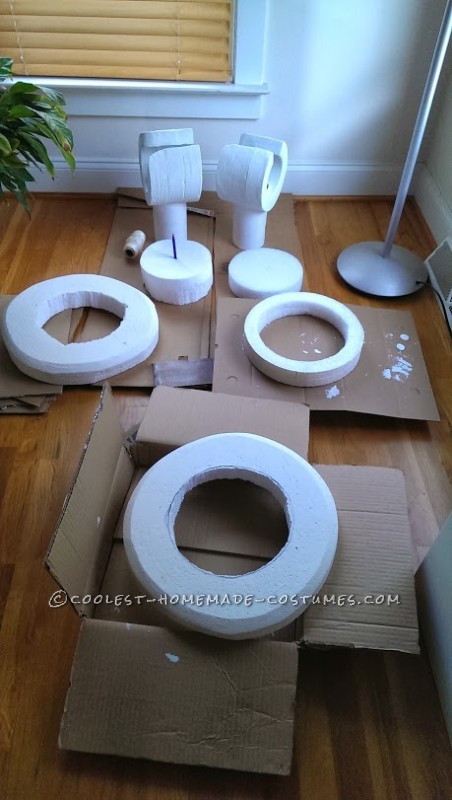
- Determine outer diameter head size for the face to be placed upon. The tough part is finding foam rings to fit adults. Kids is way easier to find at Michael’s/Hobby Lobby/Garden Ridge. If you don’t have foam that big, go on ebay to find someone that sells big foam pieces that you’ll have to cut/trim/sand/paint.
- create neck ring
- create top and bottom head rings
- glue bottom head ring to neck ring
- use Dremel to cut dowel rods to approximate desired head height. Use at least 3 to create a strong enough support structure and arrange it in a triangle position to maximize structure strength or a square if using 4 dowel rods.
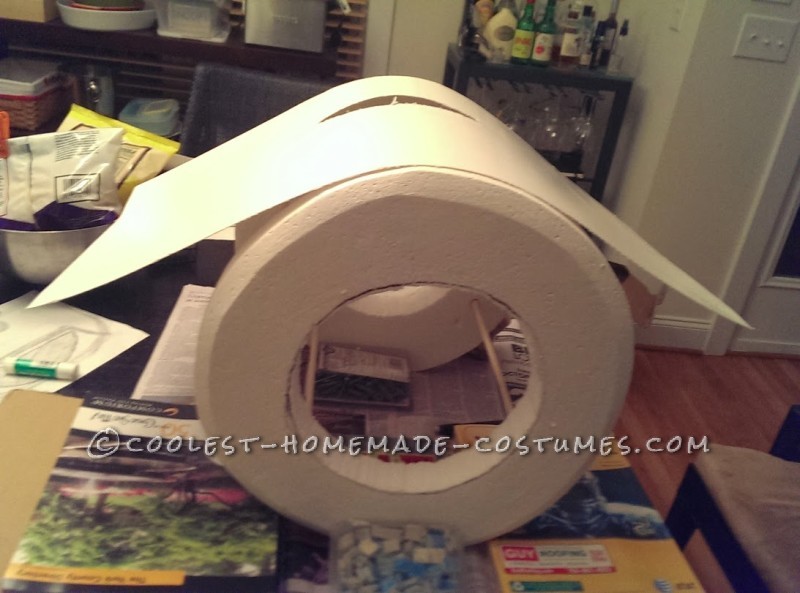
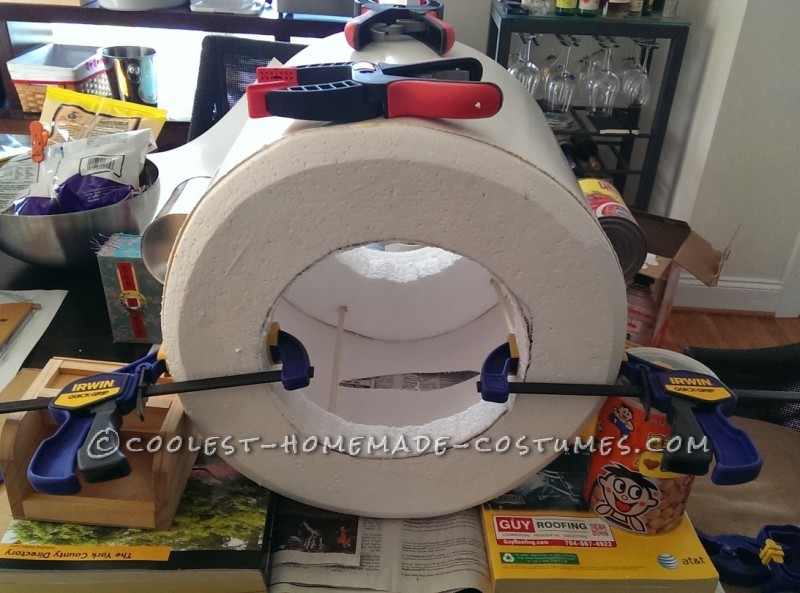
- use Gorilla Glue to secure poster board around the outer diameter of the head rings and let dry overnight. Use an open phonebook to apply curved clamping pressure if you don’t have a clamp that can do it. Do this for the front and back of the head using 2 sheets of posterboard (for adults) and cover the posterboard overlapping areas with white duct tape. Let dry overnight.
- using Xacto knife, trace and cutout desired mouth (viewing hole) size.
- paint head yellow – let dry for 36 hours
- trace out mustache, eyes, eye pupils in desired construction paper color
- glue mustache, eyes, eye pupils to face and let dry overnight.
Making the hands
4. Hands:
- glue 3-4 foam rings together using Gorilla Glue and let sit overnight.
- using handsaw, cut out a small 1/8″ section for the hand openings.Make bigger until desired effect is achieved.
- using powered sander, sand down the bottoms of the hands in a slightly curved fashion just like Lego Minifigs.
- using handsaw, cut the shipping tube to desired length for wrists.
- slowly spin the shipping tube wrists into the foam until it works all the way through. Use Gorilla glue to secure the wrists to the foam rings and let sit overnight.
- sand the hands to desired smoothness
- paint and let dry for at least 48 hours.
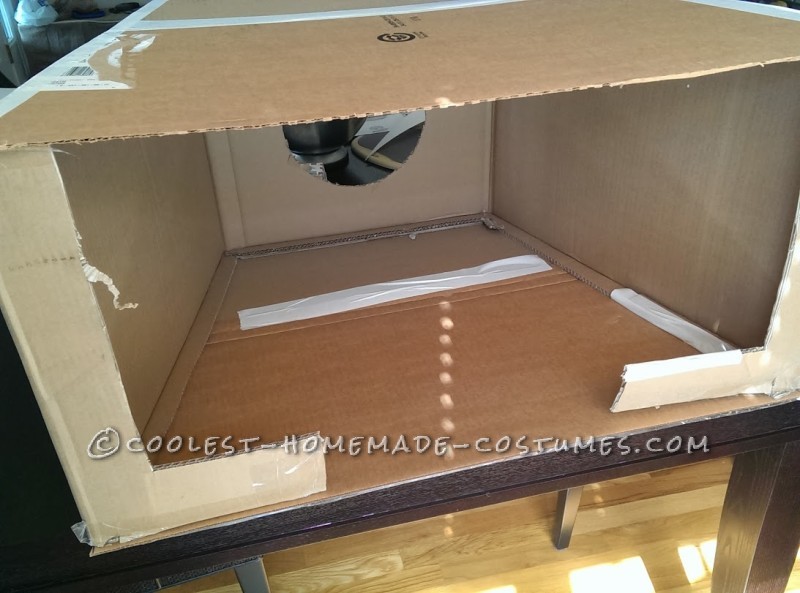
Making the body
5. Body:
- using a large rectangular box, trace out the appropriate trapezoid size (front and back of torso)
- cut out the bottom of the box to allow for body entry
- use box cutters to cut the sides where the arms would be and taper in the shoulders to the appropriate dimensions and secure using white masking tape.
- trace out dimensions and locations of the arm holes and the neck hole
- use box cutters to cut holes for neck, and arms. Start with a smaller hole and gradually trim more if needed.
- cut and trim poster board for top, front, back and sides using regular Elmer’s glue to secure the poster board directly to the cardboard box. Finish edges with white masking tape and let the posterboard dry overnight.
- optional: you can paint the poster-board once dry or if you bought white poster board, leave it as is.
- outline the necktie kerchief and overcoat lines in pencil before using black sharpie
- create button circles from construction paper. Position and glue in place.
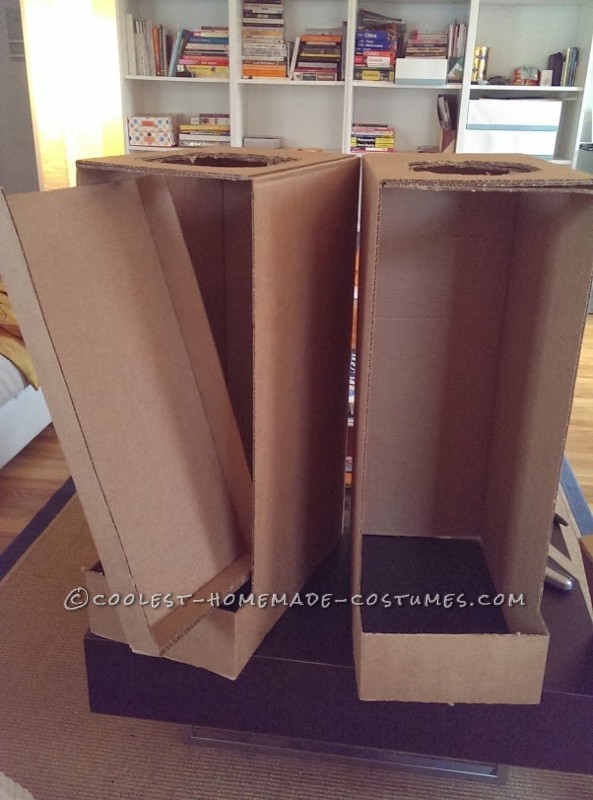
Making the legs and Mid-Torso
6. Legs:
- take two equal sized boxes large enough for your legs and trim it just enough to allow your shoes somethng to grab on to when you walk/shuffle but not so small that you cannot insert your feet from the top easily.
- spray paint legs black and allow to dry. (I used 3 cans of Black spray paint from Wal-Mart fo r$.97 each).
7. Mid-Torso:
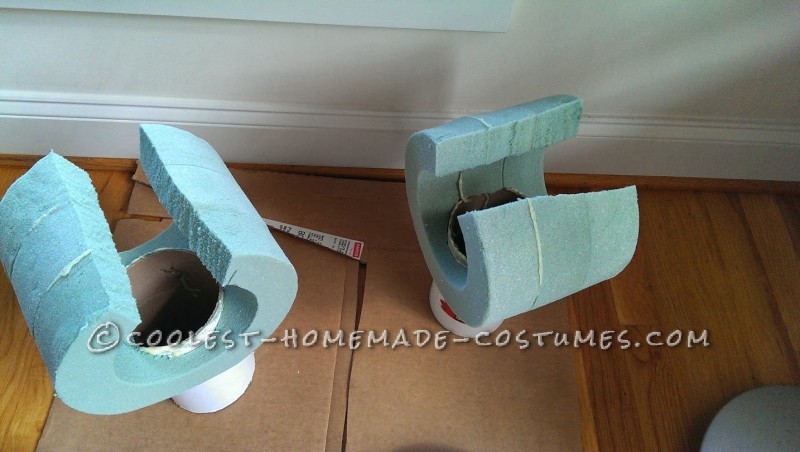
- very few instructions on this step online – had to get creative.
- using two foam rectangles, trimmed one of the short ends of each foam piece into a half circle shape.
- coat outside facing foam with Deco Art Magic Kote to make the foam easier to paint and glue. Let dry overnight.
- cut cardboard rectangle to form the back of the mid-torso section. Paint cardboard black with Aerosol paint and let dry overnight.
- use Gorilla Glue to secure foam ends to the cardboard.
- measure and trim poster board to the curvature of the two foam pieces. Use Gorilla Glue to secure the posterboard to the foam half circles (use an open telephone book to apply enough pressure on the curvature and let dry overnight.
- paint foam using regular black paint as well as poster board.
- use Dremel and run 4 holes to run string through as a makeshift harness that you can criss cross over your shoulders to support the mid-torso.
Making the Hat and Additional Notes
8. Hat:
- had to save this for last since I didn’t know for certain what the final outside diameter of the head was going to be.
- using appliance foam large enough to construct the hat, play with it until you get the desired effect. You’ll have to glue and play with a few arrangements until you get the desired effect.
- use chisel to carve out the inside of the hat area to give enough of a lip for the hat to rest on the top of the head.
- sand the edges to give the desired effect.
- paint if needed.
ADDITIONAL NOTES:
– Cutting and sanding foam is a mess. Do it outside and have the shop vac ready to go.
– My neighbor is a huge crafter and had all the punches and appropriate colored paper to make face shapes with. This made the face assembly way easier.
– This costume is WARM – you will get hot inside given that all the materials used happen to insulate very well. Some folks even installed battery powered PC fans to keep you cool inside.
– Outward vision is AWFUL. I accidentally bumped into someone’s glass and heard it shatter at the costume contest I entered for fun.
– Forget about moving easily at the club in this outfit. VERY difficult to walk up steps much less go to the restroom. Basic dancing is ok but don’t expect to be breakdancing in this outfit.
– Must have a partner/spotter help you get drinks (put on/take off the costume) – otherwise you’re not drinking anything that night to stay in costume.
– Kids LOVE this costume (Halloween had me surrounded by kids who were mesmerized by my Lego hands and could not wait to touch my hands). Adults, even more so. Can’t tell you how many adults who just laughed and smiled at seeing a 6 foot tall Lego Man wave at them and wanted to take photos with me at the costume contest I entered.
– At Charlotte, NC’s Glitterati Ball at the Noda Neighborhood Theater I took 1st place in the Funniest Costume category and was in the final 4 for the best overall costume. Grand prize took home $3k.
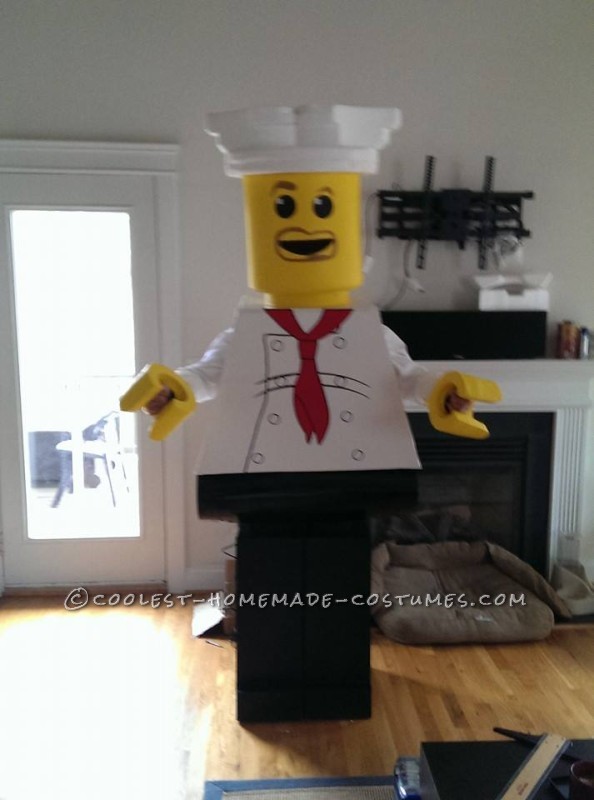
Final product

Related costumes:
 Homemade Batman Lego Couple Costume
  Coolest Homemade Lego Spiderman Costume
 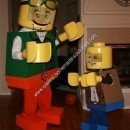 Coolest Homemade Clutch and Bernie Lego Men Father and Son Halloween Costumes
 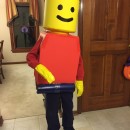 Cool Lego Minifig Costume
 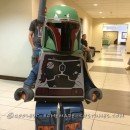 Coolest Lego Boba Fett Costume
 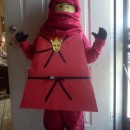 Cool Homemade Red Ninjago Minifigure Costume
 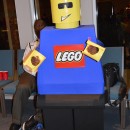 Not-So-Mini Lego Minifigure Homemade Halloween Costume
 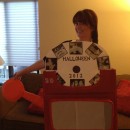 Original Homemade Halloween Costume: An Adult View Master!
Your comment has been sent successfully.