First, I should give you some background about how crazy the Halloween competition at my work is. I’ve been at my current job, a graphic designer for Coupons.com, for about five years now. When I first joined, Halloween was very small, as was our company. Some people dressed up, and we had a little walk through with prizes given, but that was it. The second year I was there, another team did a Gilligan’s Island parody skit, complete with a company relevant rewritten theme song. That’s where this all started, and I thought to myself, “Oh it is ON next year.”
I happen to LOVE writing parody songs and also making costumes, so the next few years, that’s exactly what I did. I’d get our group together, drawing in even the more anti-Halloween ones with my song parodies and wild ideas. We won in 2012 and were ineligible last year (we got to judge the competition), so this year I knew we had to bring the heat. Just songs weren’t enough anymore, we had to look amazing as well. So I started searching for ideas back in July. I hopped online and started looking at all the popular movies that had come out in the past year, and I saw the Lego Movie. I was immediately sold on the idea, and went to work writing some parody lyrics to the “Everything Is Awesome” song. I did some research on people who had attempted full body costumes before, and I knew I could come up with something even better. It really helped to have the support and excitement of my team to urge me on, knowing full well that these costumes would take hours to build, and I was going to need to make between 6-10 of them! I actually ended up making 11 costumes total; eight full body adults, two kids with head, bodies and hands only, and one Lego brick.
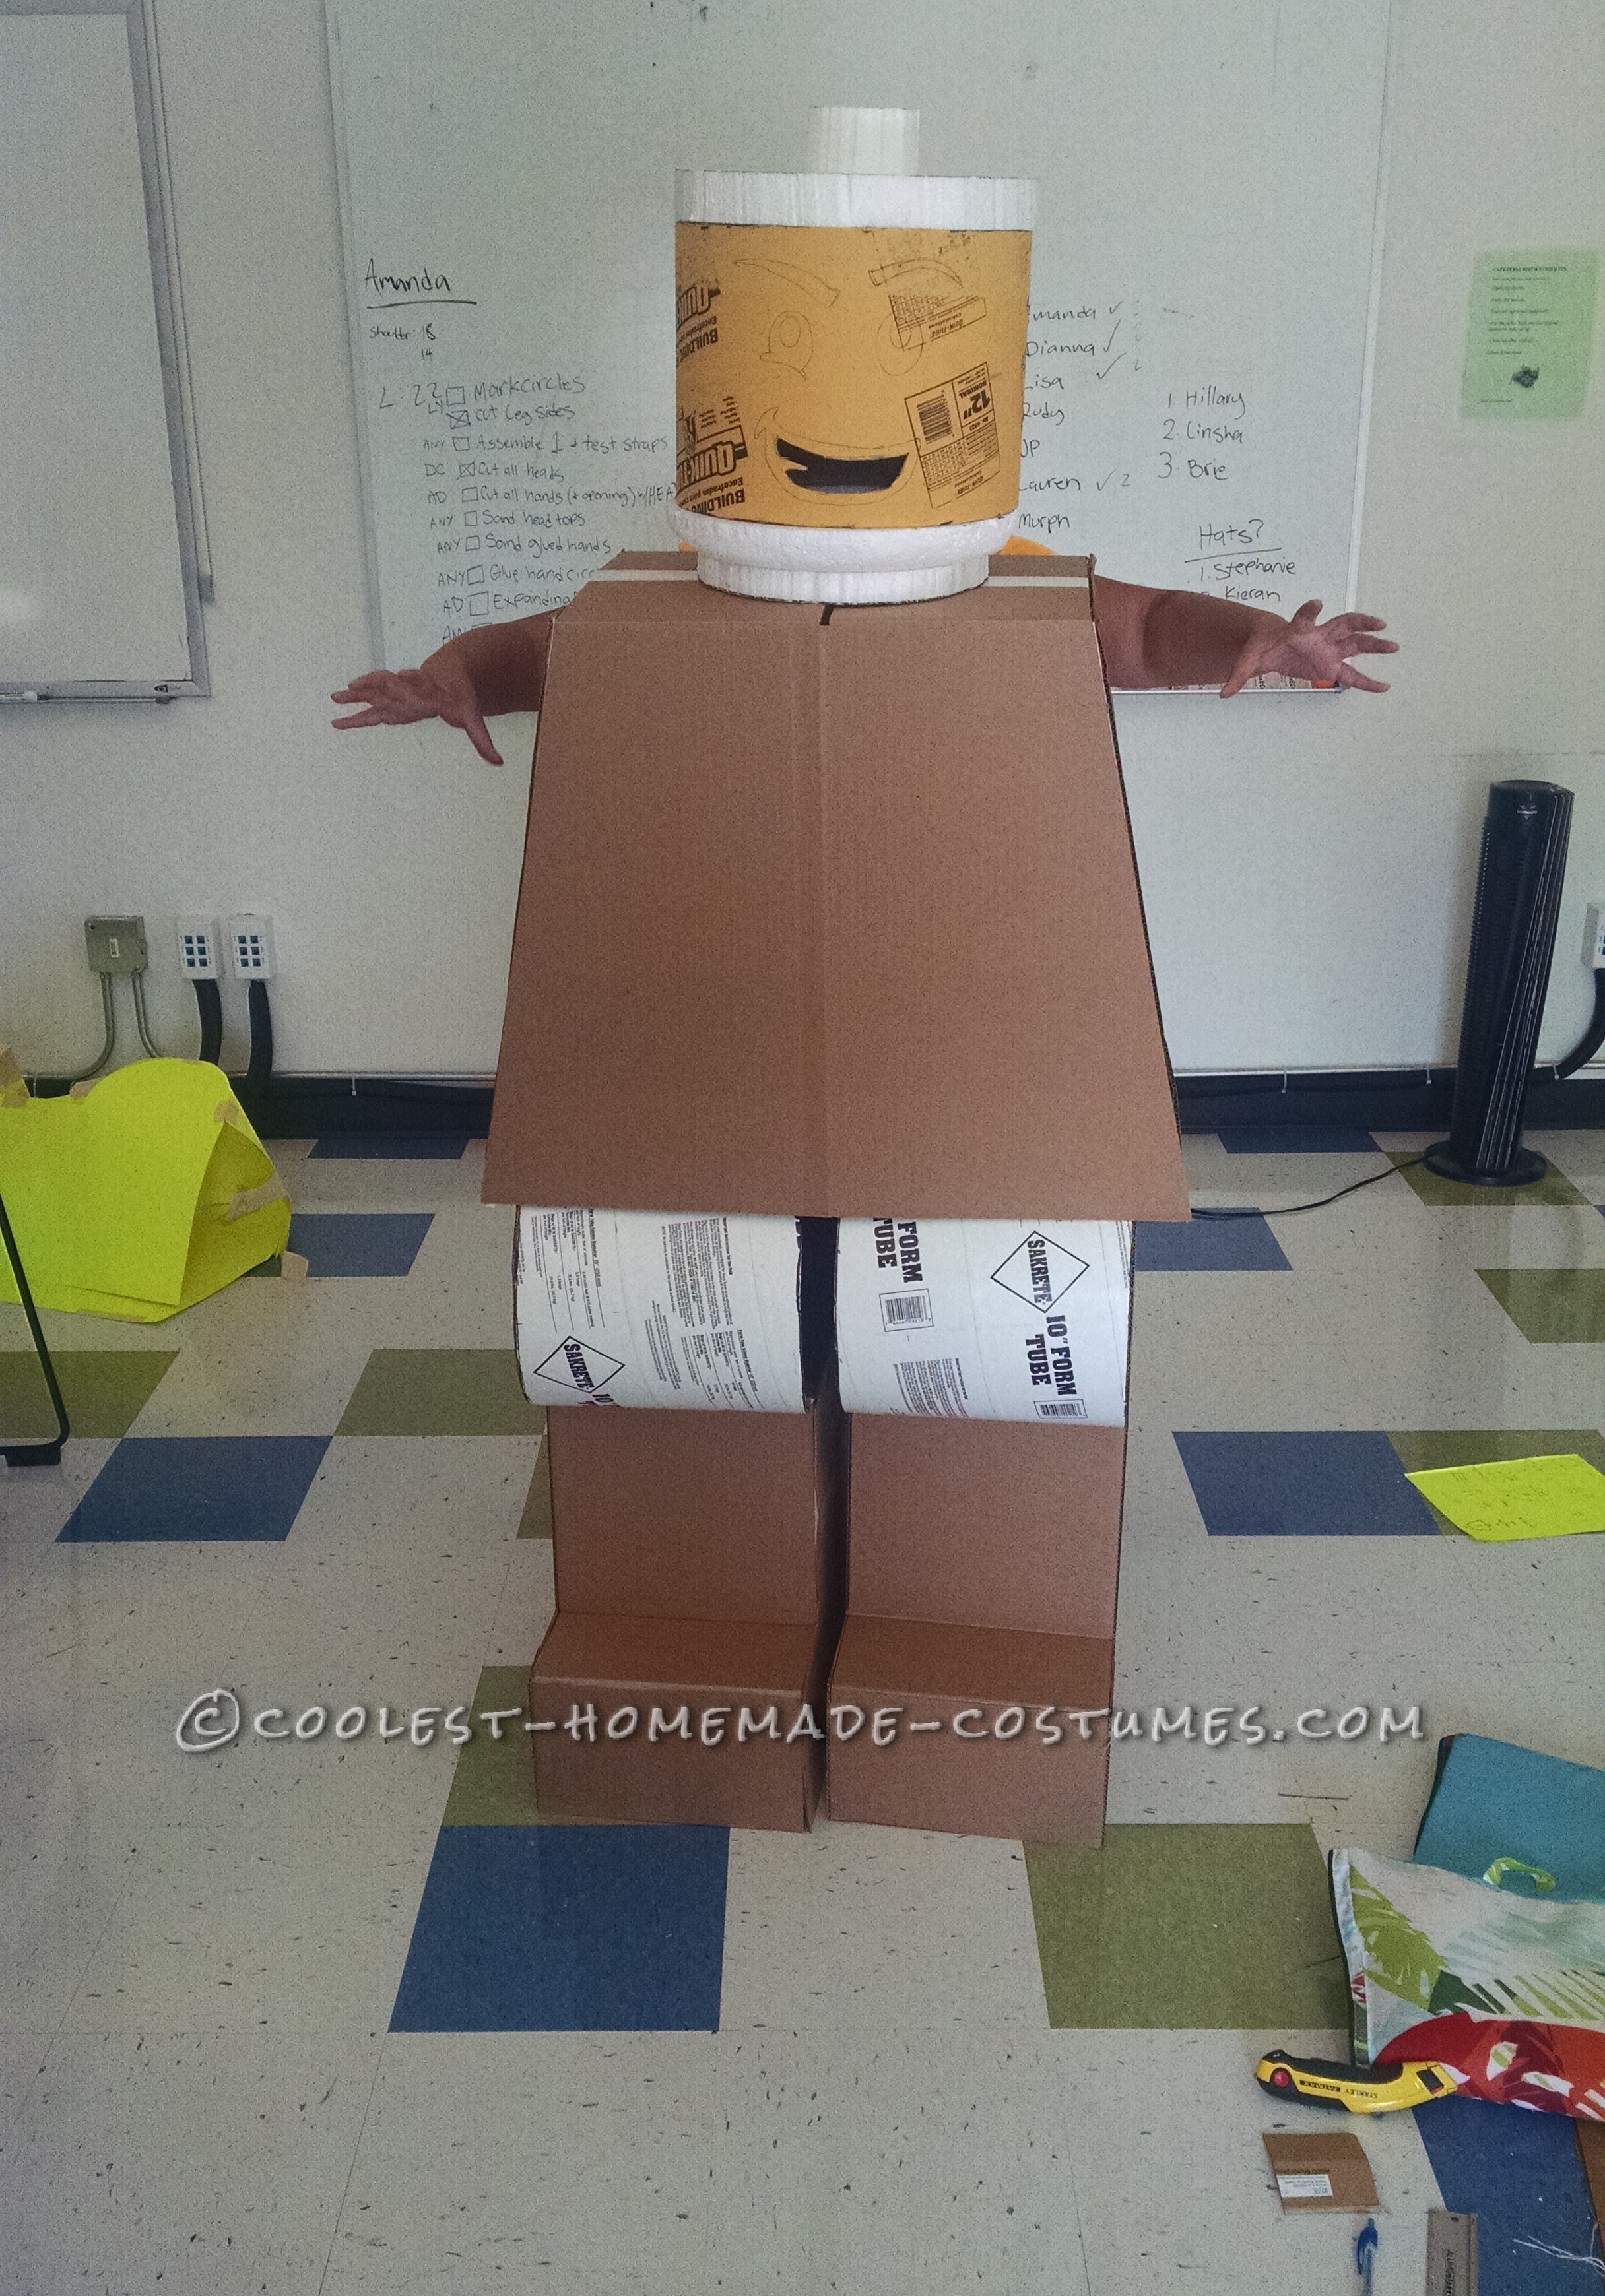
Foam & Cardboard
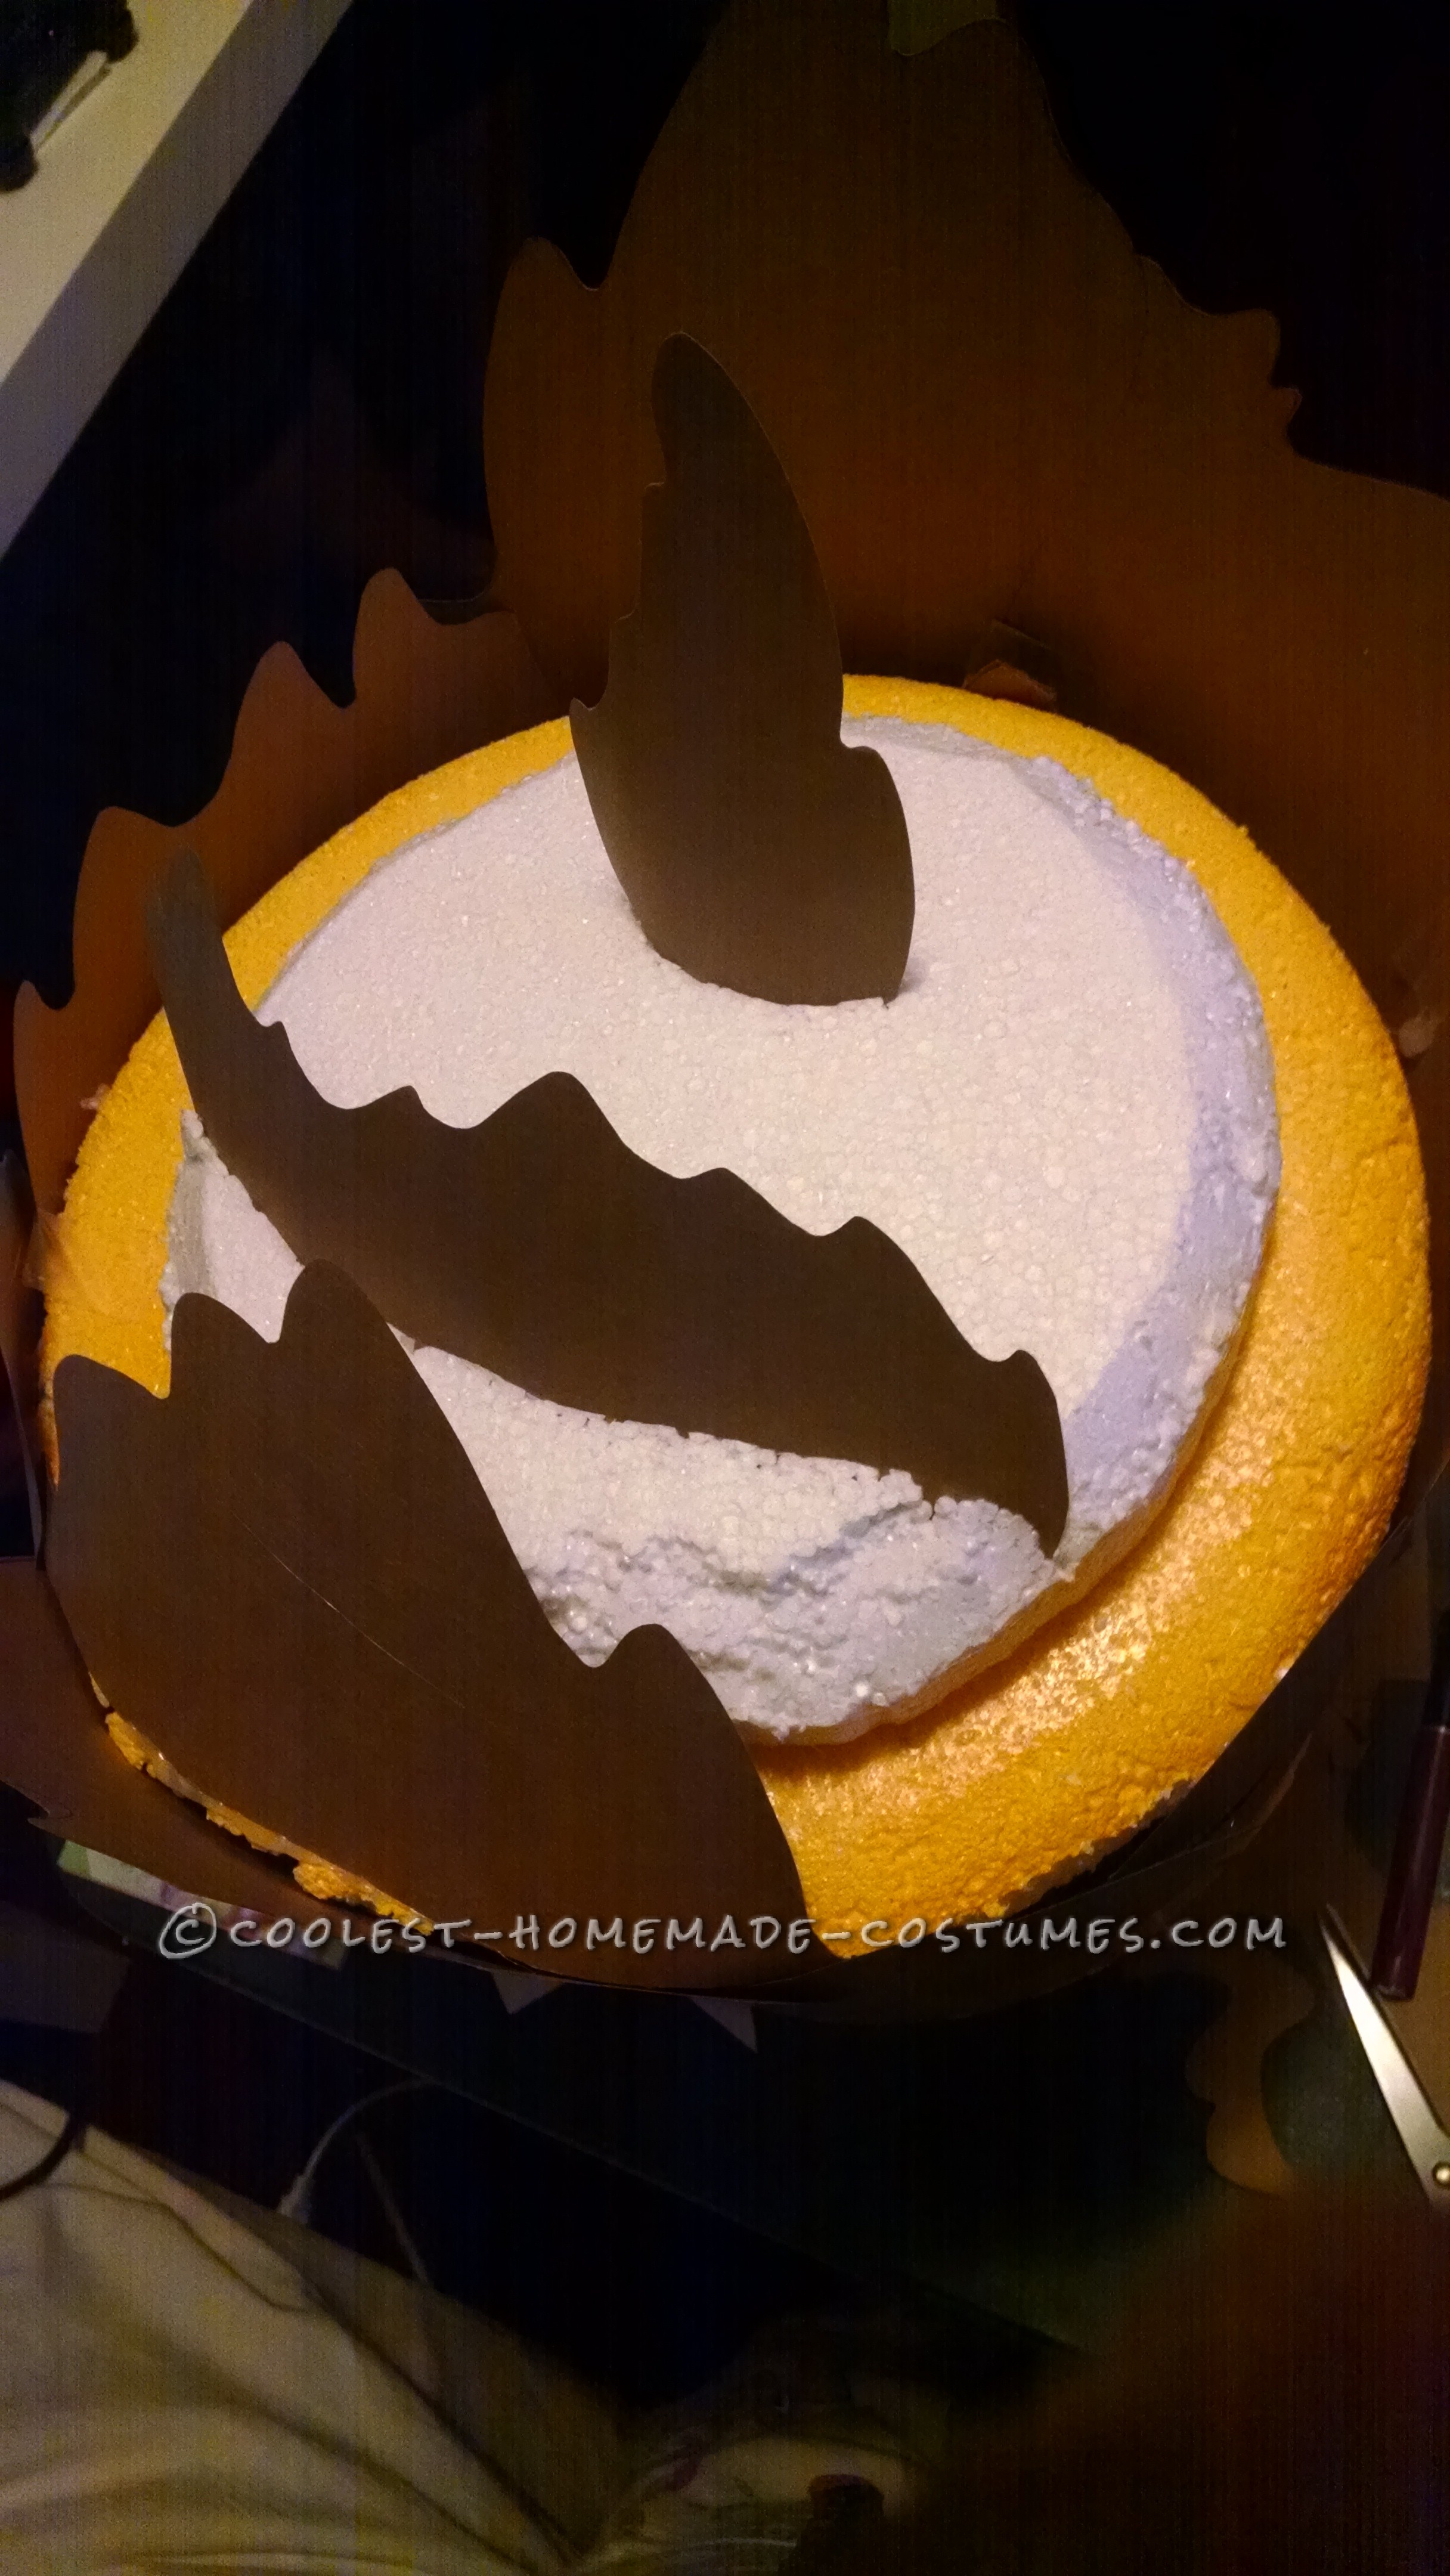
This was our first true test. The head was made of concrete form tube, the “toppers” were made out of Styrofoam, and the body is plain old cardboard. The Styrofoam was a struggle to cut, because it was so time consuming. We started with 8ft. x 4ft. x 2in sheets, and used a heat wand to slowly cut it into circles. We later sanded the tops and bottoms of the head to make them rounded.
Much Gorilla tape was used, and much more hot glue!
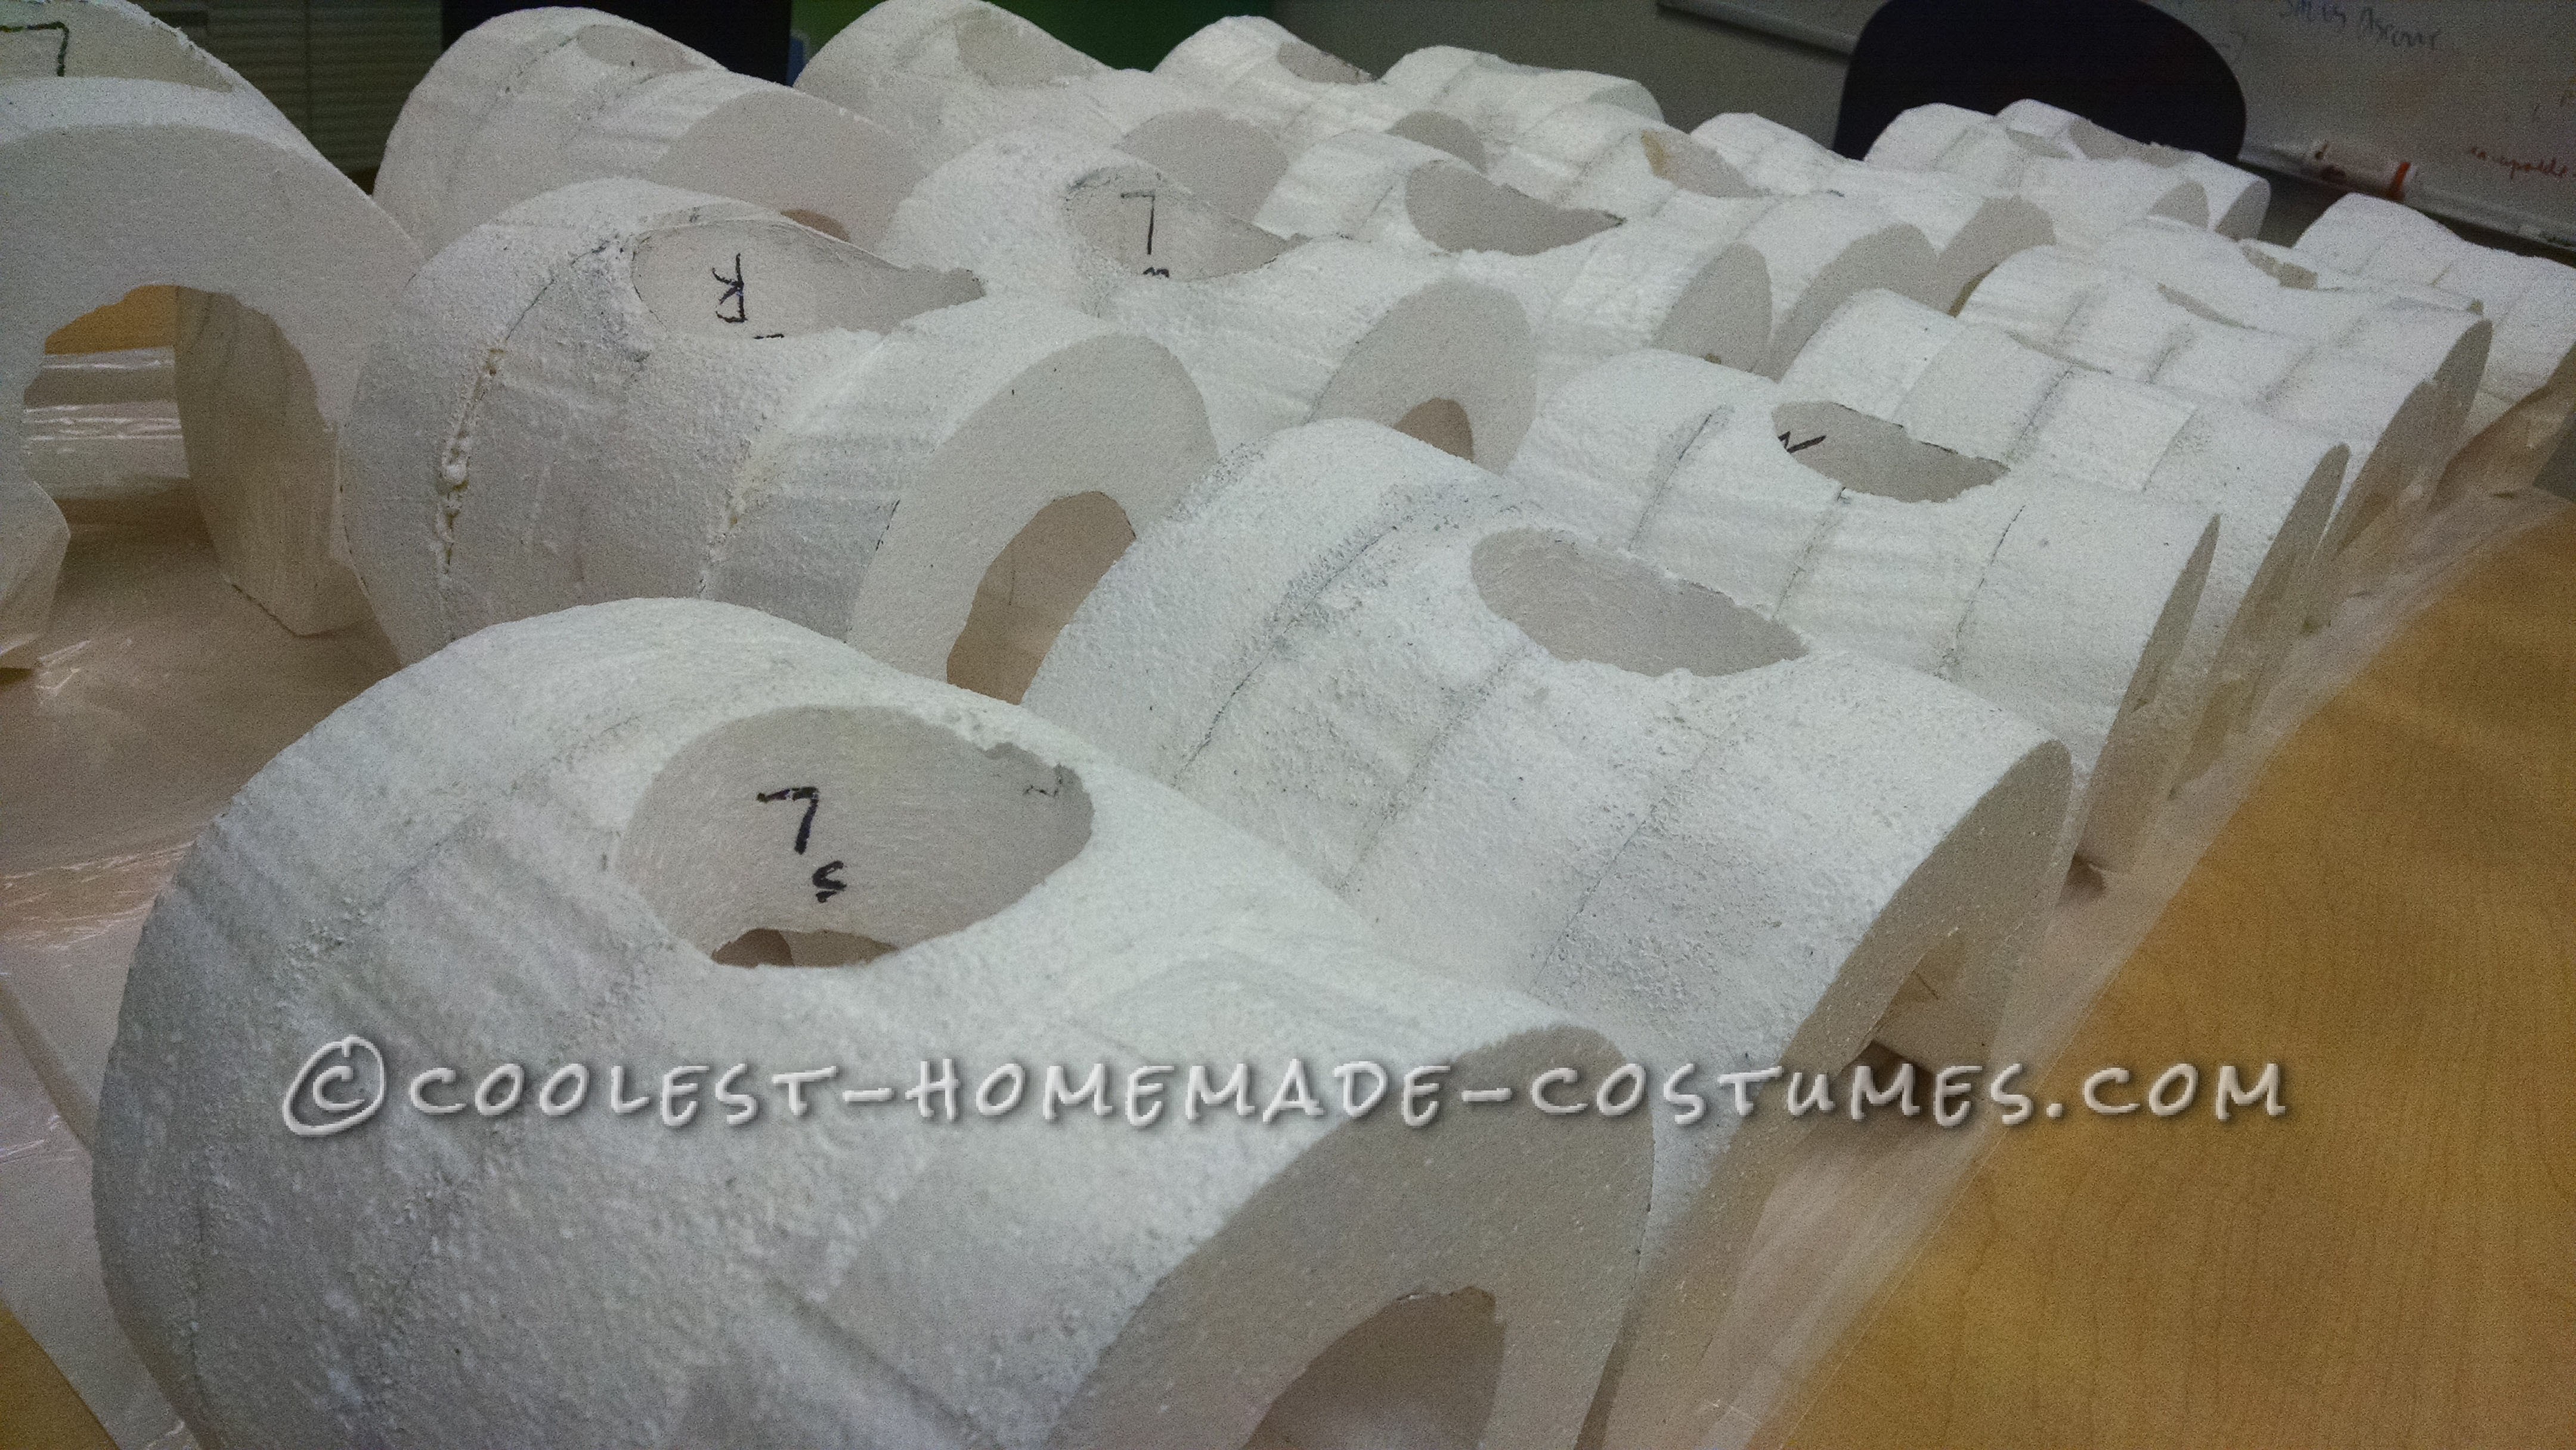
We used those same Styrofoam boards to cut out the hands. I say we, because although I was the mastermind, I really needed help to create so many costumes! This was the most time consuming part of the entire project, cutting out all these hands, gluing four layers together (so that’s 80 pieces of Styrofoam) and then cutting an opening in one side and a hole in the other for the wrist.
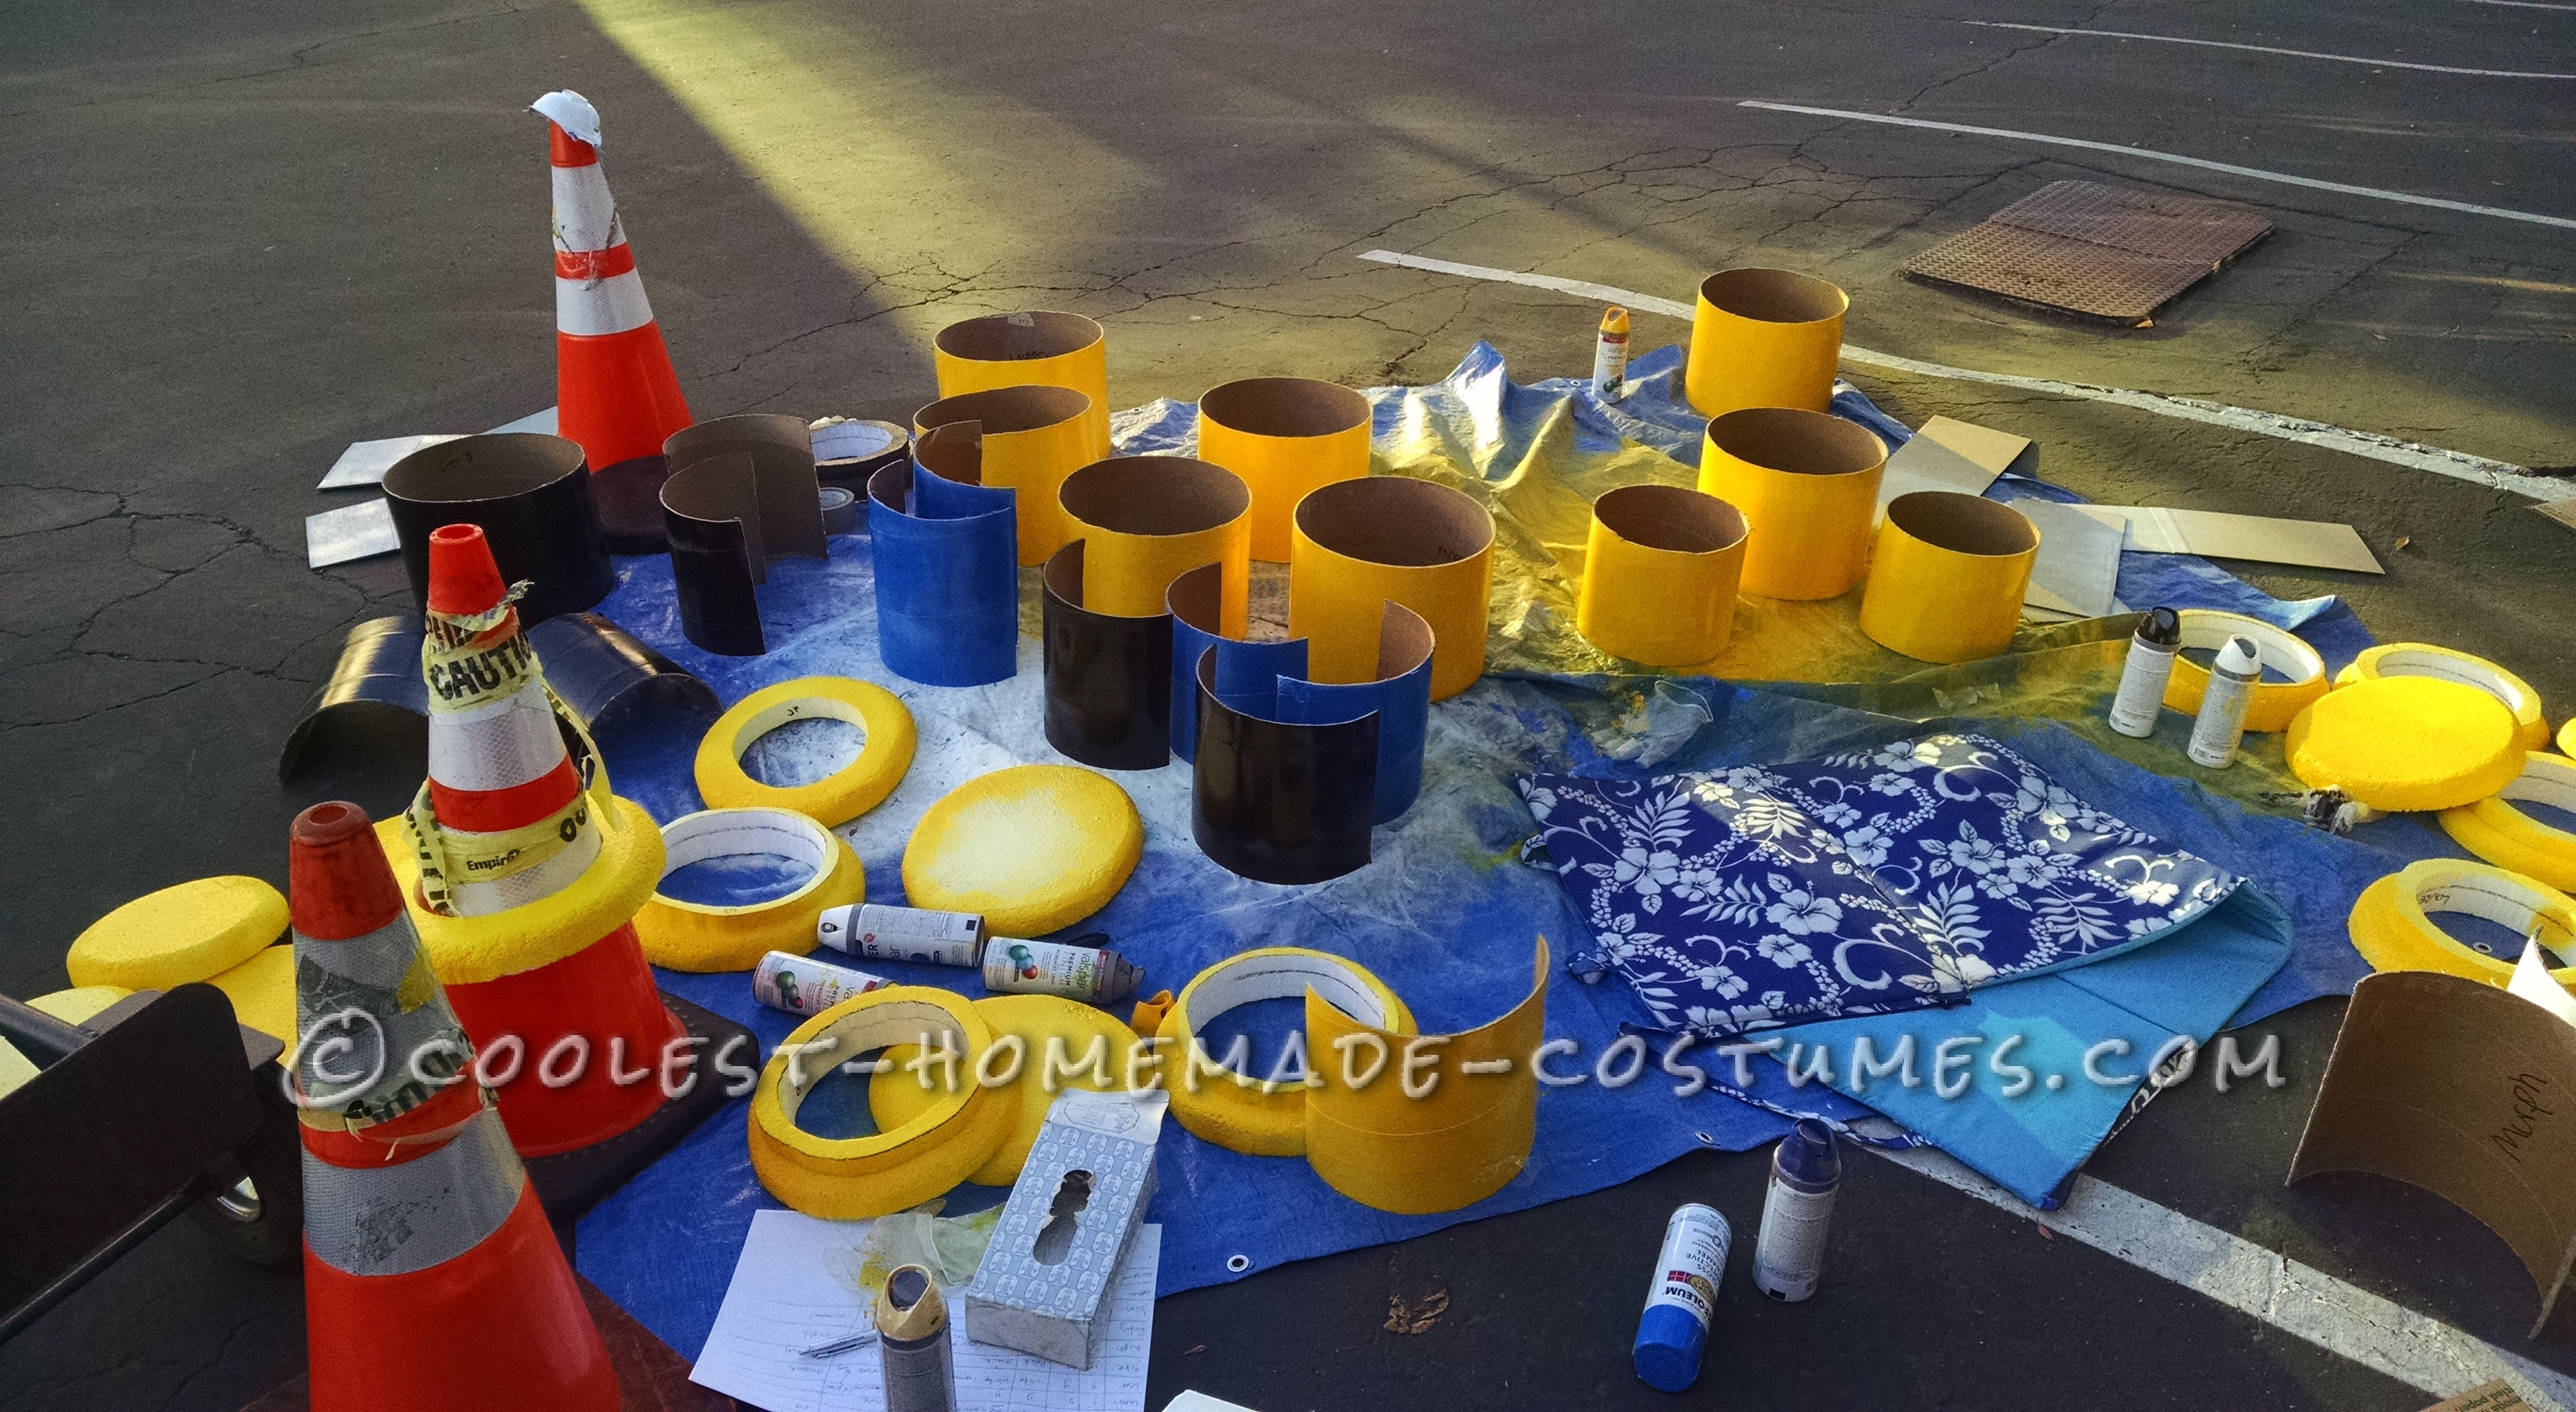
Spray Paint
Second most time consuming thing was spray painting all those many pieces. Well, over 100 individual pieces needed spray paint, and each one of those needed 3-5 coats. I would work at the office on weekends to accomplish this, and all the security guards thought I was pretty nuts.
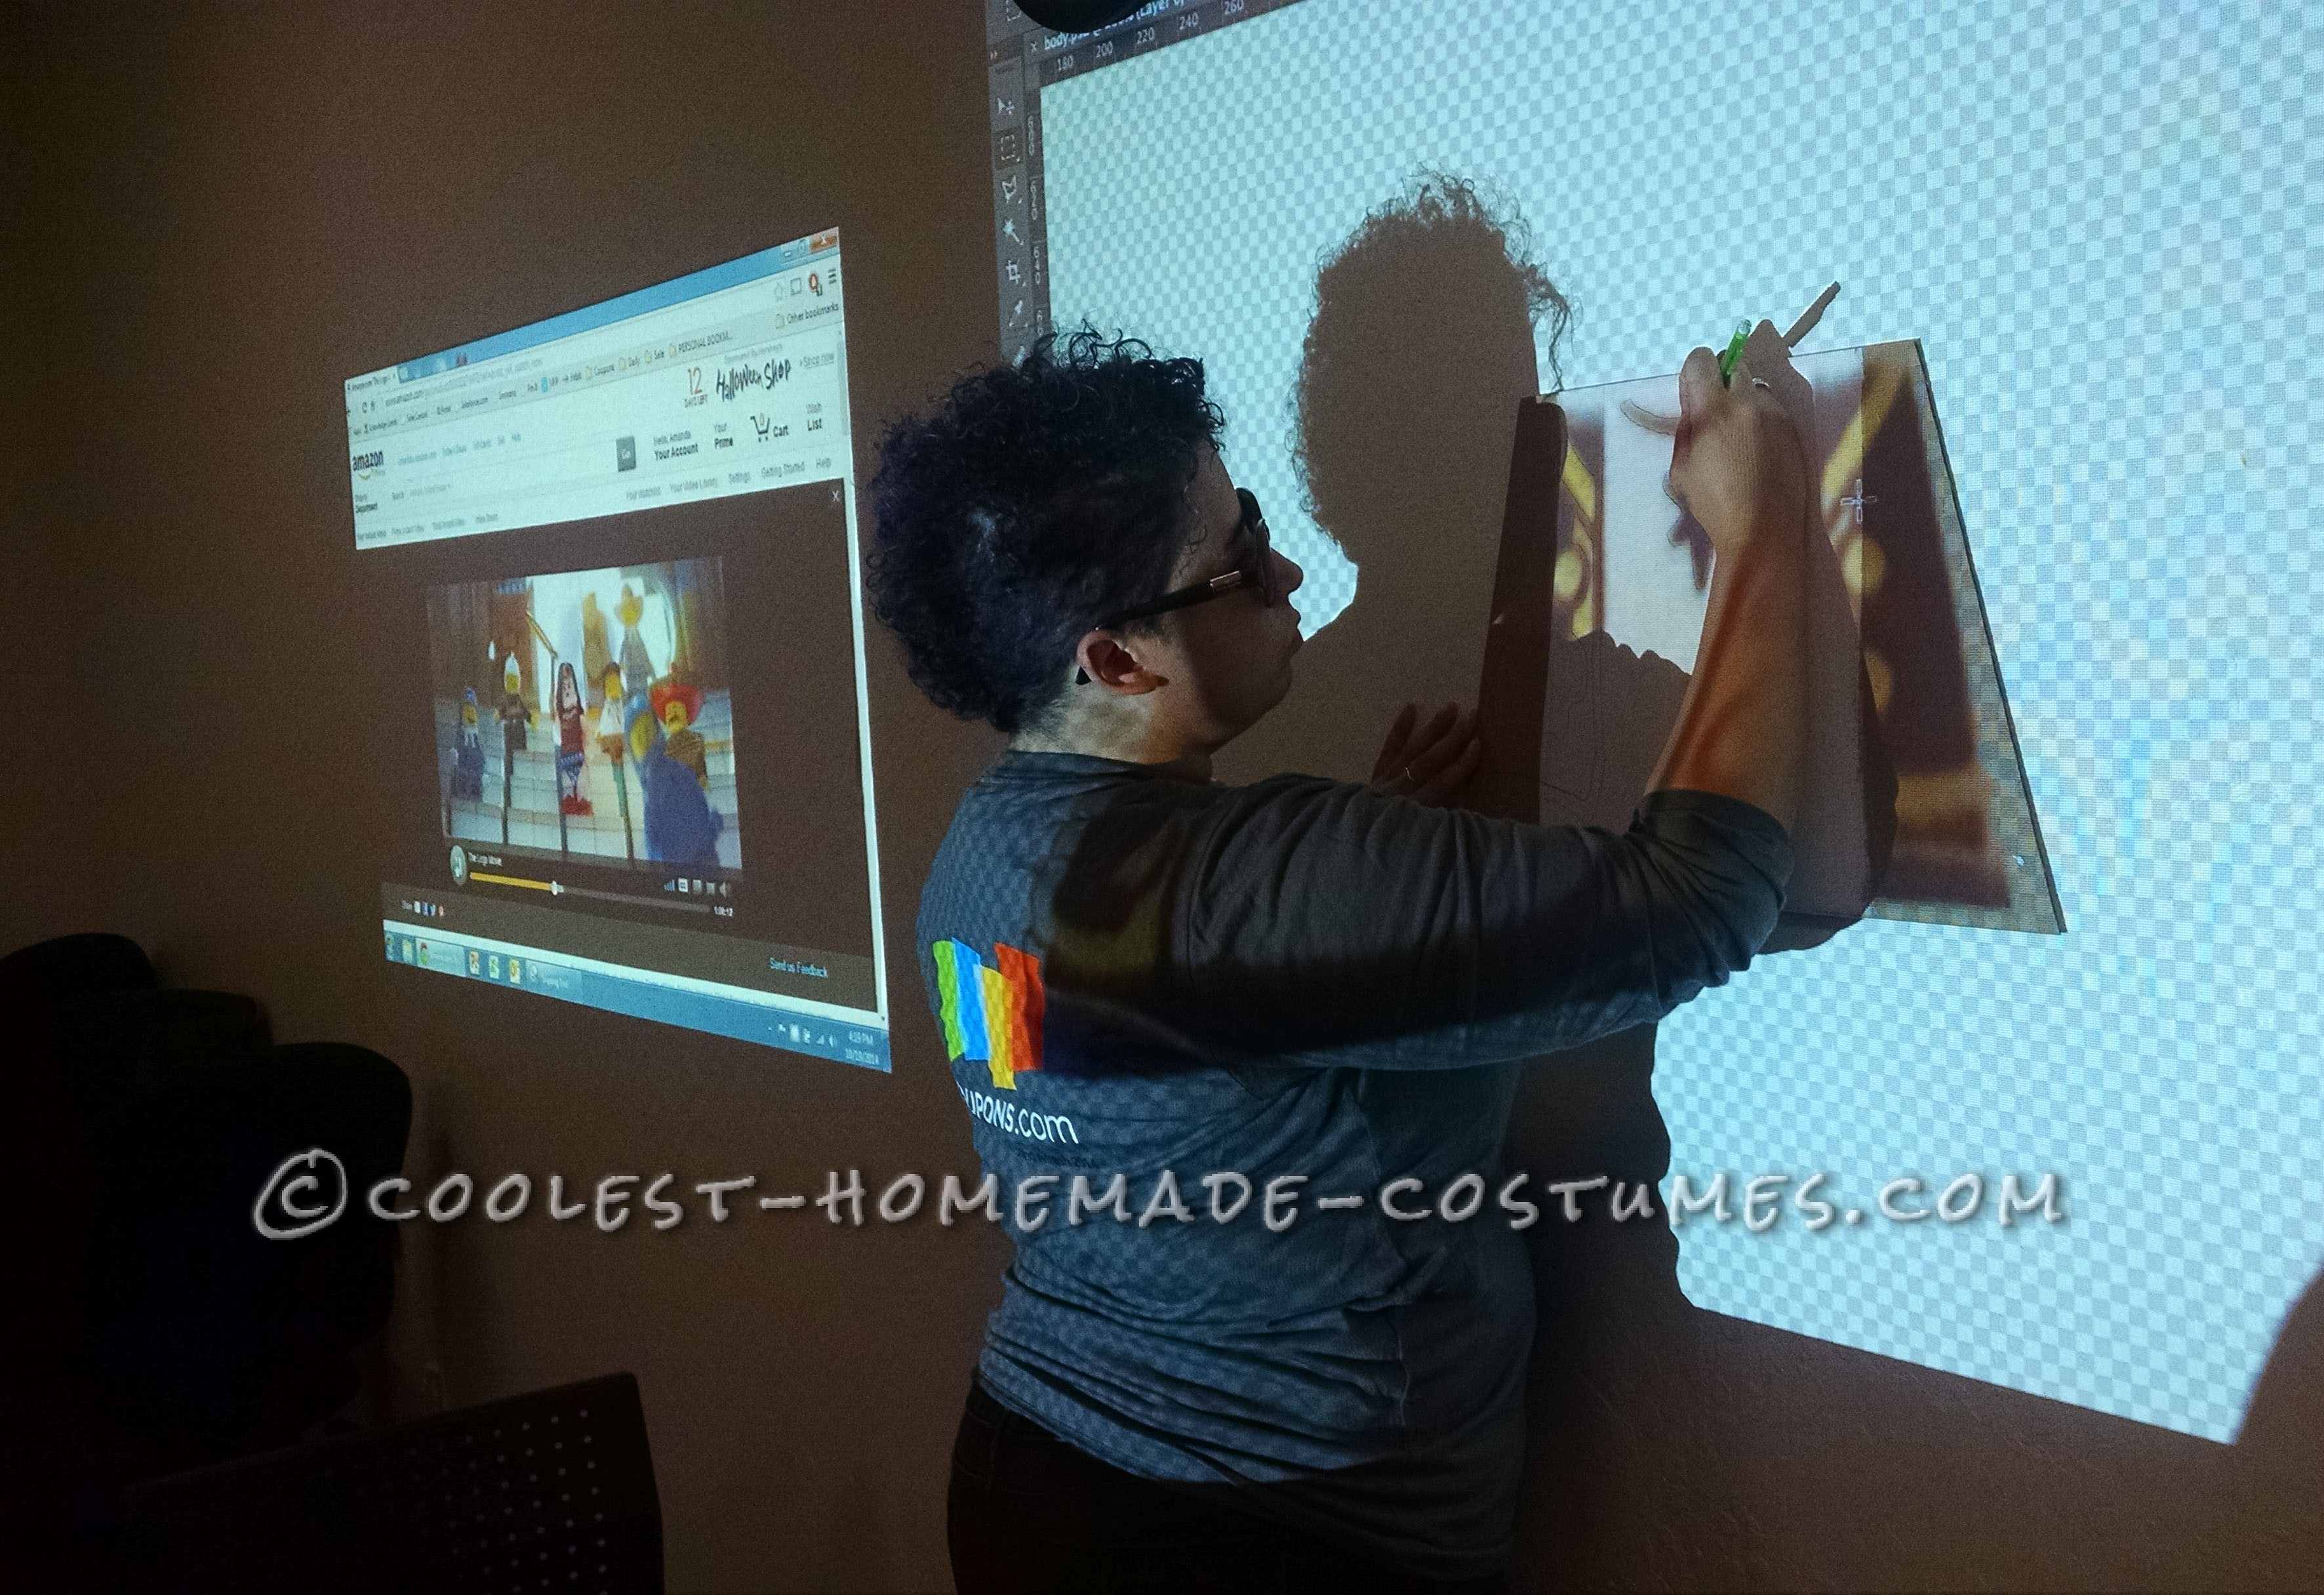
Projectors are your friend
I’m a fairly good artist, and I work as a graphic designer, but I knew I needed these to be SPOT ON if I wanted that extra level of wow. So I found the appropriate design, scaled it to fit each custom sized torso, and traced my heart out!
Painting was fun, but also time consuming. I used Valspar paint which I was able to buy in small 8 oz quantities. It was perfect because it was half paint half primer, so my lines didn’t show through as I painted.

Hair Trial & Error
I think the most fun was making the hair. I tried expanding foam first, thinking I’d just squirt it onto the head, then shave it into the shape I wanted, but it was pretty messy, and was only drying on the top, leaving the bottom squishy. I tried some Crayola Air Dry Clay, but it was super heavy, so I knew that would never work. Air Dry Foam Clay would have worked wonders, but it would have cost me $60 just for the hair, and that was definitely not in my budget. At last, I decided to try construction paper. Drawing on methods I used in the past when I used to make felt dolls, I started to cut out shapes that I thought would look good, and held them up to see how they fit. I used a block of Styrofoam for the top center, and made cuts into the block where I wedged in the hair pieces to make it look three dimensional.
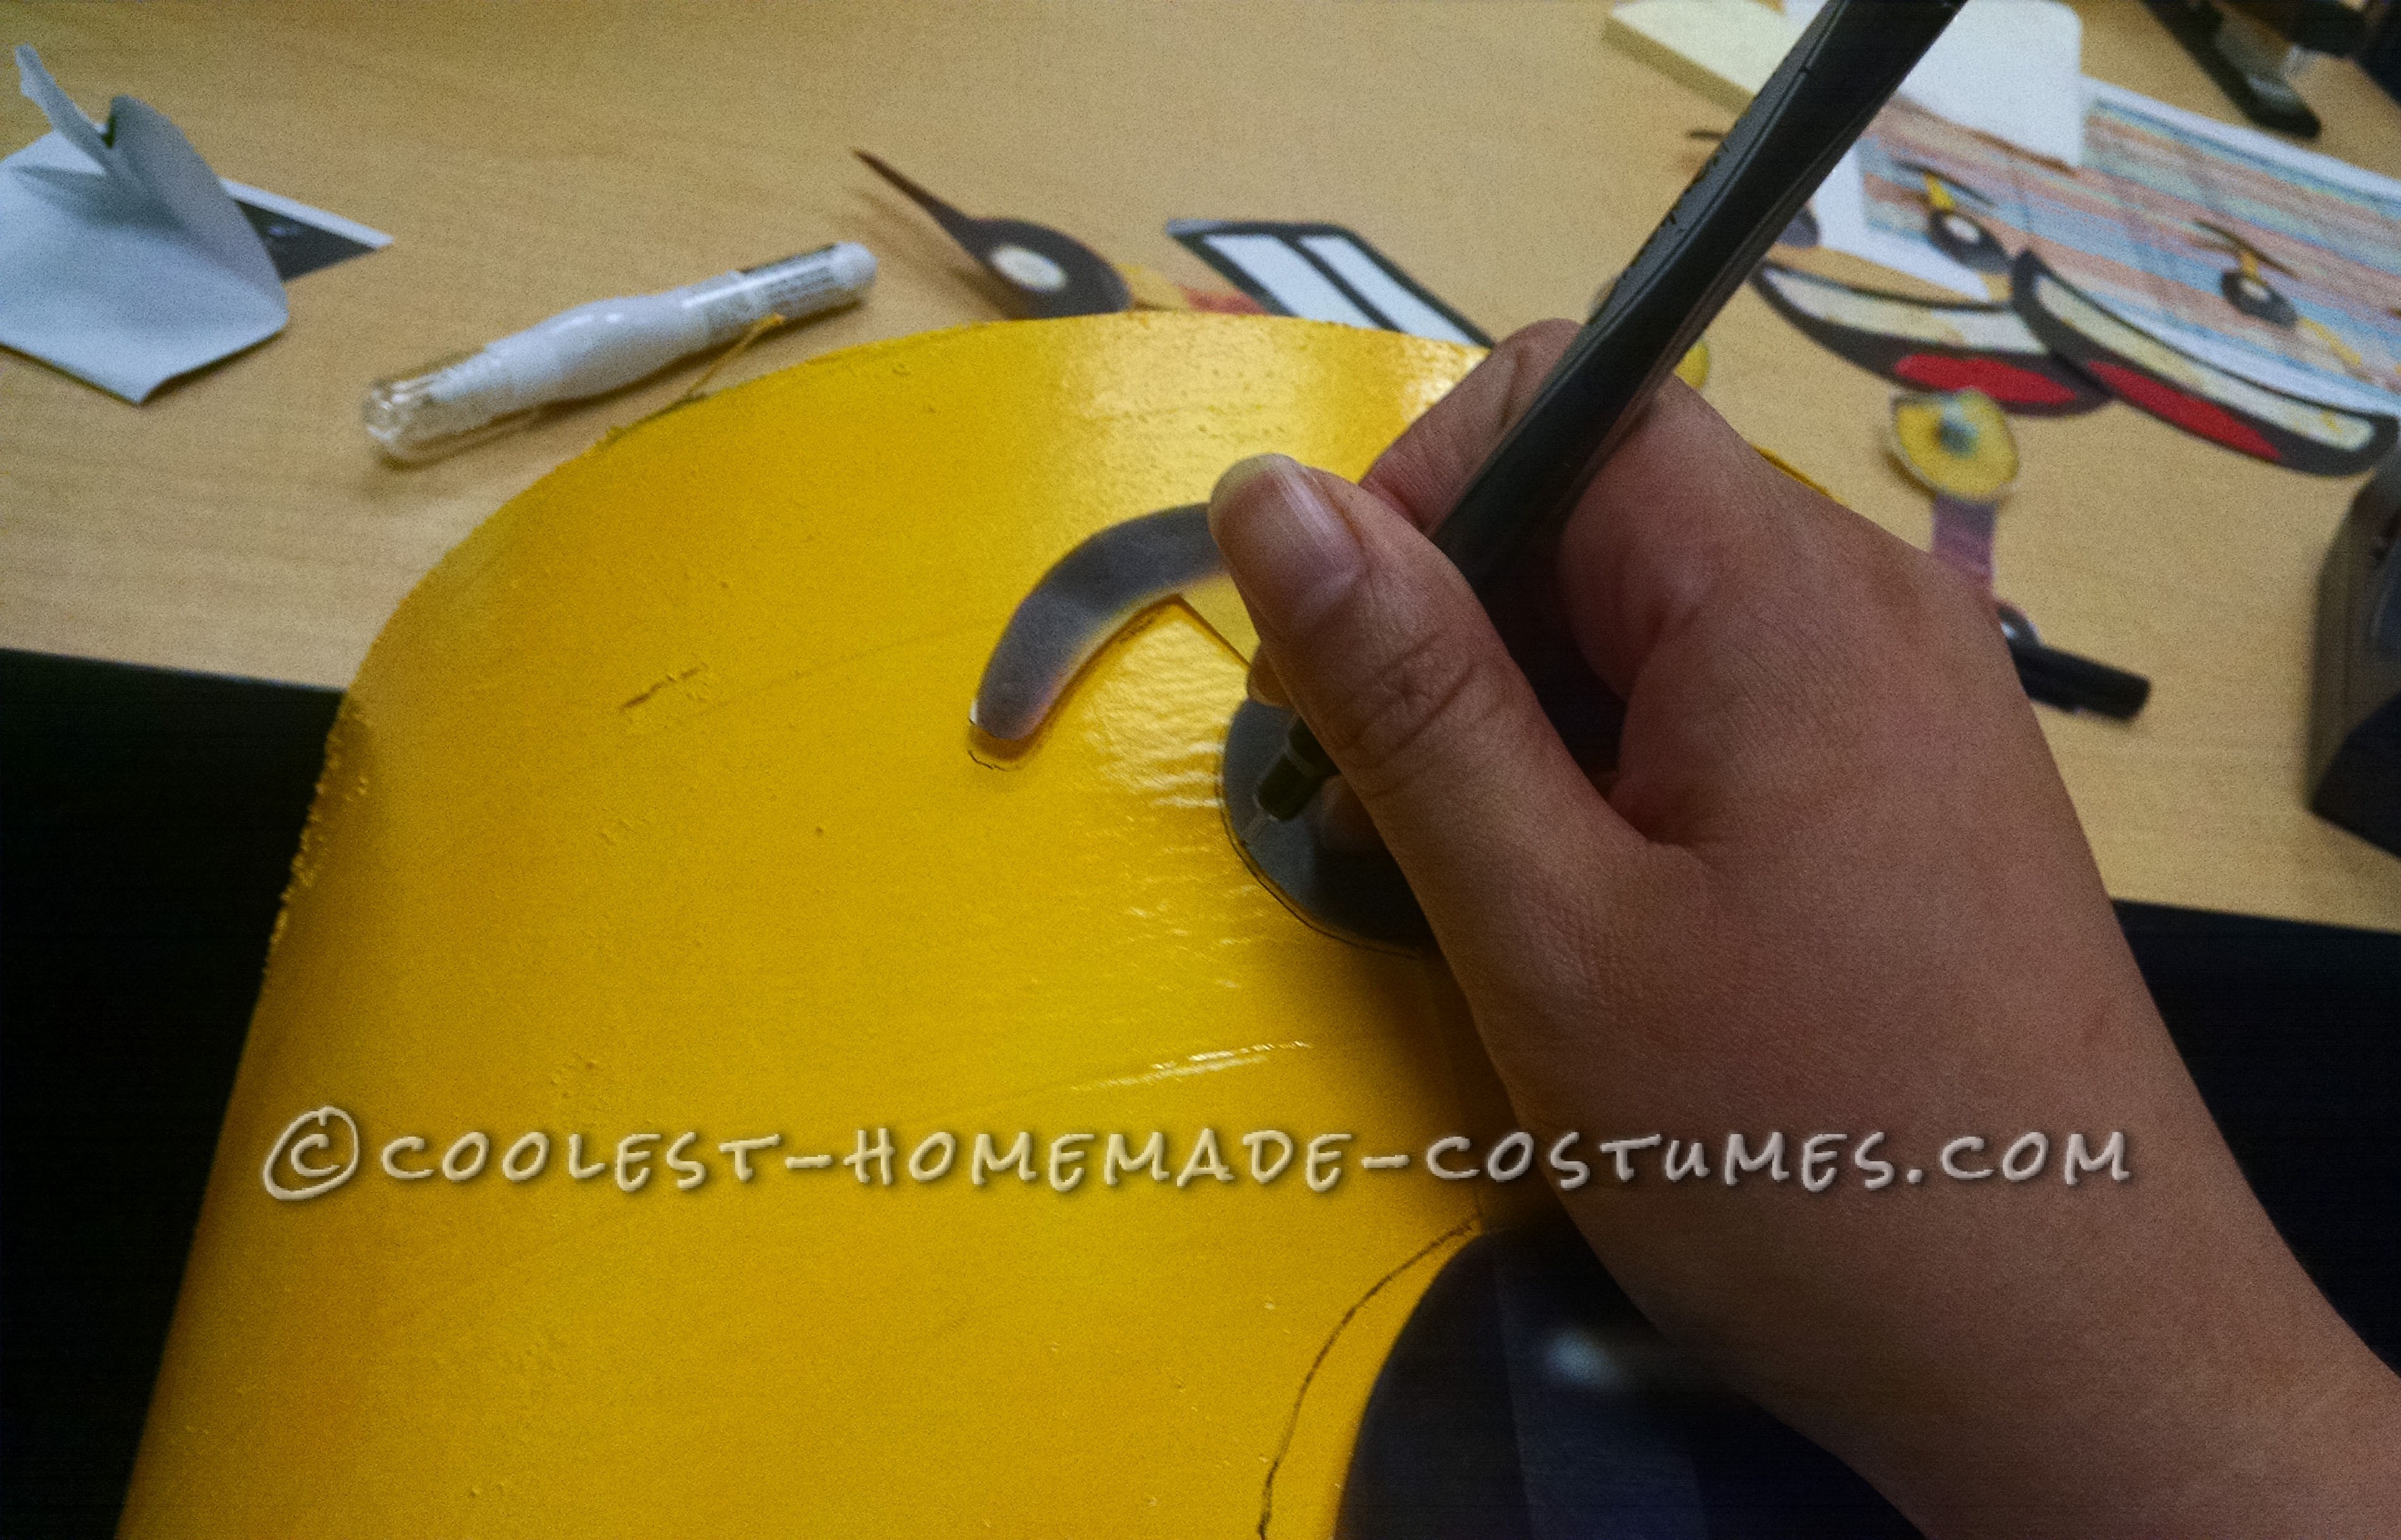
Face Details
I found the appropriate Lego expression from looking at pieces online, scaled them appropriately, and went about transferring them onto the yellow tubes. I’m a fairly good artist, but I wanted these to look exact. I tried projecting them, but there was no way to hold the tube still enough – since it’s a tube – so what I ended up doing was printing out each expression at the size I needed them, cutting them out, and then tracing them onto the tubes. I measured where everyone’s eyes were while wearing the head piece, and traced the mouth there. Cutting out the mouths was terribly hard.
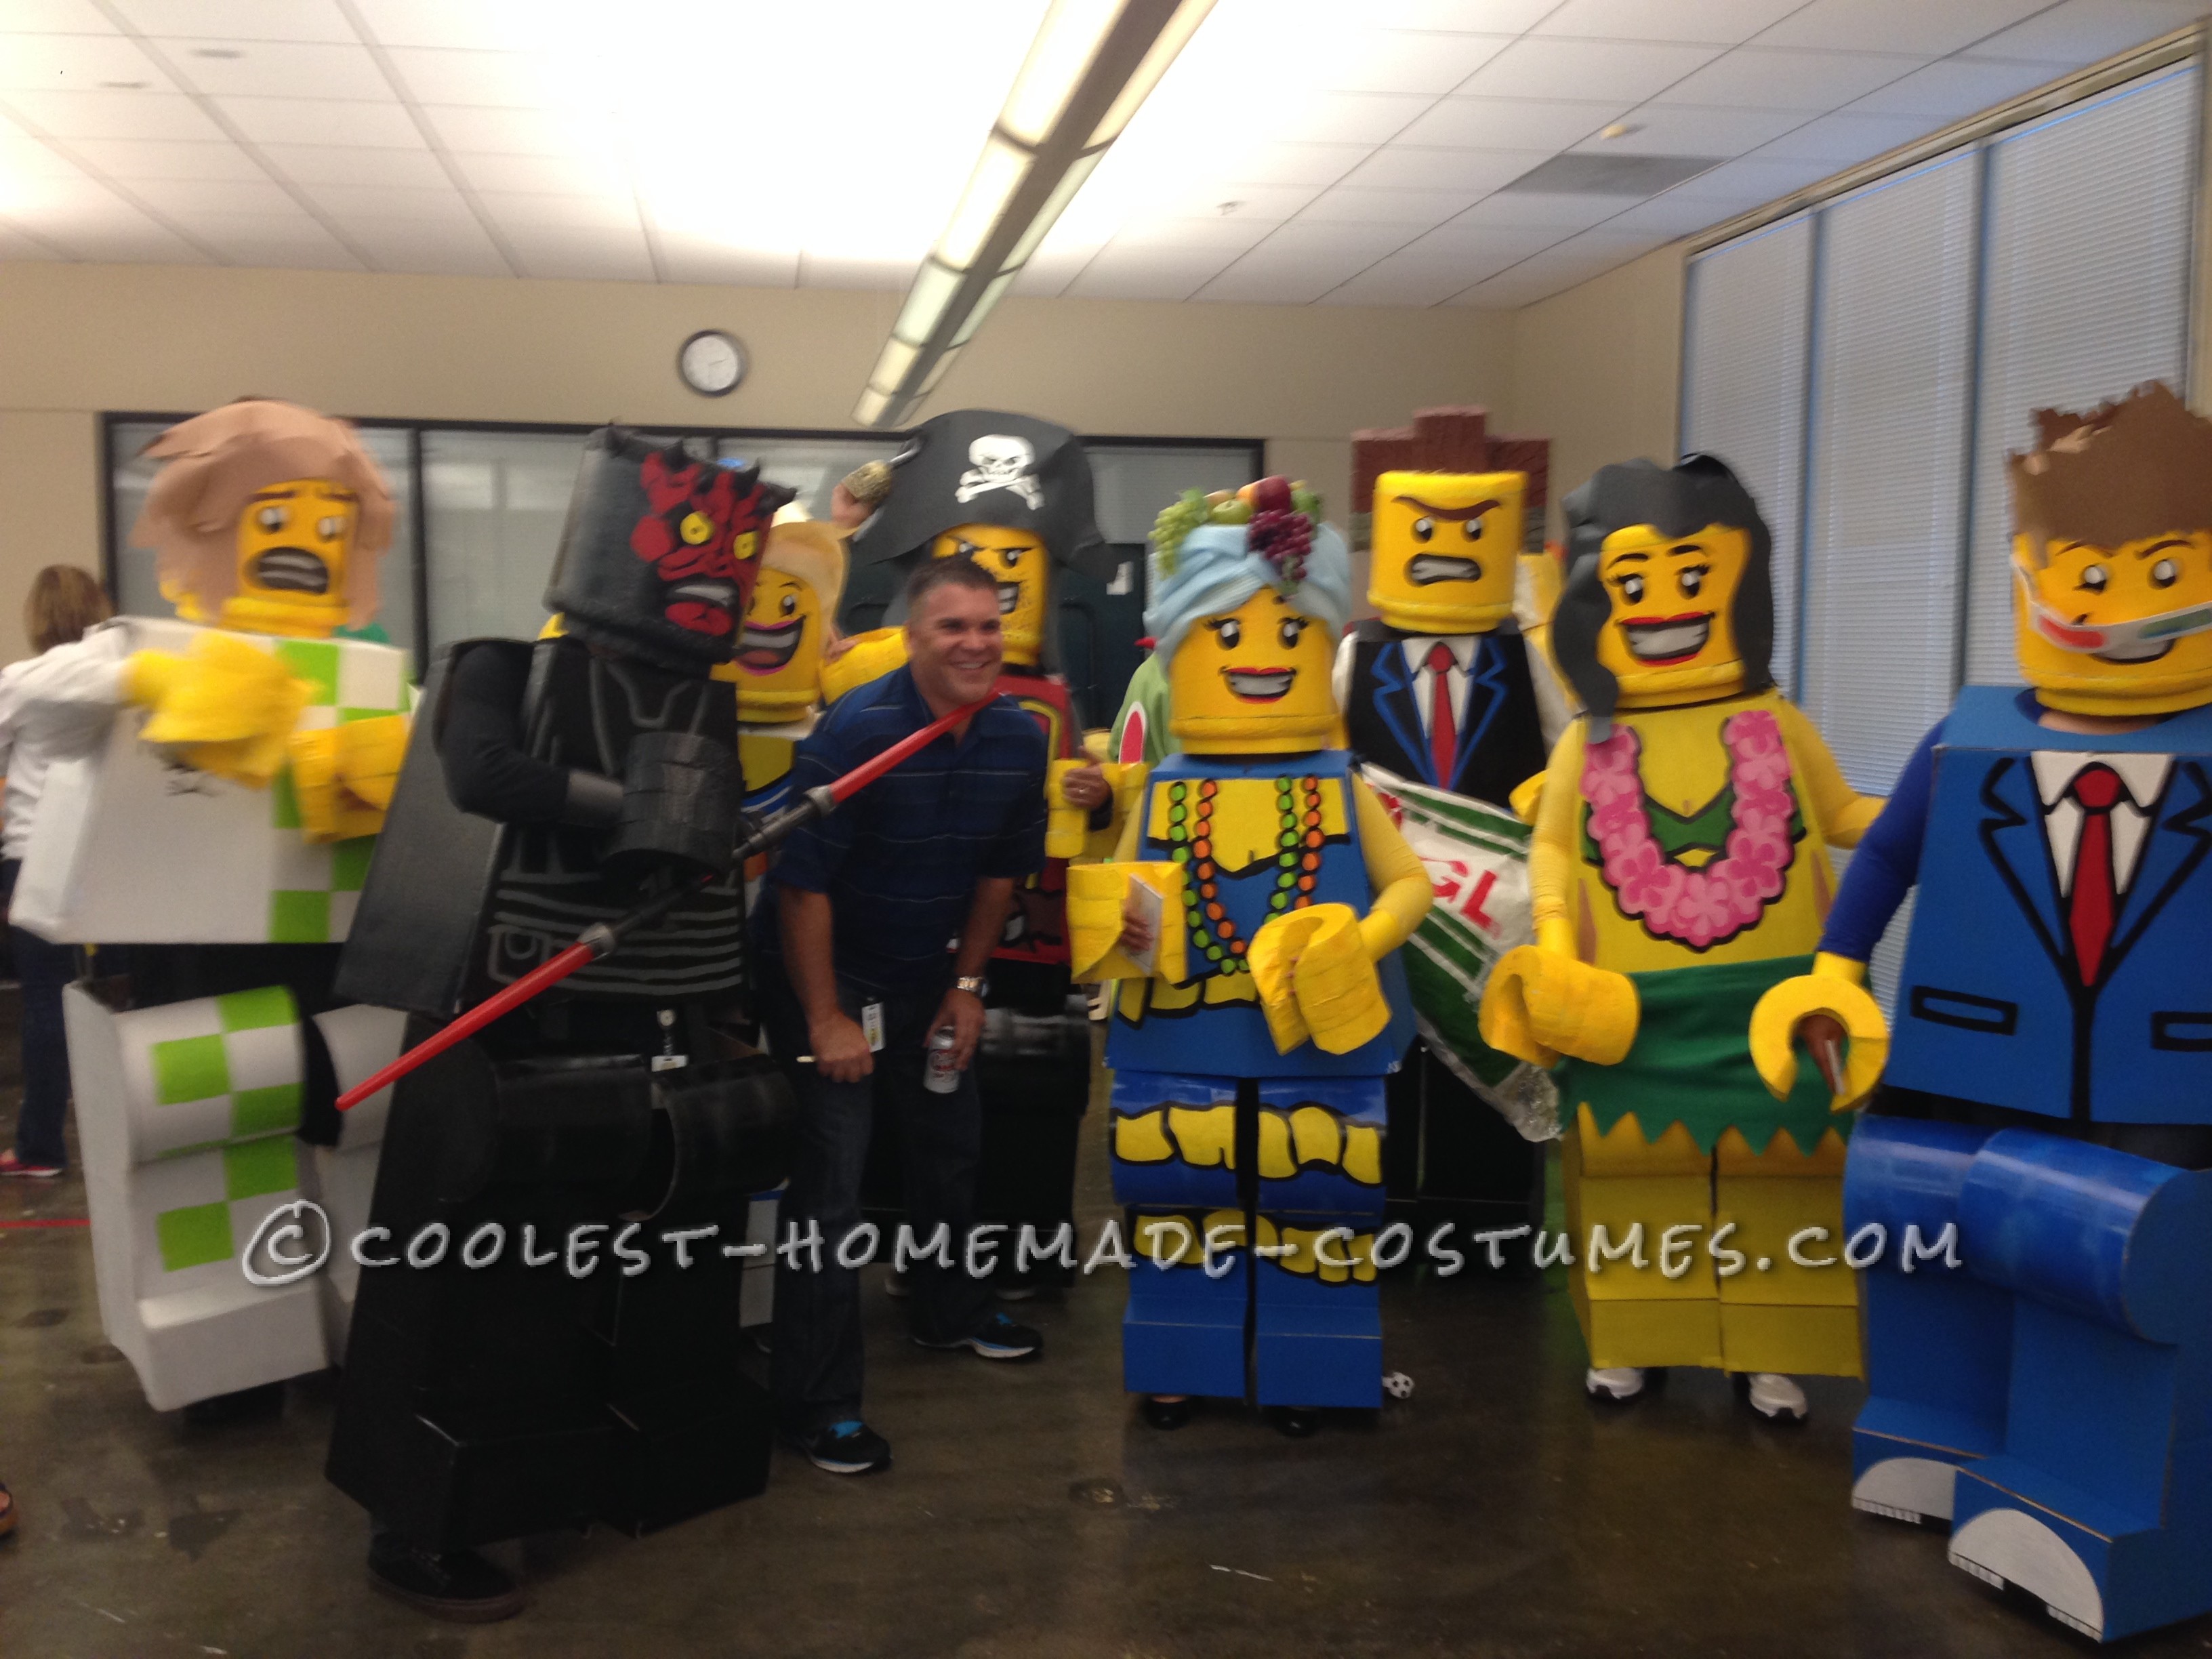
Finished Product!
While I don’t have video footage of us doing our thing just yet, here we all are!
I’m very much an introvert, but I love to make people laugh. This costume was so perfect for me and I didn’t even realize it would be. I had the pride of knowing I’d built this entire thing from scratch, and the anonymity of being in a costume that no one could see my face. I had so much fun wearing it, and I almost can’t believe I created this!
The contest entry is for just my costume of course, but all of the costumes in total took me over 240 hours of work. I worked from late August all the way through the day of Halloween. Luckily, I was able to use the office on the weekend, so I had plenty of space to get creative. It was an adventure and very physically taxing at times, and although I’d never attempt this again on such a large scale, I’m so glad I got the chance to!
Why I think this costume is a winner no matter what, is because not only was it sensational to wear, but the process of making it, in true DIY spirit, really taught me something about myself. It’s not in my nature to finish projects early, especially creative ones. I keep adding on, or getting more ideas, and the project just keeps improving and growing, and I end up never finishing it, or just finishing it to a point where it’s good enough to submit. This project was different. I started very early, and kept myself to a very ambitious plan. I took extra care to make time to keep up with my day to day responsibilities, but also not to allow myself to get lazy, or way too creative and go out of scope, making too much work for myself that I’d never finish in time. There was a little of both to be sure, but I managed it for the first time in my 28 years of life. I finished my costume and all 10 others on October 29th. That’s when I decided I had time to make K9 out of leftover Styrofoam and cardboard. It was so much more rewarding to be finished early, and then let my creativity run wild with extra stuff.
I’m so much more confident in my own abilities now, I’m going to have to do something amazing with all my free time, I didn’t realize I had! Maybe I’ll learn to play piano, or write a novel.


Related costumes:
 Coolest Lego Minfigure Costumes: LEGO Magician and Lego Sir
 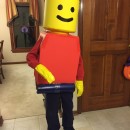 Cool Lego Minifig Costume
 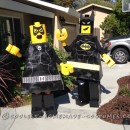 Homemade Batman Lego Couple Costume
 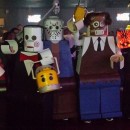 Amazing Lego Men Horror Villians Group Costume!
 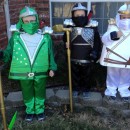 Awesome Lego Ninjago Minifigure Costumes
 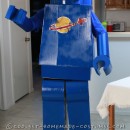 Awesome Lego Benny Costume from the Lego Movie
 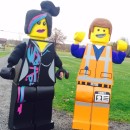 Amazing Lego Movie Couple Costume
  Prize-Winning LEGO Minifigure Costumes
Your comment has been sent successfully.