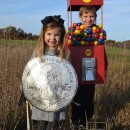
This was my daughter’s first Halloween, so I wanted to make a special costume for her even though she wouldn’t remember it any more than I remember my high school trigonometry class. I’m almost never creative (I can’t even cook without following a detailed recipe), so like many others, I scoured Pinterest for an idea that was simple enough and (unlike many others) had nothing to do with “Frozen”. I came across the popular baby popcorn costume with the decorated baby carrier and popcorn glued to the hat, but I couldn’t think of a way to keep the popcorn glued to the hat. I thought about other things that could decorate a baby hat and mimic a round object, and the gumball machine baby was born (no pun intended).
The whole process was really simple; you could certainly sew components together for a more professional look, but I enjoyed the simplicity of using glue. It also made me feel like a kid in an arts and craft class, which is always fun for a mom who still majorly enjoys blue-box macaroni and “cheese”, Scooby-Doo fruit snacks, and Capri-Suns.
I shared this on my Pinterest page when it was all finished, and I also submitted it to another costume website (Costume Works) who in turn posted it to their Pinterest page. It took off from there and ended up in an article on the College Candy website titled “22 Cutest Baby Costumes”. It also got shared on the Facebook page for “Dollar Store Crafts” and received over 2.3K likes.
I was overwhelmed by the positive feedback her picture received; my seven month-old has gained more popularity than I have in 27 years! My little gumball machine is the light of my life, and I love that she’s brought smiles to so many other faces, too. If you end up making a similar costume for your little one, please share it with the web! Unless your costume looks better than mine, in that case, keep it to yourself (at least until all these contests are over).
Assembling the Components
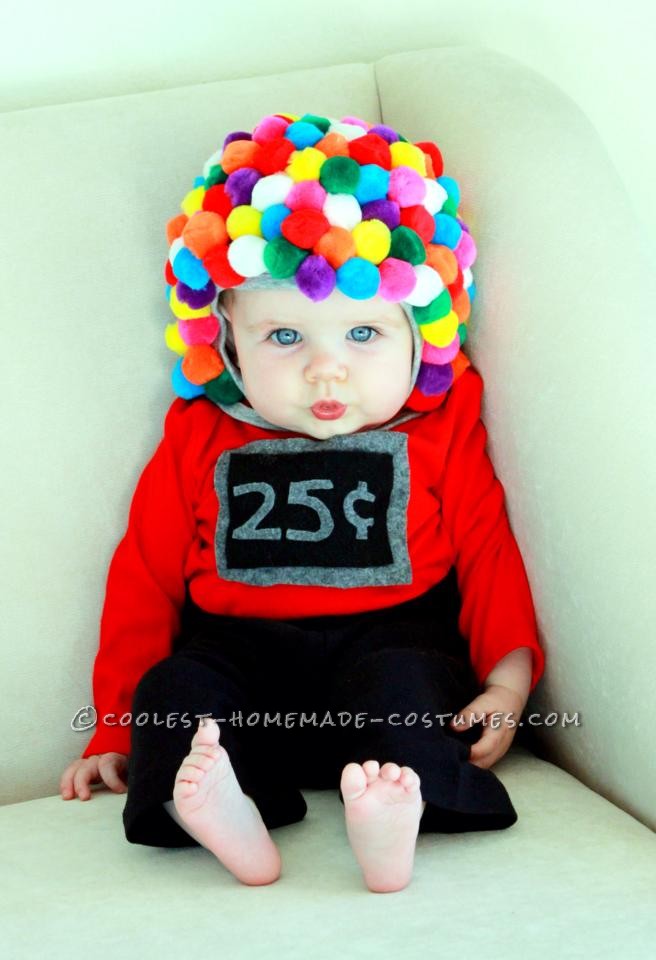
1. Hat: Choosing the hat was the most difficult part. I eventually ordered the cotton infant pilot cap from Hannah Andersson via Amazon after much online searching. After looking at pictures of different baby hats, I chose this one because A) it ties underneath the chin for guaranteed stay-put-ness, B) it covers the ears for added warmth and C) it’s form-fitting to the head without a lot of bulk. My daughter is seven months old, and the X-Small size fits her perfectly.
2. Pom-Poms/Felt: Hobby Lobby was my best friend for this part. They have the best variety of pom-poms that I could find; lots of combo packs, individual colors, different sizes, etc. I got the 1″ size, and ended up purchasing seven small packs of individual colors to get the exact ones I wanted. I think each pack was less than a dollar, and I had leftovers of all except the white. Awesomely enough, the felt was right across from the pom-poms, as was the glue. This part of the project came together quite nicely and quickly.
3. Onesie: Another Amazon purchase, this one from Carter’s. I found a red turtle-neck onesie; I figured a turtleneck would look more like a gumball machine, because no gumball globe has a skin-colored neck on it. Also, the turtleneck would protect her more from the cold Upstate NY weather.
4. Pants: These were just cheap black “karate” pants, also from Amazon. You could easily find these in a store, but I ordered them online because my Amazon shopping cart was already full so the shipping for those was free.
The Hat
This part was the only one that was at all tedious; you would think that 1″ pom-poms would occupy a good bit of real estate on an X-Small infant hat, but like me, you’d be wrong. That sucker took a LOT of pom-poms. It was also a challenge to distribute the colors evenly without putting several blues or green pom-poms too close together, but this could be overcome with purchasing wider variety of colors (a strategy I would utilize if I were to ever recreate this). This step was a lot of “apply glue, put of hat, press, hold for a while”. It would have been a nightmare if the hat was flopping around everywhere, but luckily, I had a very domed cereal bowl in my cabinet- I was able to stretch the hat over it as I worked, so the hat kept its shape and I could still hold it comfortably. It also provided a hard surface as I had to hold the pom-poms down to let the glue grab hold of the hat. Truly, the cereal bowl was the best part of this step.
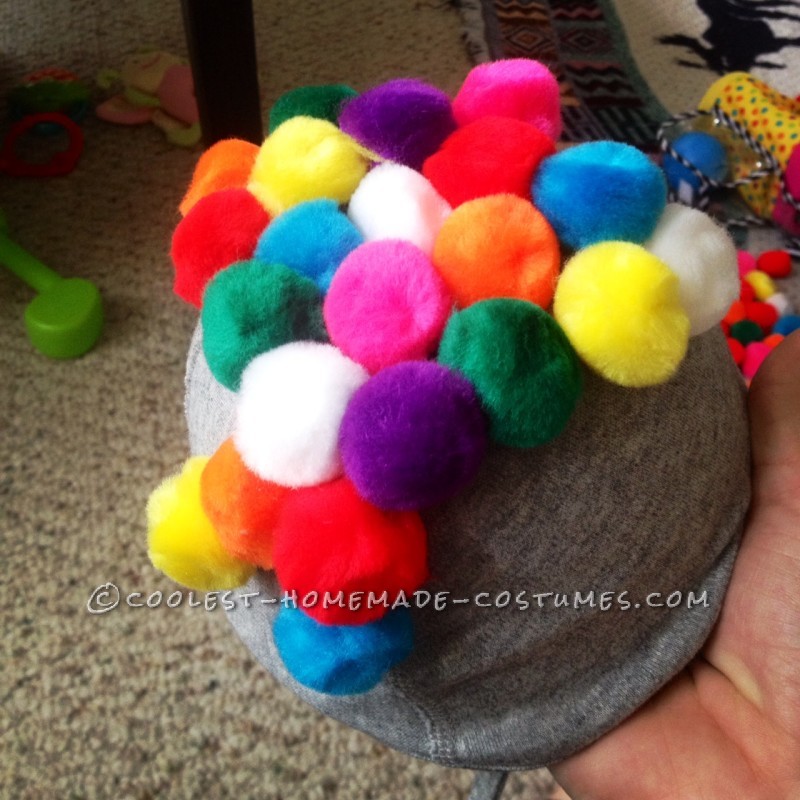
Using the cereal bowl to help the hat hold its shape.
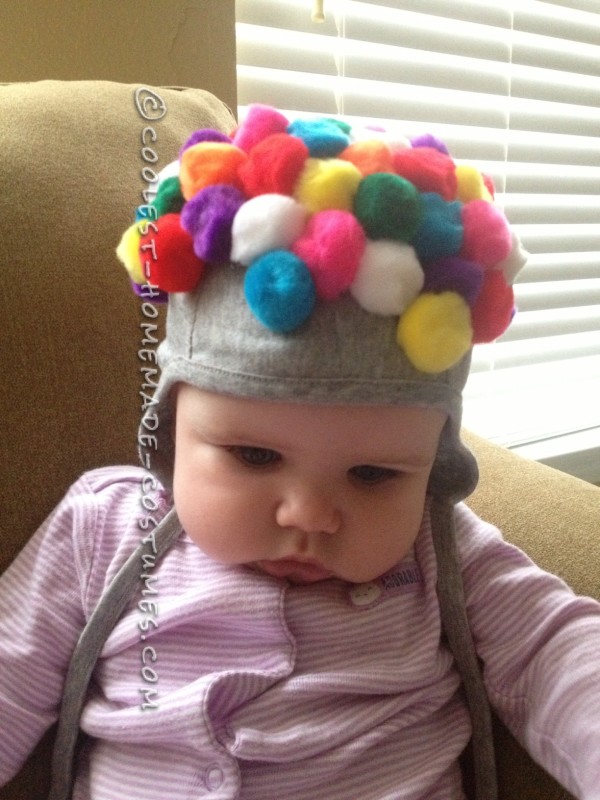
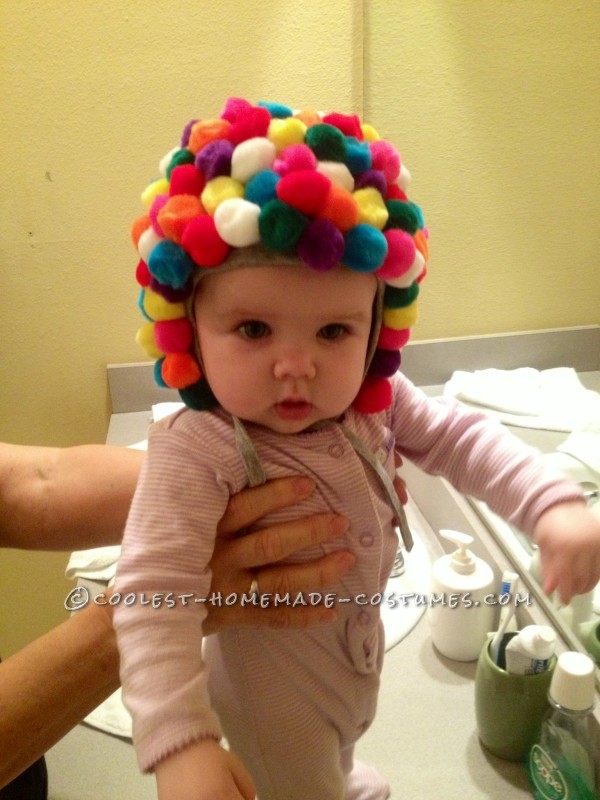
The completed hat!
The Onesie
If you did the hat first, this part will seem especially breezy. All I had to do was attach black felt to gray, then attach gray “25c” felt to the black. I used manicure scissors to cut the lettering, but that’s all I had. I was on a temporary assignment for the Air Force, and my lodging was furnished with EVERYTHING except scissors. The manicure scissors worked surprisingly well with the felt. Each part was adhered to the next with felt glue, although you could probably use any craft glue with equal success.
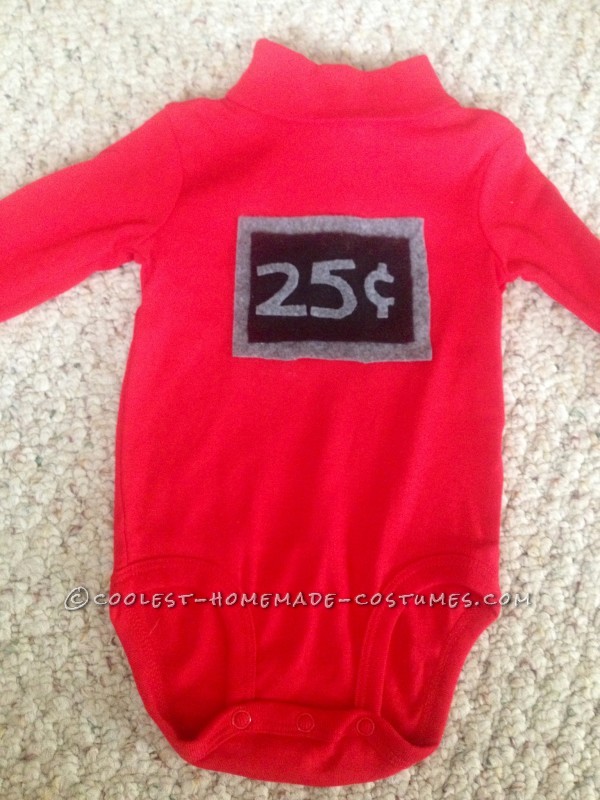
The simpler part of the equation.

Related costumes:
 Cool Duo Costume: A Gumball Machine and a Quarter
  Sexy Homemade Gumball Machine Costume
  Put the Quarter in the Gumball Machine Couple Costume
  Homemade Gumball Machine Halloween Costume for a Child
  Fun Homemade Gumball Machine Costume
  Cool Zoltar the Fortune Telling Machine Costume
 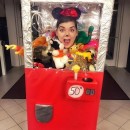 Claw Machine Costume – Clawing my Way to the Top
 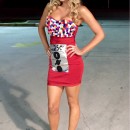 Sexy No-Sew Gumball Machine Costume
Your comment has been sent successfully.