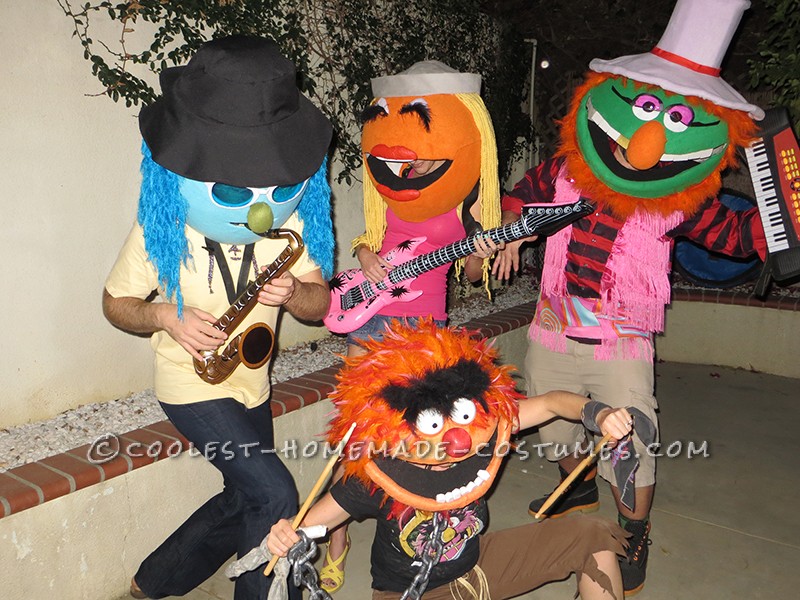
This Electric Muppet Mayhem Band costume was a very cool and cleverly made group costume. I decided I wanted to do this, but took it the extra mile. I added my own twist, as well as making four of the band members. I must admit, this took A LOT of time, patience and hot glue burns. The outcome was worth every minute though. These were a blast to wear. We felt like celebrities all night and tons of people wanted to take our picture.
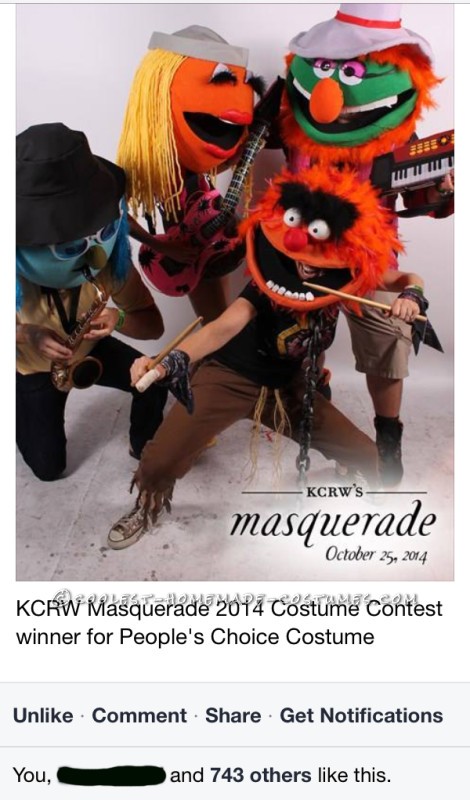
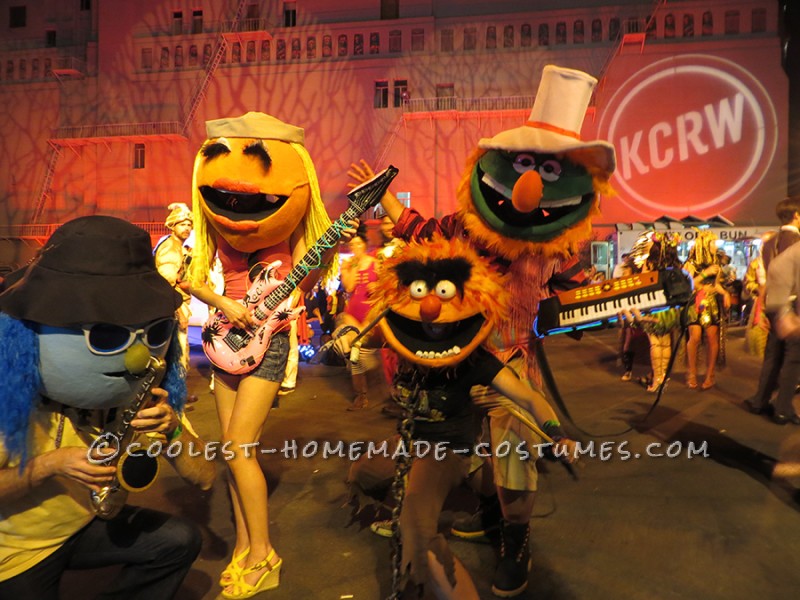
We ended up winning the Peoples Choice Award for Best Costume at the KCRW Masquerade Ball, which was an incredible feat! We also won best costume at a local bar. The reactions were always like “WOW! IT’S THE MUPPETS” and “Holy Cow! Those are amazing!” It was so much fun.
1st Step: Paper Mache!
I bought 23” balloons and did about 4-5 layers of paper mache. The ingredients are super easy: 2 cups of flour, 2 cups of water and a long heavy pour of salt. After each coat of paper mache, I let it dry completely. I did have some trouble with cracks but after the first head was done I realized I could use it to my advantage and help with the shaping.
2nd Step: Cutting the Mouth and Neck Opening and Installing a Helmet
I cut a big hole at the bottom, testing the opening with my own head. I brought used bike helmets to connect to the paper mache that would allow it to stay on securely. A challenge I had was that the head was so large, the helmet was too deep inside, so I taped bubble wrap to the top of the helmet and then used string to secure it to the paper mache by cutting 4 holes at the top to have the string come out through.
Once this was in, I’d kind of felt around to where my eyes were and marked the area where I wanted the mouth opening. Comparing to Animal muppet photos, I tried to cut the mouth shape as accurate as possible. This is important to be at your eye level so one, you can see and two, you can breathe. I had a larger challenge with Zoot, his character only has a tiny mouth opening so the only visibility I could have was through the glasses, but that didn’t give much air flow. I will let you know how I fixed that later on.

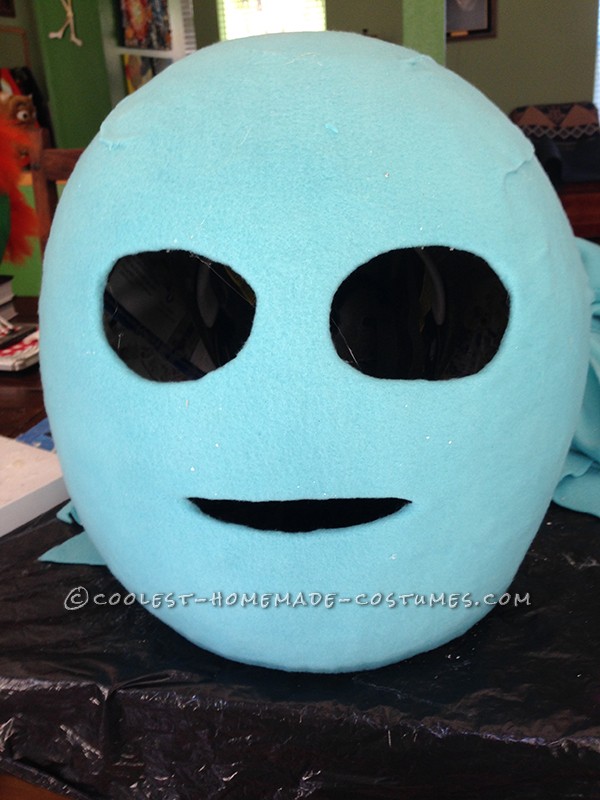
3rd Step: Covering the Head
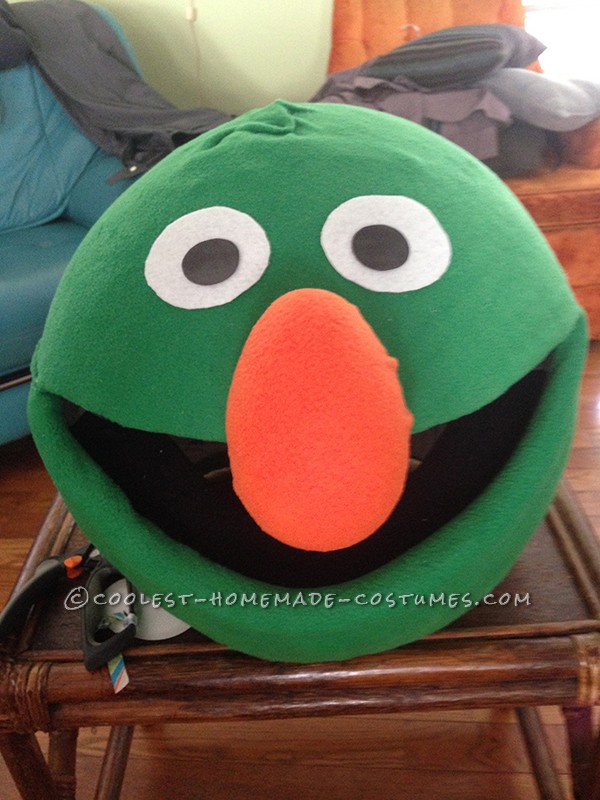
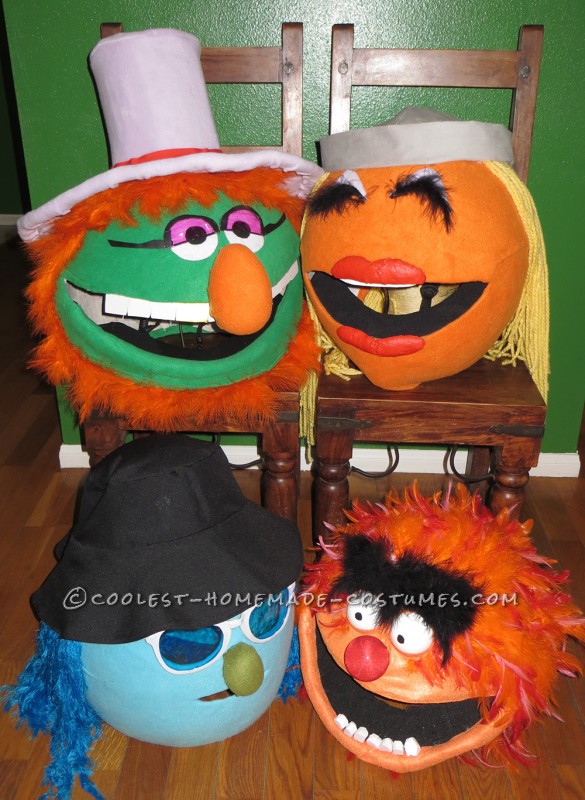
For the first head (Animal) I used felt. This was a pain and not easy to use because there was no stretch and I could only buy them in 12×12 squares. On the last 3 heads I found fleece fabric which was WAY easier and much cheaper. It had minimal stretch, which was just enough to help. Once the head was fully covered, we were ready to start applying the face.
4th step: Adding the Face
Animal: I used foam to cut out teeth and shape. I used cardboard that I covered in black fabric to make the inside of the mouth. I also used Christmas ornaments painted white for the eyes, and a Christmas ornament covered in red knit fabric for the nose. I hot glued them all into place.
Dr Teeth: I bought a Styrofoam egg and covered it with fleece for the nose, white cardboard cut/shaped for teeth, and white felt for eyes. Bicycle visor plastic was used to make the glasses (I literally cut, trimmed, and glued to get the right shapes). Sandwich bags and twist ties painted purple made the lenses.
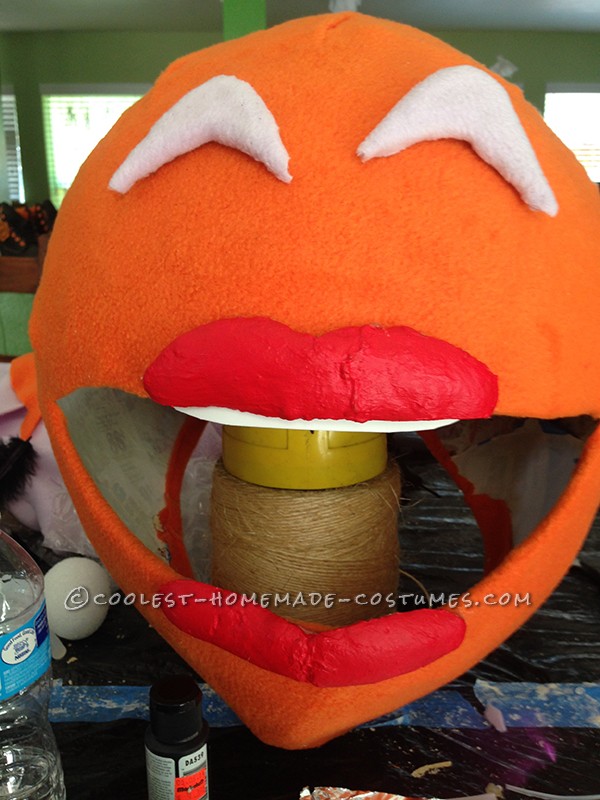
Janice: The lips were challenging. I googled “how to make homemade clay” since I didn’t want to buy any and didn’t really have time. I found a website with a homemade modeling clay recipe and used that.
Once the lips were done baking, I used my fingers and a razor blade to shape them (after I initially and unsuccessfully tried to shape them before baking). I hollowed out the insides to remove excess weight. I painted them in the classic Janice red lips and hot glued them into place. For the eyes, I used about 3 layers of flexible foam paper, hot glued them together and used my scissors to give it a little shaping. I covered this in purple fleece and voila… eye lips! I then took twist ties, painted them black and hand glued black feathers in the style of eyelashes. Once this was done, I connected the eyelashes to the eyelids. It looked great.
Zoot: I bought jumbo party sunglasses from Amazon and painted these to the grey color Zoot wears. I had to break them in pieces to get the placement right. Then I glued it to the head. I made sure the holes behind the glasses filled the entire lens to ensure maximum visibility. I used a foam egg covered in felt for the nose.
5th Step: Adding Hair, Fur, Accessories!
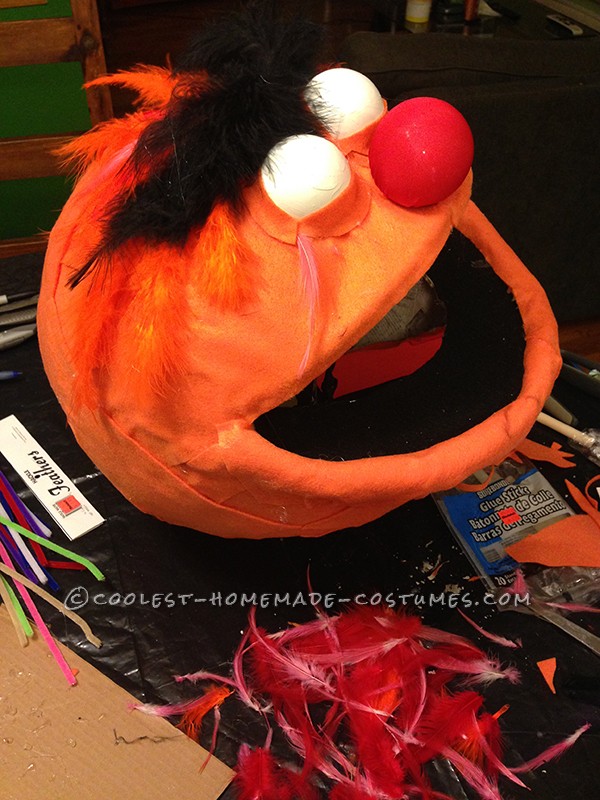
Animal: I hand glued every single feather for the fur on him. The real Animal has a variety of pink, orange and red in his fur so I wanted to replicate that. I used black feathers for above of his eyes. This really gave it a fantastic look! I made his collar with a fake chain I got at a Halloween store and then used flexible foam paper, adding velcro to keep it closed. I cut out spikes from a foam board and painted everything to match the chain.
Dr Teeth: Again, I used feathers here, (only orange) but individually glued everyone on. For his pimp hat I made a pattern and then used cardboard inside to keep the top part stiff. I used wire glued inside the brim to give it the outer structure. I tried googling ‘free hat patterns’ in the kind I was looking for and just blew it up really large but after first trying that and sewing it up, found it didn’t really work at all. So ya, I ended up making all the patterns for the hats.
Janice: I used yellow thick yarn for her hair and then made a pattern for her hat.
Zoot: I used cool eyelash yarn for his hair and made a pattern for his hat.
6th Step: Final Touches That Were The BEST PART OF ALL!
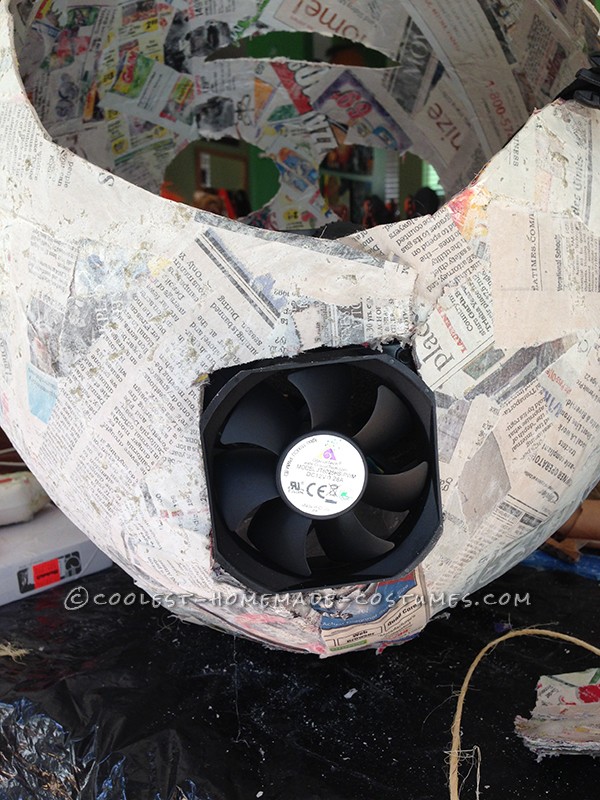
I installed mini fans into the back of the heads. This saved us all from being too hot at our Halloween outings. I cut holes in the back of the heads to all the ventilation and glued a mini pocket to the inside of the walls to hold the battery. The batteries only lasted about 1.5 hours on continuous run so we brought extras. Life saver, I do wish I had made it to turn on/off by a light switch or button that would have made it a lot easier to use.

Related costumes:
 Group Costume Dr. Teeth and The Electric Mayhem Band
  Awesome Wun Wun the Giant, Game of Thrones Costume
 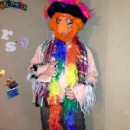 Family Muppet Costumes
 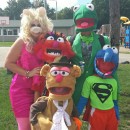 Coolest Muppet Family Costumes
 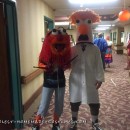 Animal and Beaker Costumes Bringing Joy to Nursing Home
 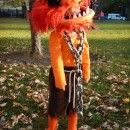 Best Animal from the Muppets DIY Toddler Costume
 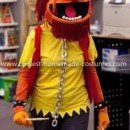 Coolest Animal Muppets Costume
 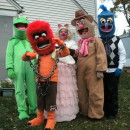 Coolest Homemade Muppets Group Costume
Uau, great!
Amazing! Im trying to emulate the animal one now and using your notes as a step by step (craft newbie here). Ive got some good stretchy(ish) fleece fabric to cover it… did you cover it all in one piece? And did you cut the mouth first? Any advice or a breakdown would be massively appreciated!
Stretch the fleece over the head as much as you can to be smooth around face and use hot glue to hold in place. Cut out the mouth opening – then glue any missing gaps. You can always add
More scraps of fleece to cover areas once you get other The face details in place. Good luck!