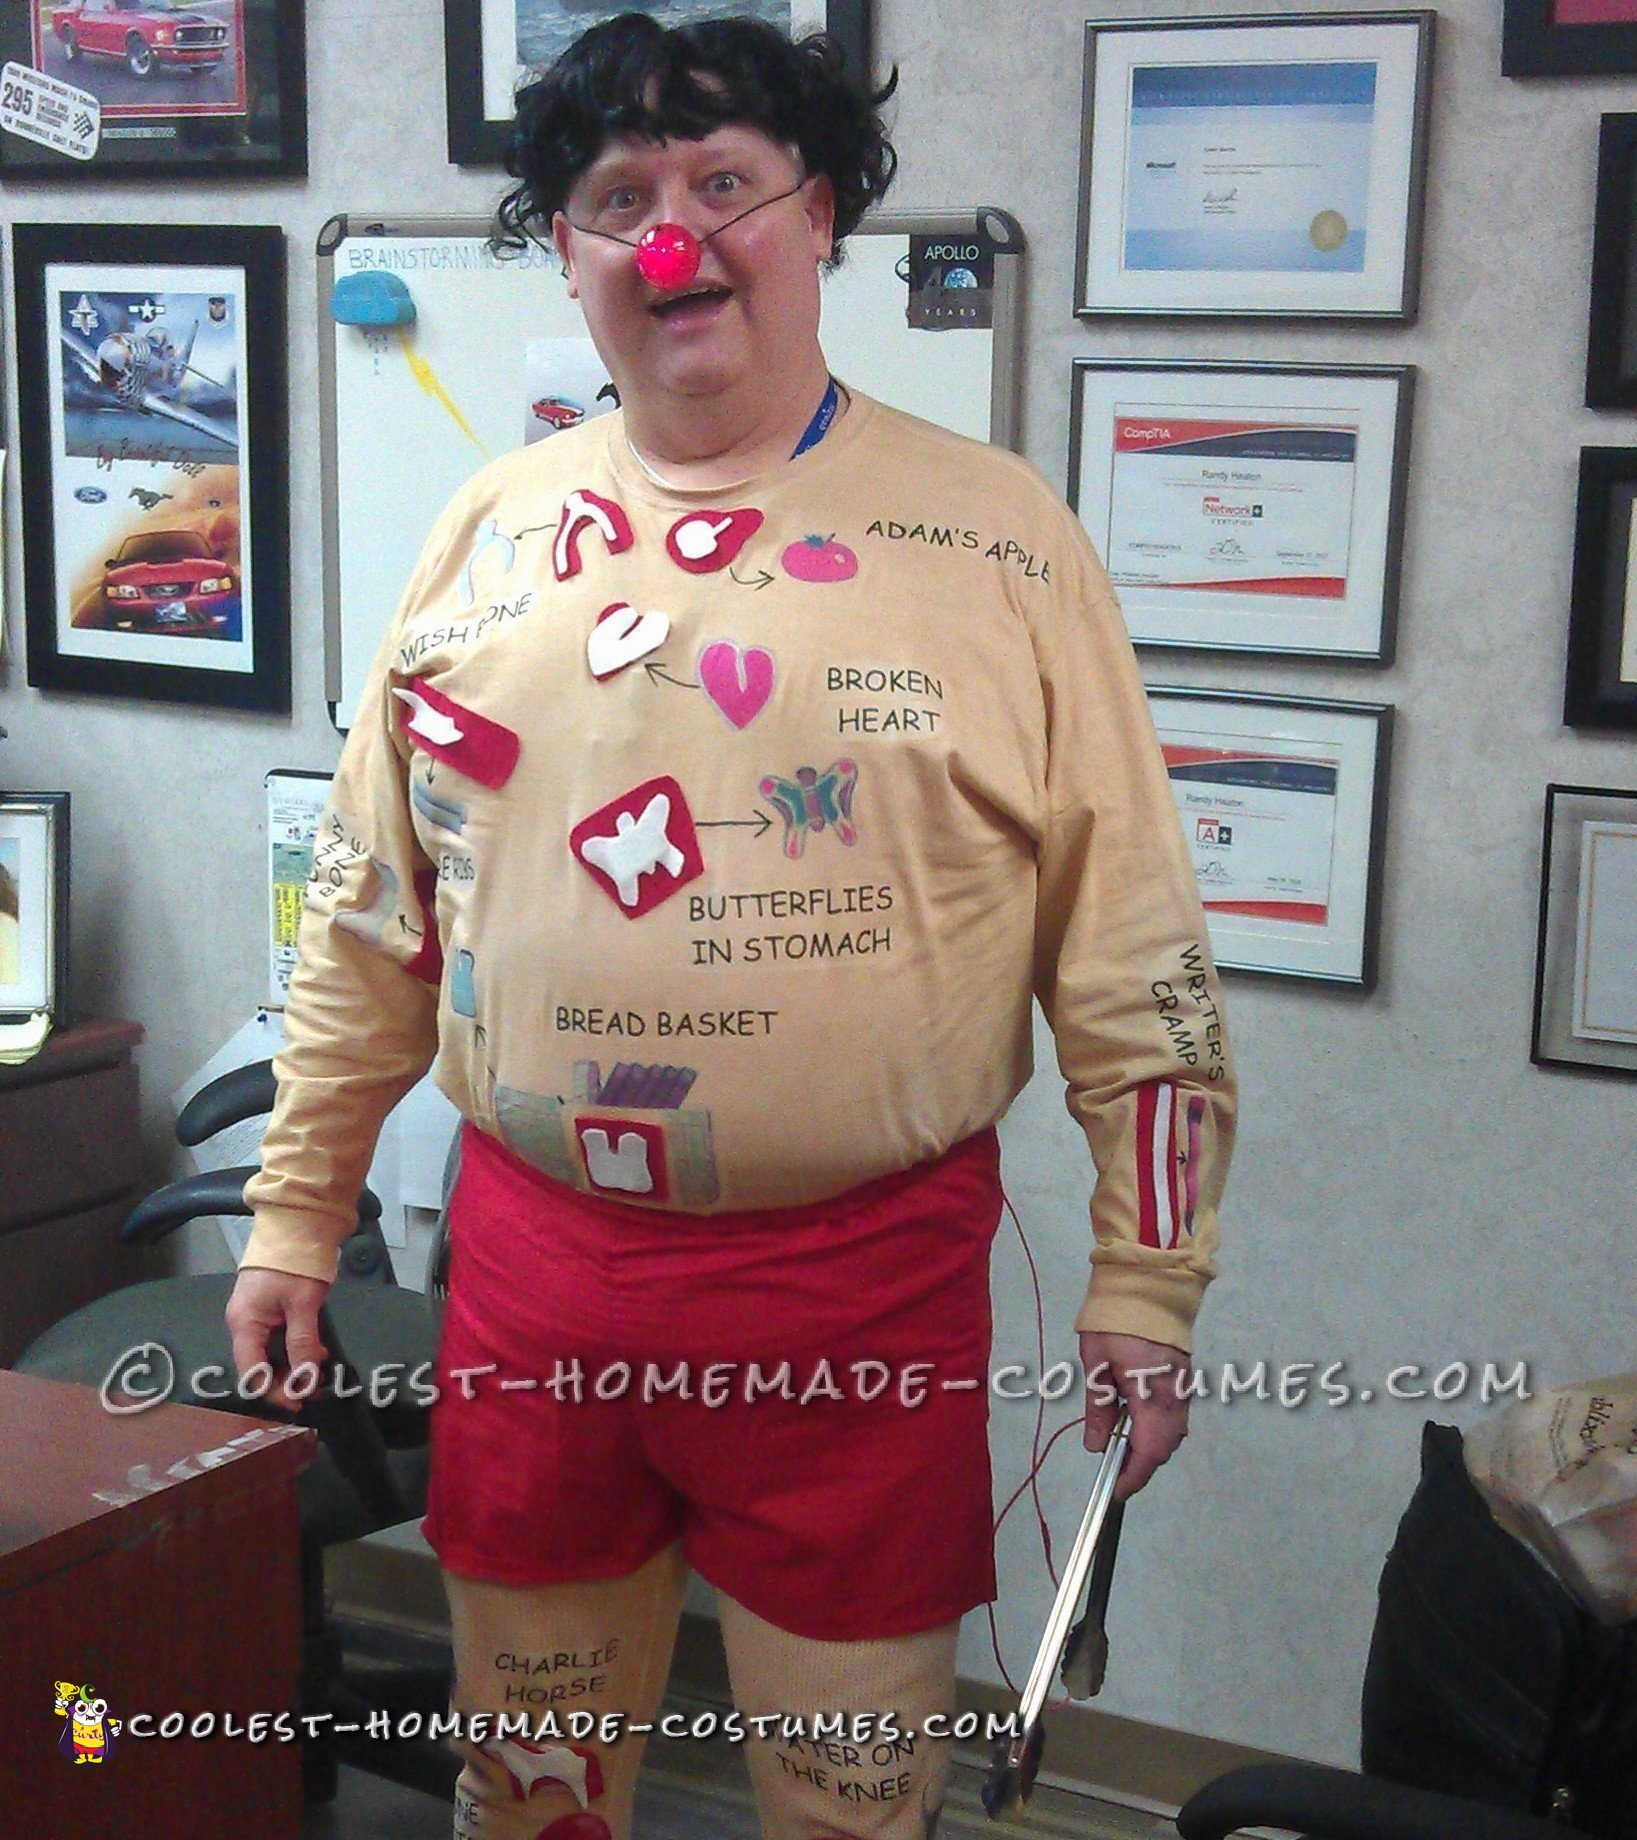
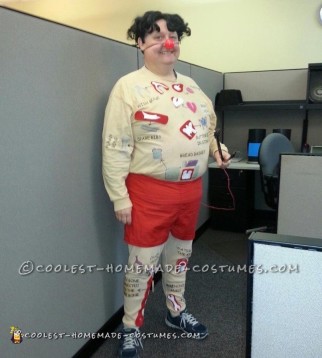
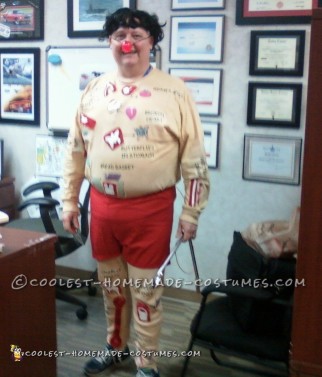
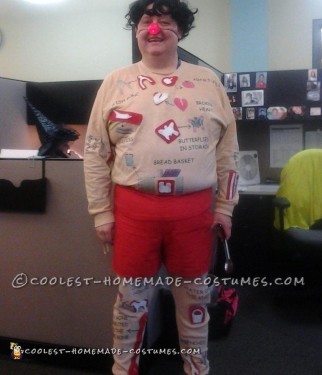
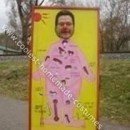
My company has a yearly Halloween costume contest, for the best individual costume as well as for the best departmental costume theme. While my department has won continuously for the past two years, several employees were going to be out on Halloween 2014, so I decided to go to it alone with a solo costume this year. My wife and I pondered over several ideas but finalized on me being the “patient” nicknamed “Cavity Sam” from the Operation game.
While there are lots of examples of such costumes online, our goal was to make the costume look as accurate and true to the original game as much as we could, and as such I started with a high resolution photo of the “classic” Operation game board to make it all happen. We figured that printing any graphical element on iron-on inkjet transfer paper was the cleanest way to get it to look “right.” Turns out my photo editing skills came in handy too. We moved forward in the costume parts gathering phase, and my wife picked up a white long sleeve t-shirt and some long thermal underwear in my size as the basis of the costume.
Next, she picked up some tan fabric dye to make the shirt and long thermal underwear come out as a natural skin tone. She also picked up a light up red nose from the “Red Nose Reindeer” holiday section, a novelty hand buzzer to use for the noise effect, and a cheap pair of bright red shorts to help “Sam” be a bit more modest. I also found a black wig at a discount store, which my wife cut into the proper “look” of the patient on the game board. I found some leftover red electrical wire in my garage (solid bell wire) and an old pair of tongs to use as the “tweezers” part of the game board. I used red electrical tape to make the tong handles look more true to the game.
We set up the weekend before Halloween to dye the fabric clothing outside in a three gallon bucket, and heated some water on the kitchen stove as per the instructions, but I got a bit carried away and got the water close to boiling, then managed to splash some on my left foot as I poured it into the bucket, and had to run back inside and whip off my sneaker and socks before running cold water on it. Unfortunately it was already scalded and I have had to deal with it ever since.
NOTE: When using fabric dye, it is fine to use hot water straight out of the tap, it is not necessary to get it any hotter to work well. While I “doctored” my scalded foot, my wife took up the entire task and dyed the fabric to have both a shirt and long thermal underwear match and she did a great job. Next, I started out using Photo editing software on a laptop to capture the “cavity” parts off the game board photo, which I then enlarged to a reasonable size and then printed them out onto regular paper to use later. I also captured each “illustration” of the parts of the game board from my hi-res photo, such as the “bread basket”, “butterflies in the stomach”, “water on the knee”, “wrenched ankle”, etc., and also enlarged and properly sized them to print out onto inkjet transfer paper to later apply to the costume.
At first I thought about transferring the associated text directly along with the game illustrations, but I determined that it would look much clearer to use a large standard font (I ended up using Comic Sans MS) and print the text directly to the inkjet transfer paper and then print out those to iron onto the costume. One key thing to note is when using iron-on transfer paper, you will need to make all the images print in reverse or “mirror image” when the print job is sent to the printer, so that they will iron on correctly when transferred to the cloth.
The “Bread Basket” was the largest part to print, but it turned out great on the ink-jet transfer paper. My wife cut the “cavity” shapes out of the regular paper and then placed them on red felt and cut them out for the next part. I toyed with the idea of using “foam board” to represent the actual game pieces, but in the end we used white felt and some hook and loop fasteners to attach the pieces to the red felt of the cavity cut-outs. I again used the Photo editing software to properly enlarge and resize photos of the actual game pieces from the classic version of the game, and printed these out in simple ”silhouette” form to make it easy to cut out and transfer to the white felt. Again, my wife did a great job of cutting these out of the felt to use on the costume. This worked out well, and nothing fell off during the time period I wore the costume for.
In the final assembly, I test-placed all the red felt for the cavities on the shirt and the pants, and made notes for adjustment when I next test-placed all the illustrations and lettering to be ironed on. We used a plain old iron set to a cotton setting, and we achieved great results both on the long pants and the shirt. The lettering in Comic Sans MS looked even better that we imagined, and we were very pleased with the iron on work. I simply used a sharp permanent marker to draw any arrows that were needed from the cavities to the illustrations of the pieces on the costume. It worked out well.
We used white glue to fasten the red felt pieces to the shirt and long pants of the costume. While I tried both “super” glue and white glue, the best results were with white glue, left to dry as long as possible. The red felt went on easily, and stuck quite nicely for all the “cavities”. My wife next placed the white game pieces cut out of white felt onto cut hook and loop fasteners, and this worked great on top of the red felt cavities. For the “ankle bone connected to the knee bone,” I found some red push pens and used wooden “popsicle” sticks when gluing it all down to the pants part of the costume, along with some cotton backing to protect the skin on my right knee and ankle from the wood and metal sticking through. The pins were stuck in the middle of the “rounded” parts of the cavity, so the final assembly was push pin, felt, Popsicle stick, the pants leg, one more Popsicle stick and finally a cotton pad; all held together with glue. I also used some pliers to nip the ends off of the push pins, to keep them from scratching me.
For the “rubber band” game piece part of the ankle bone to knee bone, I simply found several #64 size rubber bands and taped and stapled three of them together to make one big rubber band to work on the red push-pin pegs. For the final fitting of the costume for the contest at work, I put on the pants and shirt, pulled over the red shorts and put on the wig and placed the bright flashing nose. I held the novelty buzzer in my right hand, and held the “tweezers” with my left hand. I let the nose flash away while I was parading in front of the crowd and when the time came in front of the judges, I pretended to “capture” one of the white game pieces and pressed the buzzer in my other hand as if I had touched a metal edge; and acted startled.
It went over great, and in the end I won first prize for my individual costume! Several of my fellow employees asked if I had purchased the costume, but I was happy to tell them that it was homemade, with some hard work thrown in, of course. Halloween night, I wore the costume again while we were giving away candy to the neighbourhood trick-or-treaters, and it was a hit with the kids too.
All in all, it was a great experience. I would recommend doing a bit of research about the Operation game when tackling such a costume project, at home, but a little bit of preparation and a bit of persistence with hard work will yield some good results.

Related costumes:
 Coolest Operation and Scrabble Game Costumes
  Coolest Monopoly Board Game Costume
  Coolest Battleship Board Game Costume
  Transforming Red Bull RB8 Formula One Car Costume (And an Entire Pit Crew Too!)
 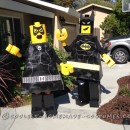 Homemade Batman Lego Couple Costume
 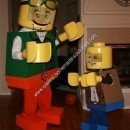 Coolest Homemade Clutch and Bernie Lego Men Father and Son Halloween Costumes
 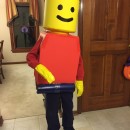 Cool Lego Minifig Costume
 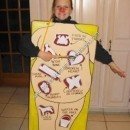 Coolest Homemade Operation Board Game Halloween Costume Idea
Your comment has been sent successfully.