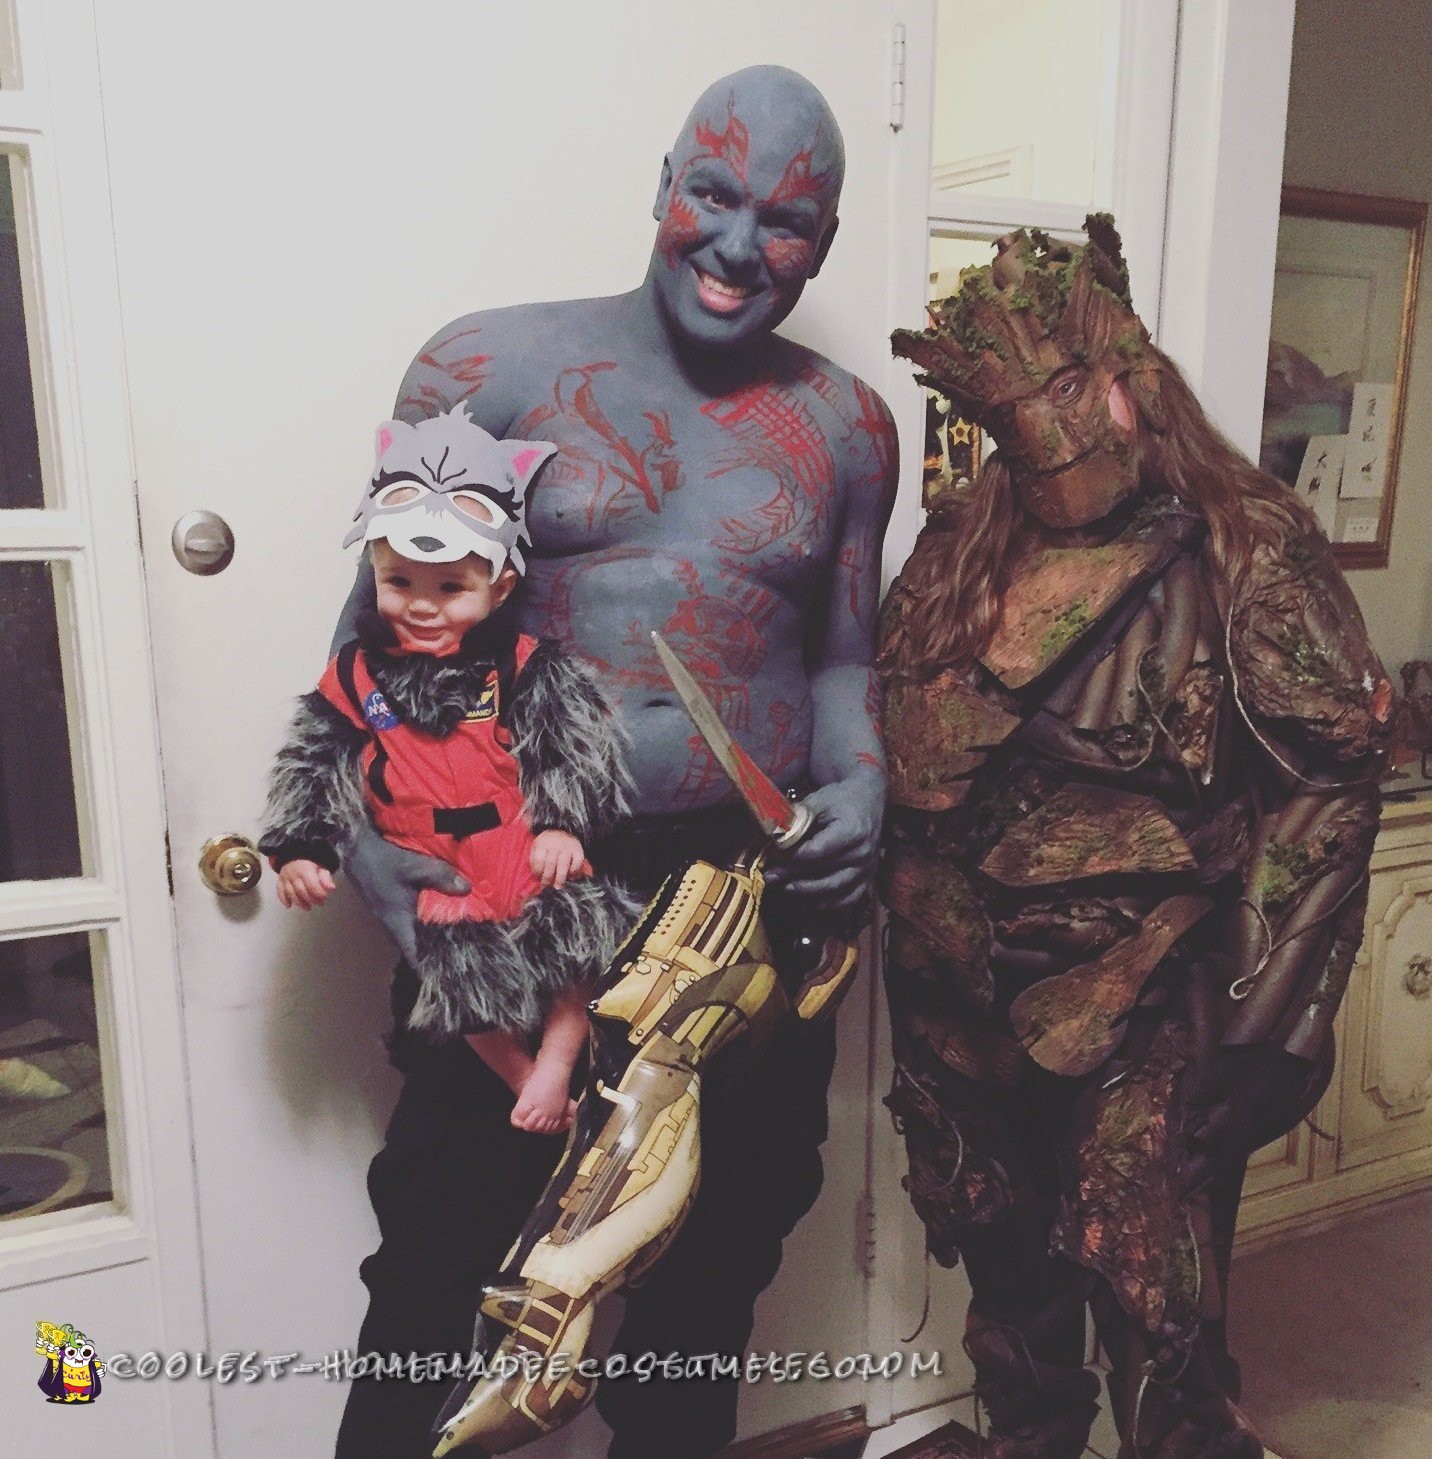
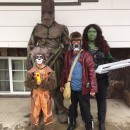
We decided to be Groot, Drax and Rocket for halloween this year. I found numerous tutorials on how to create a Groot costume, but in the end we mixed and mashed a bunch of them to do what worked best for us. Everyone loved our costumes and since we couldn’t take our son (Rocket) to the party we carried around a little bobble head for fun.
We have a set of married friends that have birthdays near the end of October, so 5 years ago they started a halloween birthday tradition. They hold it in a dark creepy bar, which is a perfect location for a scary halloween party. Their parties get around 300 attendees and everyone joins in the fun of dressing up. They give out trophies for the best couple, best male, and best female and then one trophy for the most ridiculous. This year we won the couples costume contest with our Groot and Drax costumes (and of course our Rocket bobblehead).
Groot-
Groot was the most difficult piece to create. The body portion required a lot of time and effort and a lot of hot glue. The mask was difficult as well and took patience to get the carvings just right.
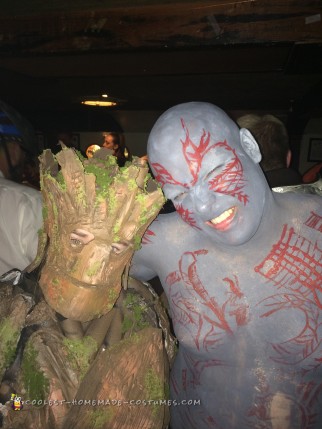
Drax-
The most difficult part about Drax was figuring out which paint to use. We visited 3 different places and unfortunately they all told us different things. We ended up buying body paint from a professional costume supply place and it almost lasted the whole night in a sweaty hot bar.
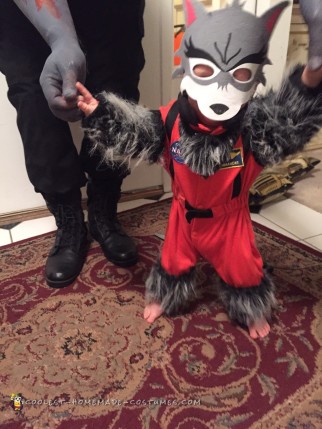
Rocket-
The Rocket costume was farely easy. Just a few stitches here and there and it was complete. We found the mask at wal mart, I still want to do a bit of painting to make it look more racoonish. Luckily our party was before halloween so I still have time.
More details in the step by steps.
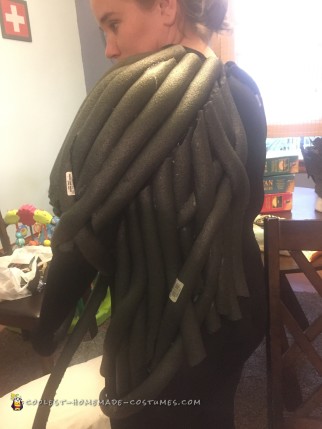
Groot Body
The Groot body was the most difficult. We started by purchasing one of those full body spandex suits. After trying to glue things to it while it was hanging, while it was stuffed with a pillow, and while it was on the ground, we decided the best way to do things was to put the suit on and glue things to it while I was wearing it. This was definitely a two man job. So here are the steps we took:
- Put on spandex (preferably entire leg ones). I only had knee length ones so my calves got a little warm. Also put on a silky shirt you don’t mind ruining.
- Next cover yourself in baby powder, this helps a bit in keeping the glue from sticking to you.
- Climb in the spandex full body suit and zip it up.
- Buy about 10 pieces of the foam piping that you use to insulate the pipes in your home and cut it length wise in half and then cut it into various sizes horizontally.
- Use a hot glue gun on the low setting to attach the pipe to the suit. Be careful to run a bead of glue down the entire piece of pipe, and hold it for 20 seconds to get a good bond. We found it helped with the burning sensation if the gluer pulled the spandex suit away from the suited individual and pressed the pipe to it that way. It does get warm in some spots, so be careful. We tried to make the piping look like the muscles of the body, as you can see in the pictures. I wish we would have had more time and we could have done a better job. Make sure to watch out for the zipper. We glued a piece down each side of the zipper vertically so we wouldn’t glue it shut.
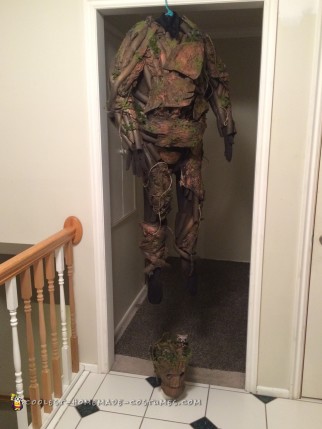
- Once the whole suit was covered I climbed out of the suit, being very careful. Then we mixed tacky glue and water and dipped tissue paper in it to create a paper mache. This was used to make the costume not look so pipe like. In hind site I would use a different form of glue, by the end of the night the paper mache wasn’t sticking very well. Maybe I watered it down too much, or you should use newspaper instead, you’ll have to experiment. I didn’t cover every square inch, I just randomly applied it here and there to mix up the textures. We let that dry overnight.
- I took some extra sheets of the EVA foam and carved them to make them look like bark plates. We applied these after we were done spray painting the suit with the piping insulation.
- We took hemp twine and wrapped it around the piping in some areas to look like vines. We tried to use spray adhesive to glue it but it didn’t seem to work so we switched to hot glue and rubber cement.
- We then bought plastidip spray paint from home depot and applied it to the whole suit. Make sure to do this outside and find a way to hang it so you don’t have to be in it. This added another layer of texture and made the subsequent layers of paint the same color on the different materials.
- We sprayed brown camouflage spray paint on top of that and then a coat of textured brown. We then used caramel brown to add some highlights and we finished it off with some acrylic paint and a brush to add more highlights of a lighter brown.
- To do the green foliage we used train scenery moss (purchased at Hobby Lobby) and used rubber cement to glue it on.
Groot Mask
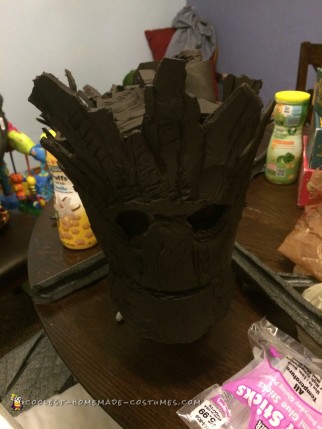
- Took a piece of brown EVA foam that was purchased from Hobby Lobby and cut out a mask template that fit around my head length and width wise. The mask fit kind of like a crown you get from Burger King (instructions on creating the top will come shortly). Make sure to make it tall enough to cover your whole face. I wish mine would have been a bit taller. We used a utility knife to cut out the mask template.
- I had to attach an extra piece in the back to make it fit around my head. I just shaved down the piece and blended it with the dremel so you couldn’t really tell.
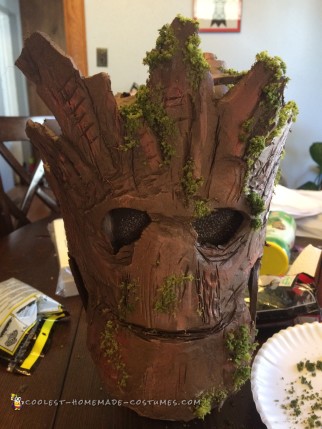
- Used a dremmel and various attachments to carve the EVA foam to make it look like wood. Be sure to do this outside, it makes a mess.
- We had to shave out a little bit of foam on the inside of my mask where my nose fit, because it was crunching my nose too much. This may have been prevented if I had made the crown a bit bigger and loser on my head.
- For the top we took an old hoody and cut the hood off. We took the hood and hot glued it to the crown portion of the mask, making sure that we left enough slack to fit around my head.
- We then hot glued various bits and pieces of foam to the hoody.
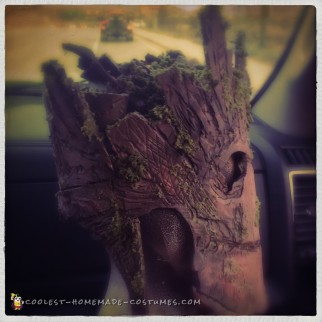
- We spray painted the mask with plastidip, the browns mentioned above, and then added highlights with acrylic paint trying to leave the dremmeled cracks darker to add depth to the mask.
- Green moss (from Hobby Lobby in the train set section) was added using rubber cement to adhere it.
Drax
We purchased numerous different paints because everyone told us something different. In the end we used Body paint we purchased from a professional costume place. It stayed on pretty well, but once my husband started to sweat it started to rub off. Our other option we had was “aquapaints”. I don’t know if they would have worked any better against the sweat factor.
- Shaved the whole upper body, with the exception of his eyebrows.
- Applied the blue/grey body paint with a sponge to prevent streaking.
- Applied red Dips paint with a small paint brush to get the intricate “scars” on Drax’s skin.
- Borrowed black cargo paints and black boots to complete the outfit.
- We also purchased a dagger from a Halloween store on-line, I forgot to purchase two.
Rocket
- Bought an orange astronaut suit and a blow up gun like the one rocket has from a Halloween store on-line.
- Bought fur leggings from Wal-Mart and a mask that belonged to an adult wolf costume.
- We trimmed the fur to make it look more raccoon like. And trimmed the tail piece in a circular pattern to make it look Racoony.
- We filled in some of the mask with black sharpie to make it look more like a Racoon than a wolf.
- We then sewed the fur onto the arms and legs of the astronaut suit.


Related costumes:
 Coolest DIY Guardians of the Galaxy Family Costume
 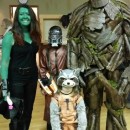 Epic DIY Groot Costume From Guardians of the Galaxy
 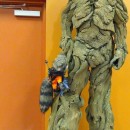 “I AM GROOT!”: Coolest DIY Groot Costume
 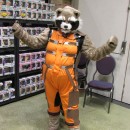 Cool Rocket Raccoon Costume From Gaurdians of the Galaxy
 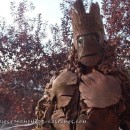 Earth-Made Groot Costume
 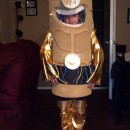 Despicable Star Wars: Return of the Minions Group Costume
  Authentic Frozen Family Costume – Elsa, Olaf, and Kristoff
  13-Year Old Creates Bonnie Costume On Her Own